

Sure is a labour of love Jeremy! The reward when you free something off which has been seized for years is the payback, keep up eating the elephant in small chunks as they say and your preserving part of british engineering when we had some
Ian
Hymac 690
-
Whitlock 505
- Posts: 204
- Joined: Sat Aug 29, 2015 10:24 am
- Real name: Ian Perrott
- Has thanked: 92 times
- Been thanked: 88 times
- Flag:

-
Jeremy Rowland
Topic author - Moderator
- Posts: 8705
- Joined: Sun Aug 05, 2007 8:36 pm
- Real name: Jeremy Rowland
- Has thanked: 1888 times
- Been thanked: 1705 times
Re: Hymac 690
First time up there for a few weeks now thanks to Covid  all gone now though as of last Friday
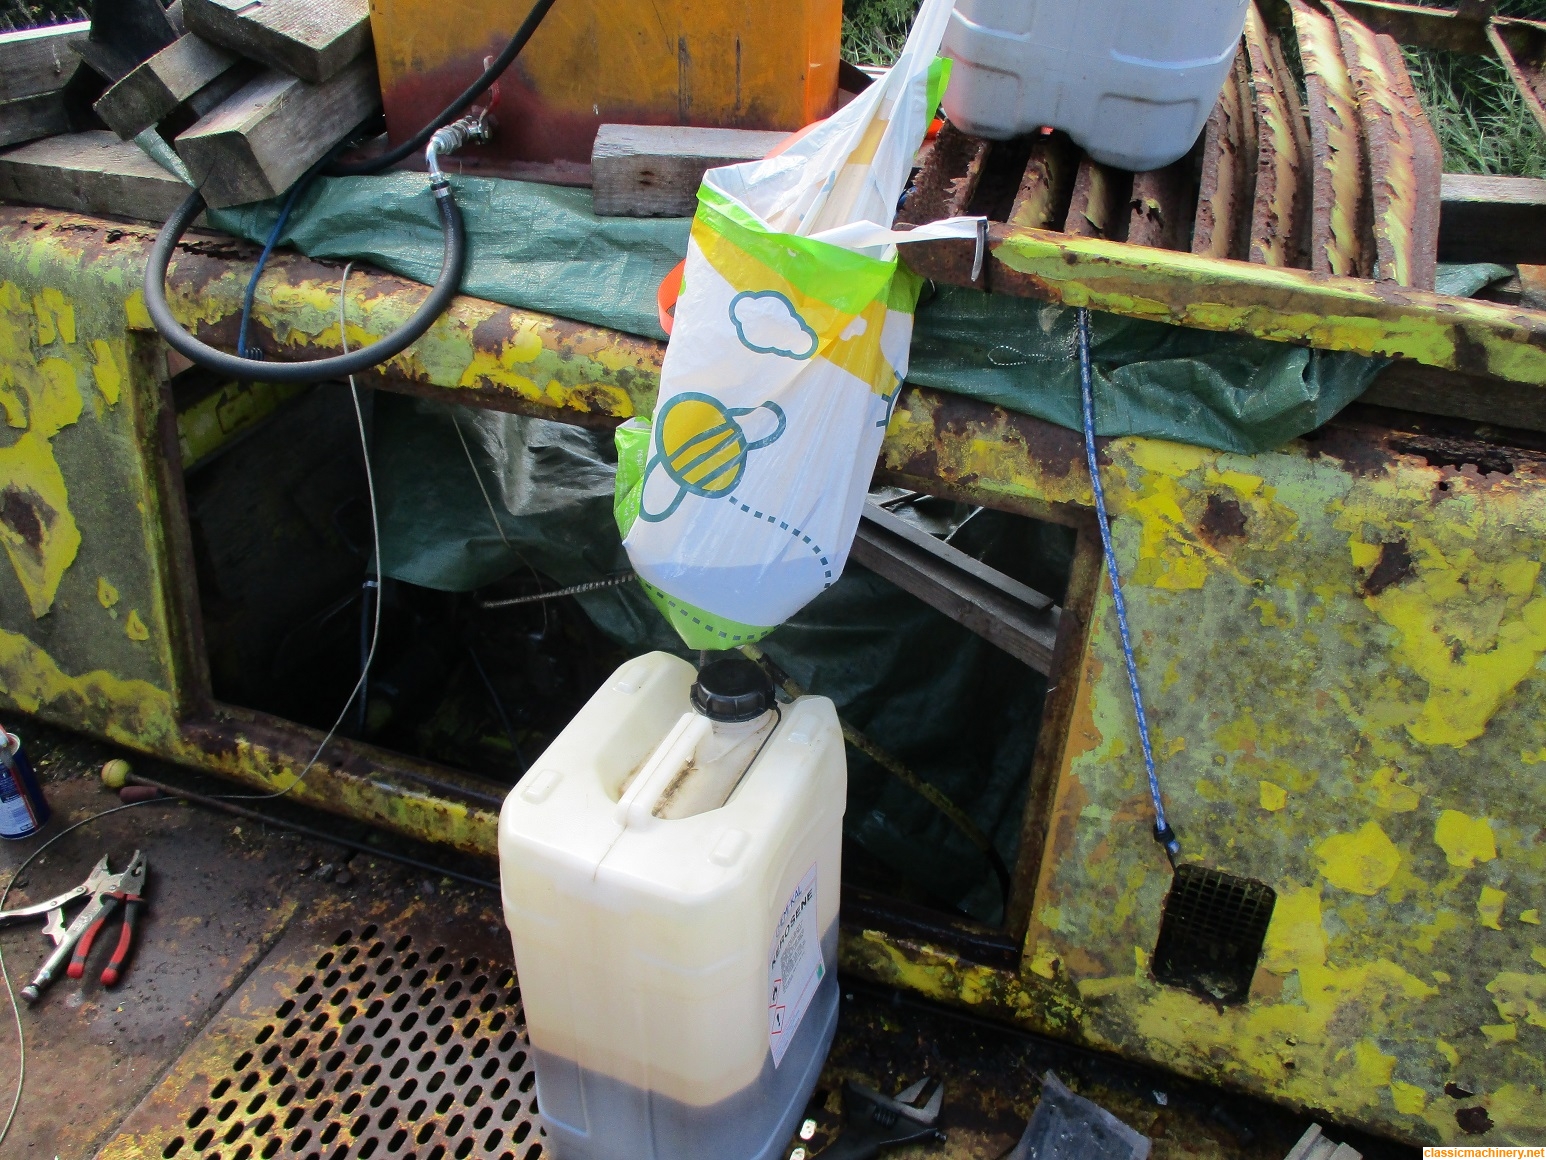
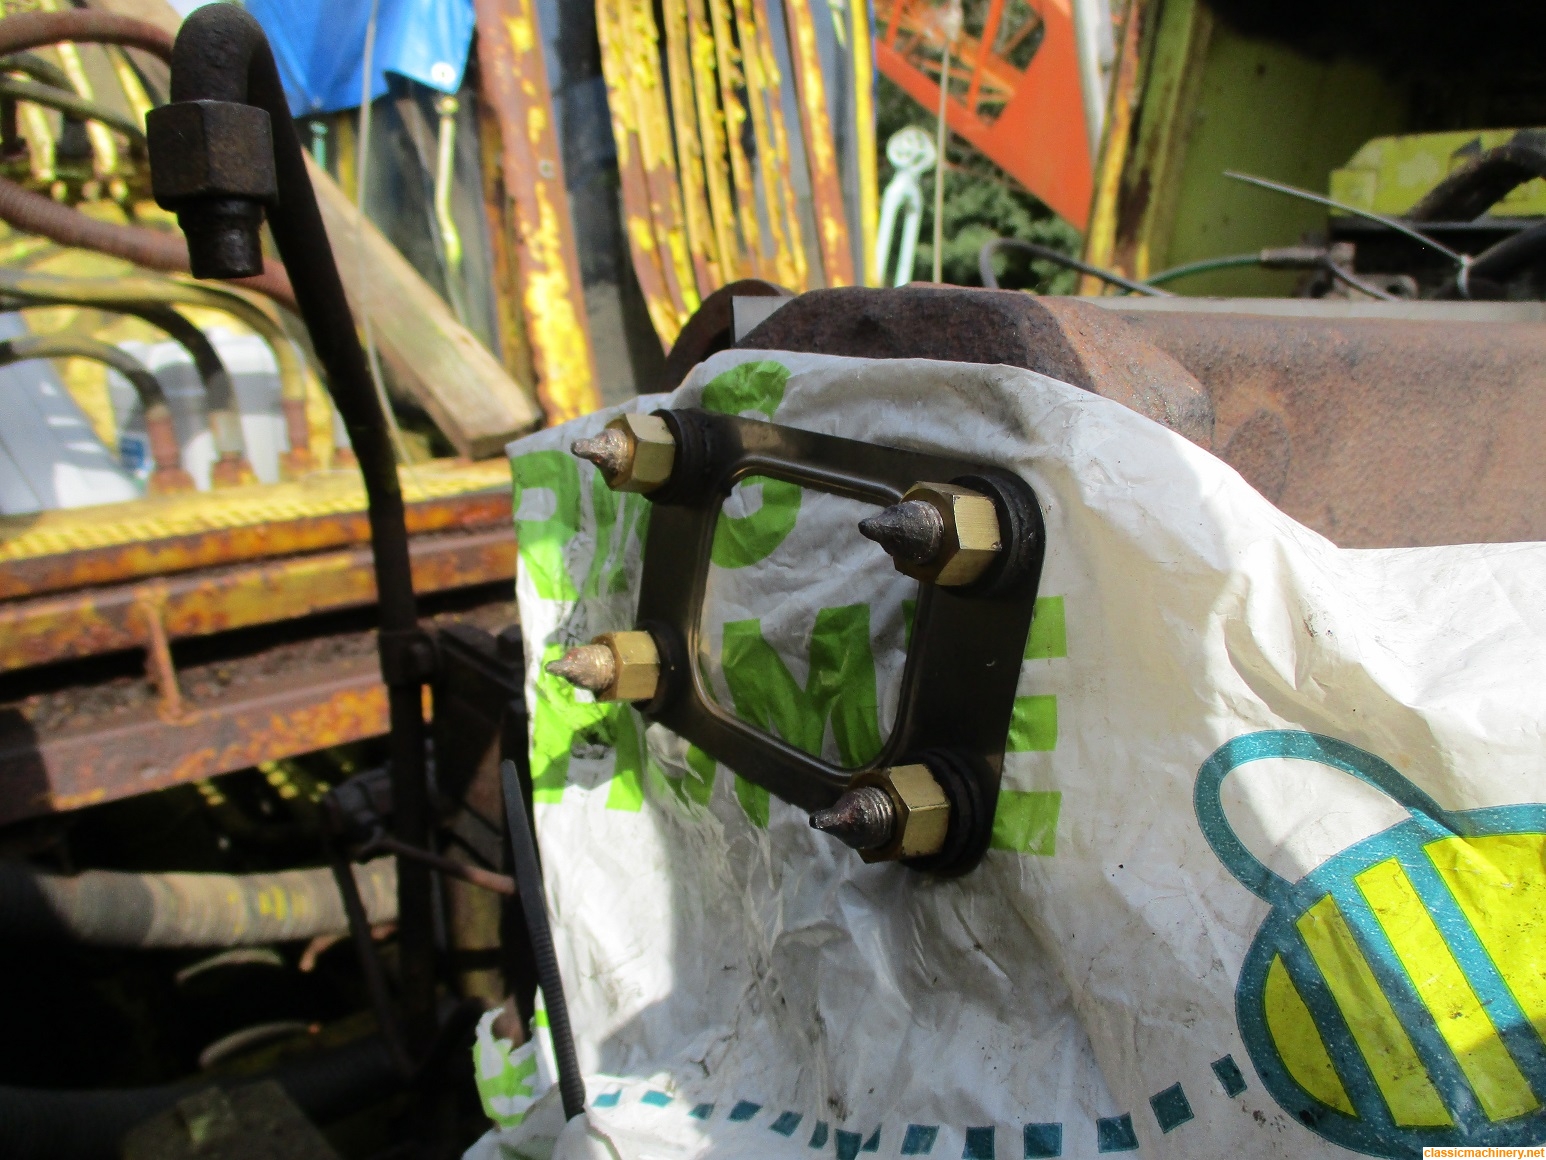
  Well my first thoughts were to get the seized 690 accelerator cable soaking in some of the old dirty diesel that I drained from the fuel tank, so I quickly put a master bodge together using a plastic carrier bag and left it to try and soak through.
While that was soaking I decided to run up the Hy-mac 580BT and the Poclain 75, the old Hy-mac started no problem but the Poclain had a flat battery, there is an intermittent charging fault (which I know the cause of) hopefully fixed this now, charged the battery put it back on and she started just fine and was charging okay.
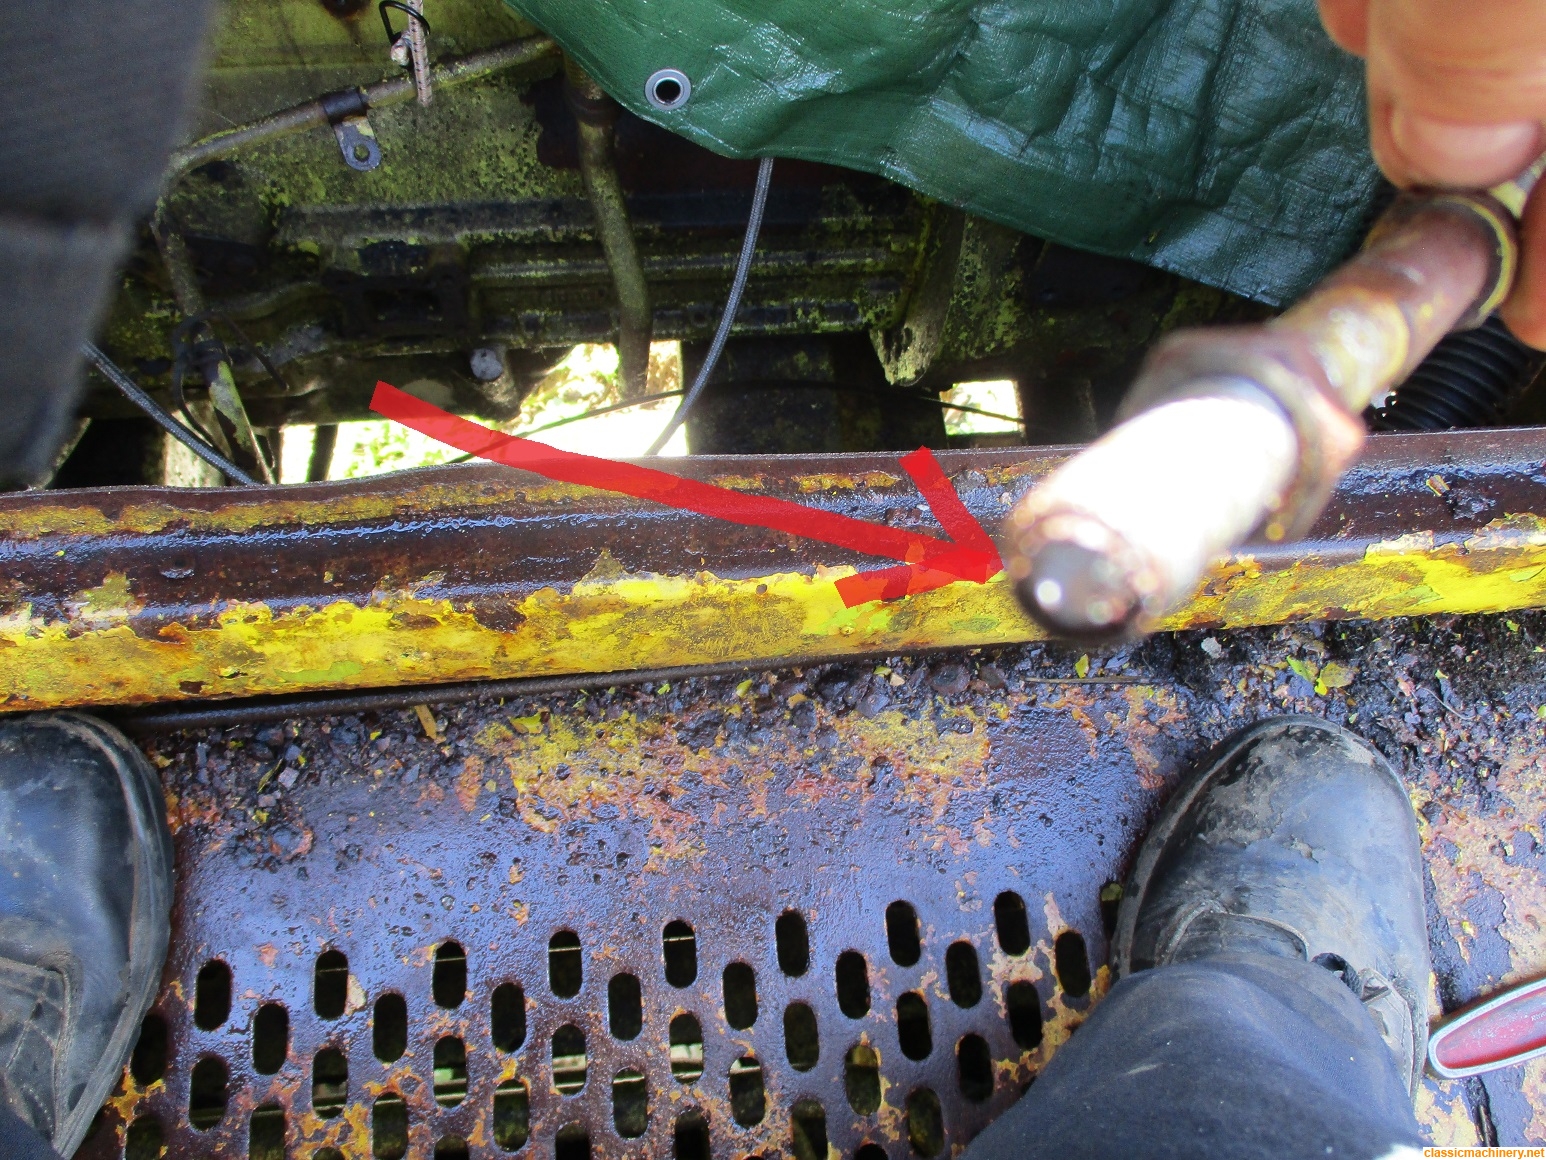
Back to soaking cable on the 690; no luck there, still solid, I decided to try and turn it using a Stillson wrench on the end and by holding the cable by the spanner flats on it.............. ahh success it turned (as i wrongly thought) SNAP oh well it was worth a try. By this time it was too hot to work anymore and the day was well spent so all and in all not a success.
Jeremy
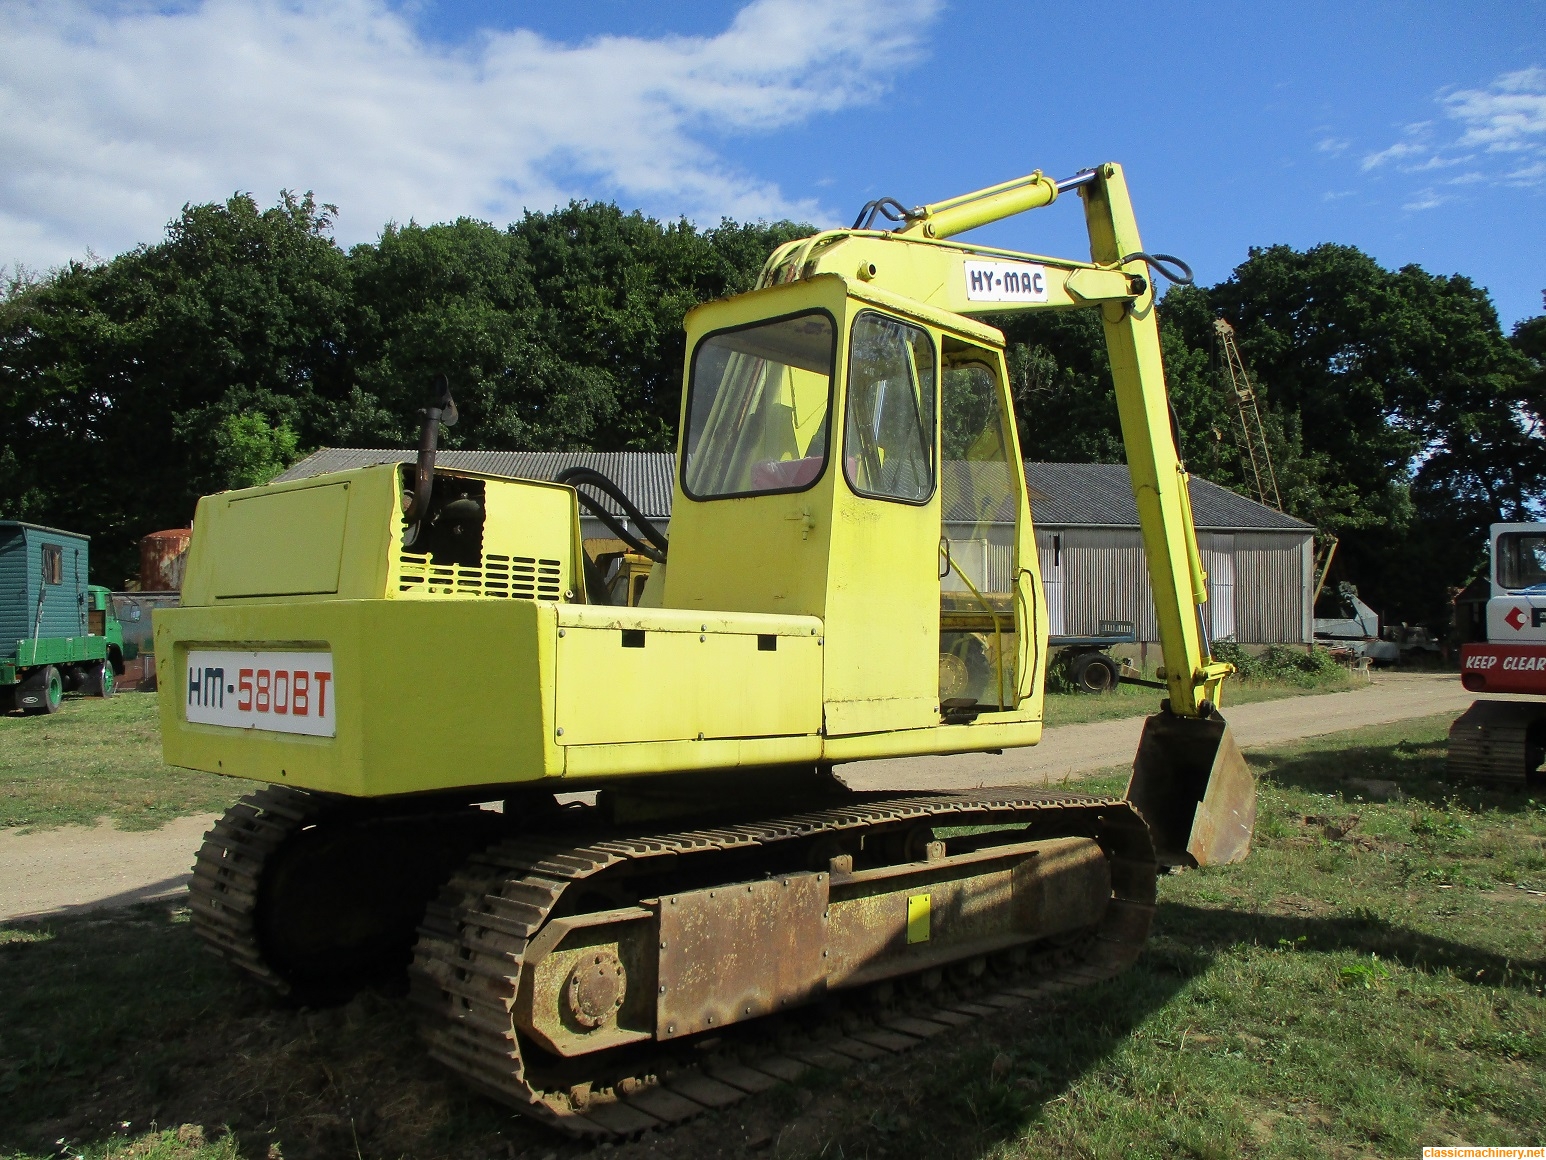
While that was soaking I decided to run up the Hy-mac 580BT and the Poclain 75, the old Hy-mac started no problem but the Poclain had a flat battery, there is an intermittent charging fault (which I know the cause of) hopefully fixed this now, charged the battery put it back on and she started just fine and was charging okay.
Back to soaking cable on the 690; no luck there, still solid, I decided to try and turn it using a Stillson wrench on the end and by holding the cable by the spanner flats on it.............. ahh success it turned (as i wrongly thought) SNAP
Jeremy
-
Jeremy Rowland
Topic author - Moderator
- Posts: 8705
- Joined: Sun Aug 05, 2007 8:36 pm
- Real name: Jeremy Rowland
- Has thanked: 1888 times
- Been thanked: 1705 times
Re: Hymac 690
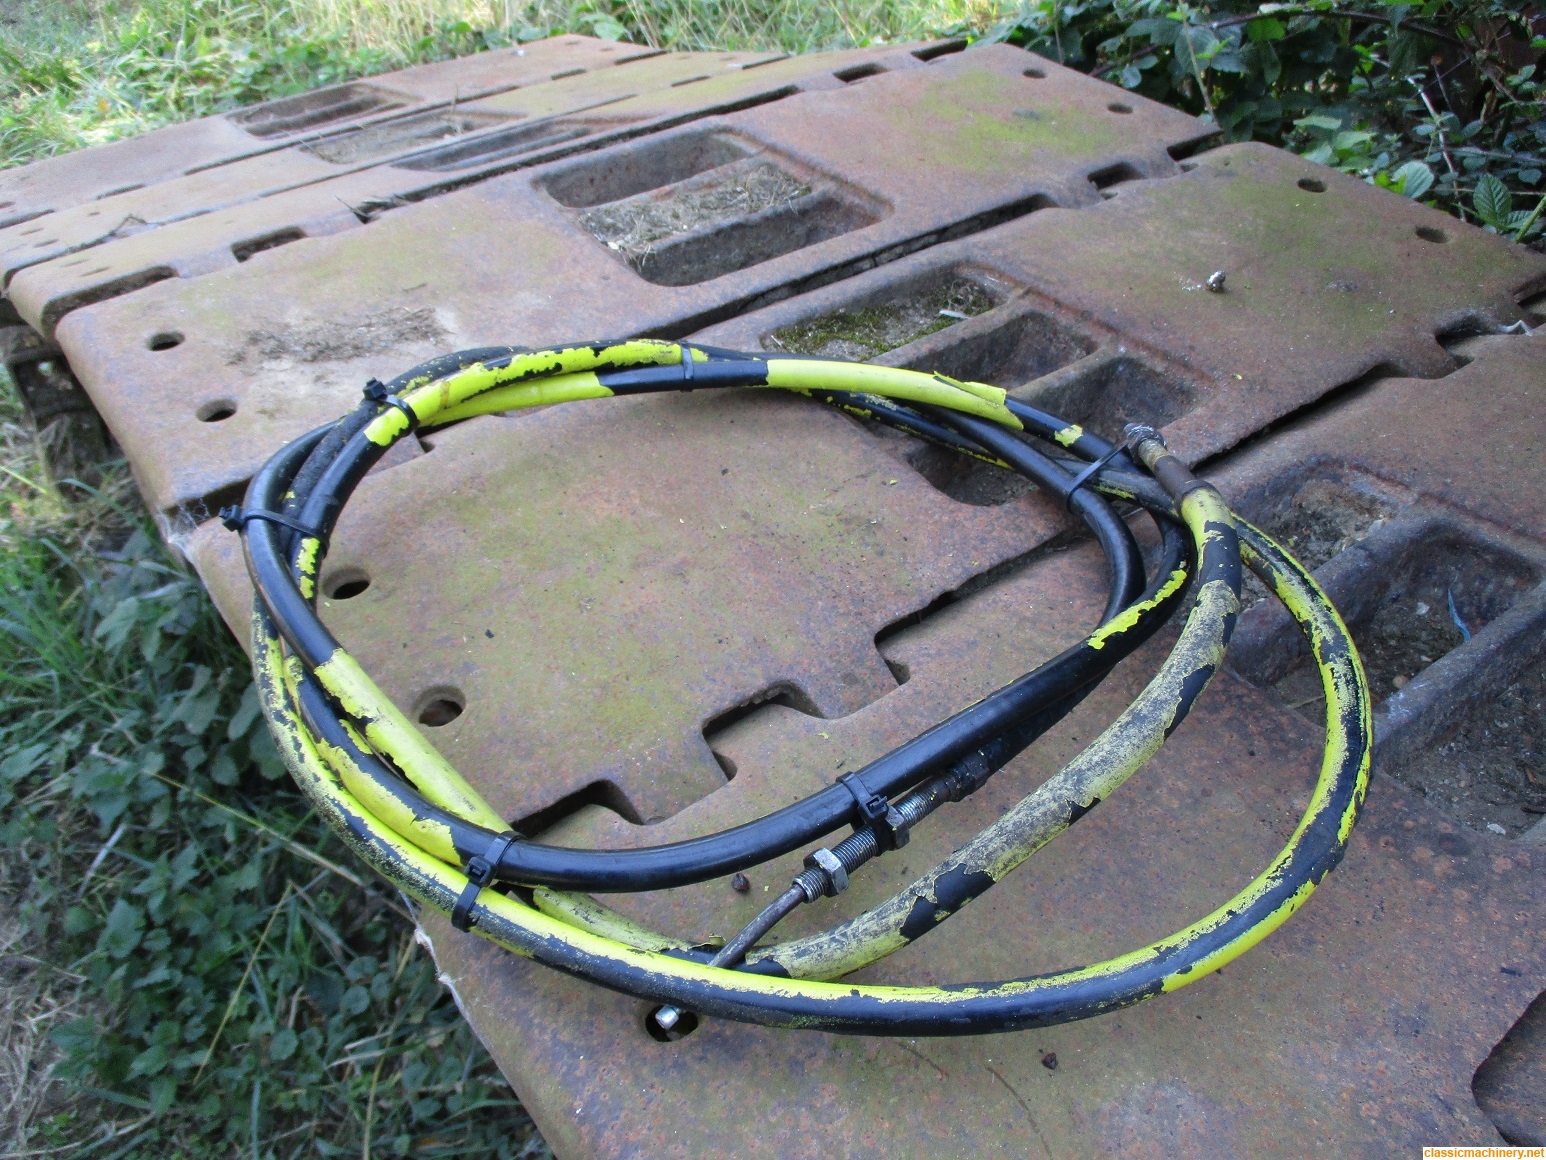
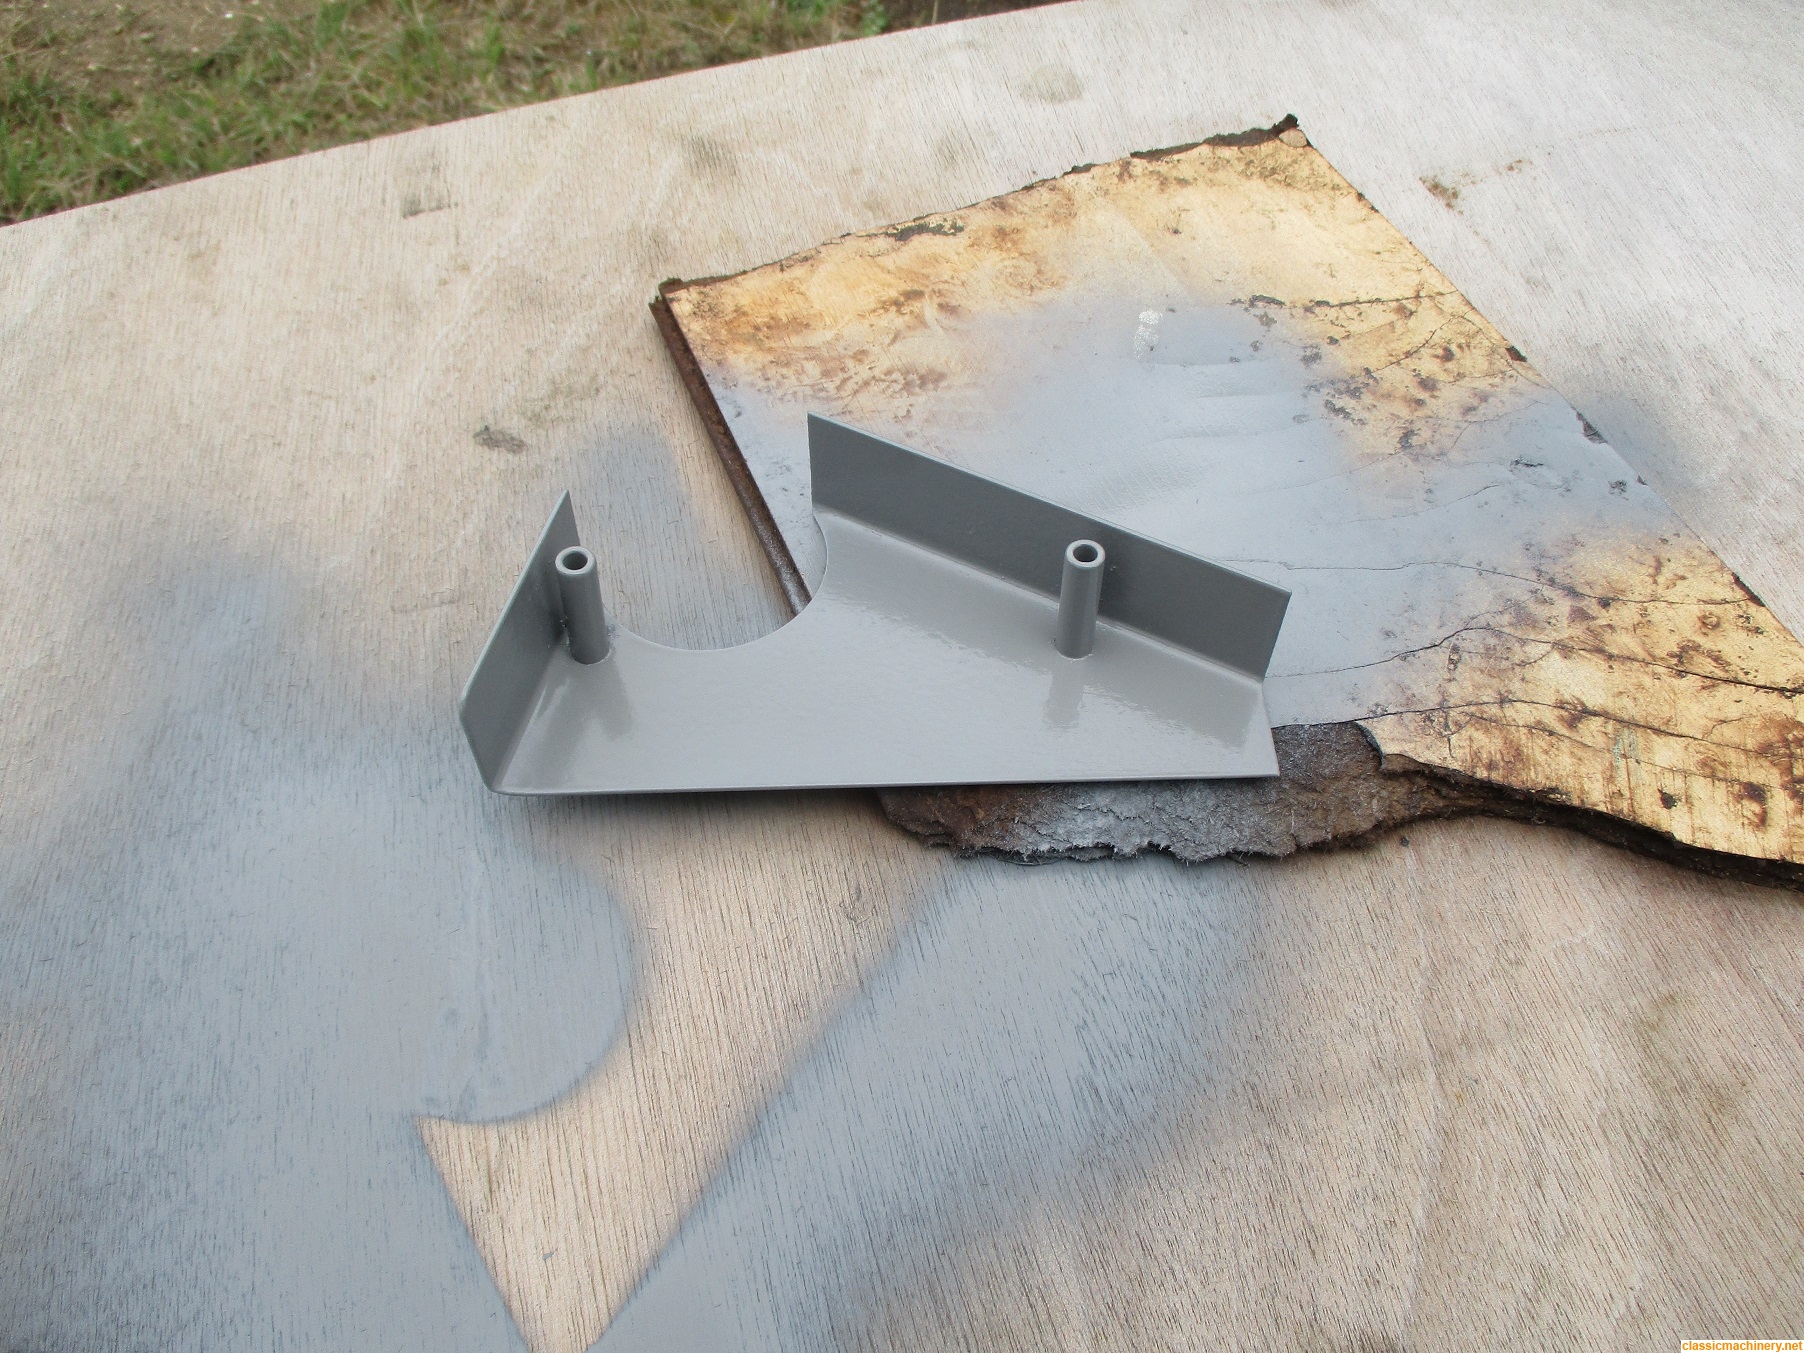
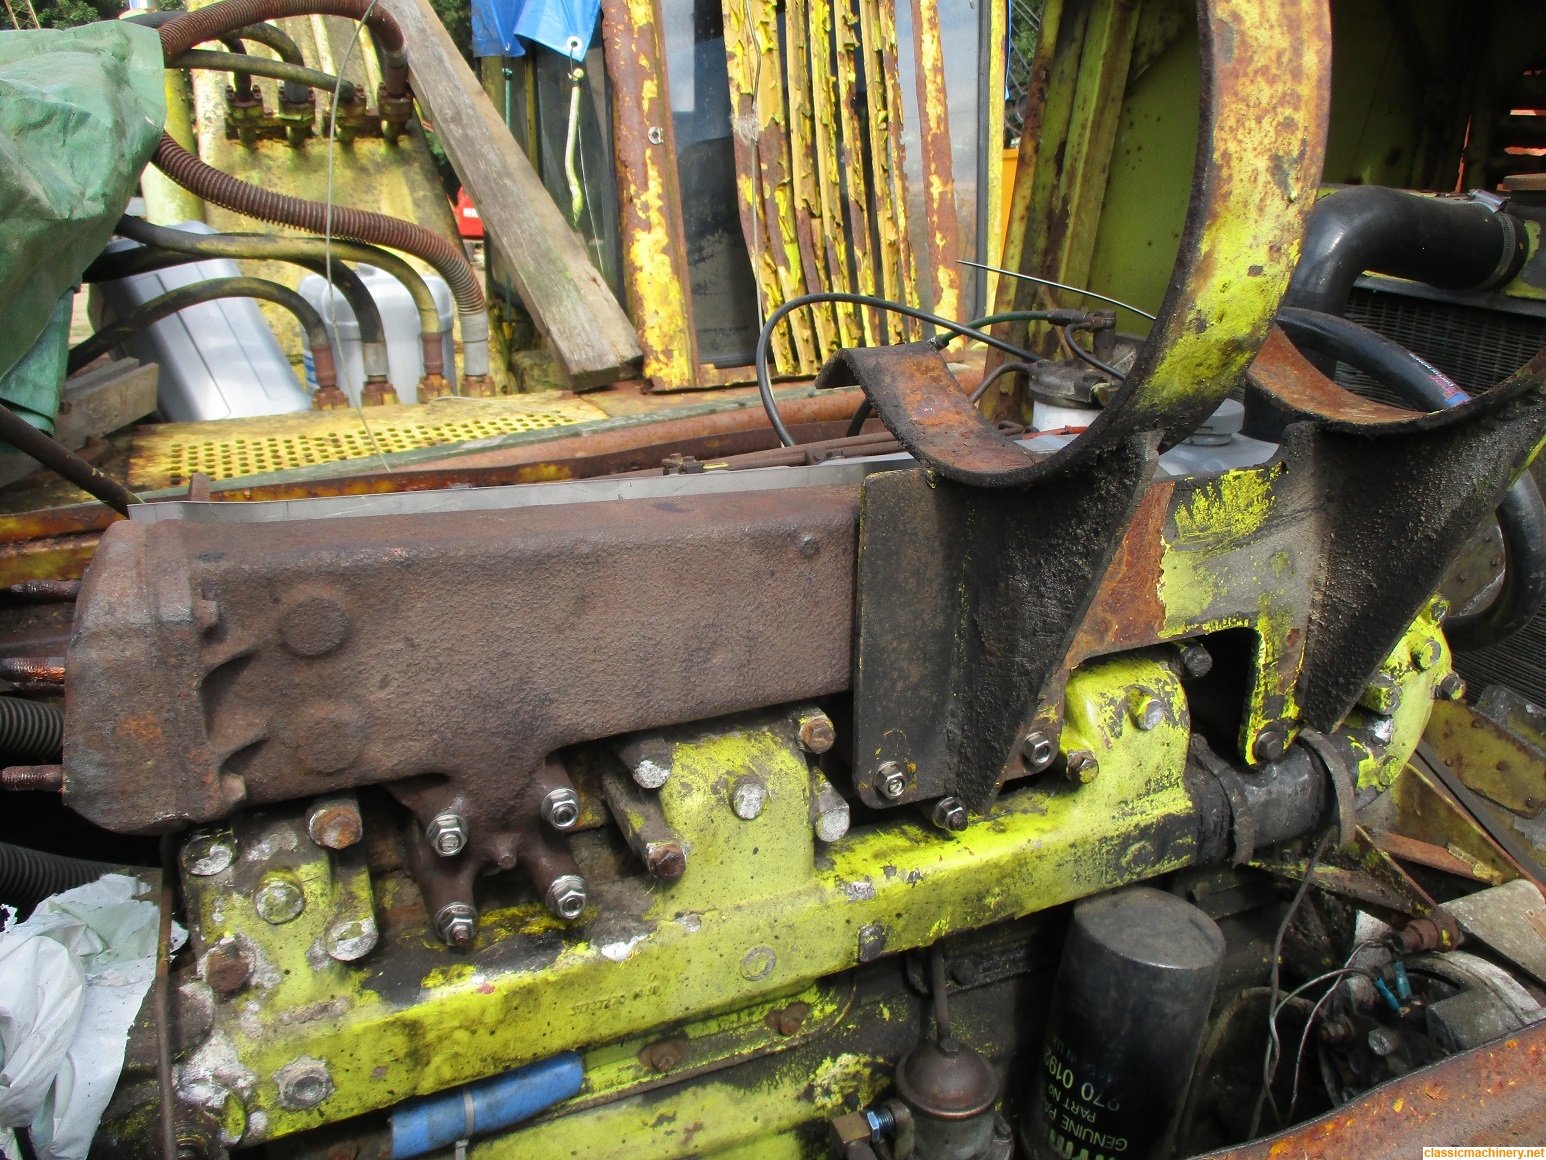
At last! a far more prosperous day. Got the throttle cable removed and took it back with me as a sample, then another job which has been halting progress, unfortunately this machine is in such a state that everything you touch turns to salvage or a pile of rust in your hands. One such item was the exhaust heat shield that was fitted to the exhaust manifold to try and stop heat from getting to the rocker cover.
I had already decided the best way forward with the heat shield was to fabricate one out of stainless steel, saves much aggro, yesterday I popped into a local company who are very reasonable and they cut me off a piece of stainless plate to shape. Today all I had to do was bend it, drill it and fit it, all easier said than done, the main issue was the 1/4" bolt that held it in position had snapped off in the manifold which is too tough to tap, so I carefully drilled the 1/4" bolt dead centrally then tapped it M5 a good result the other hole is for location so I drilled that and fitted a scroll pin, job done.
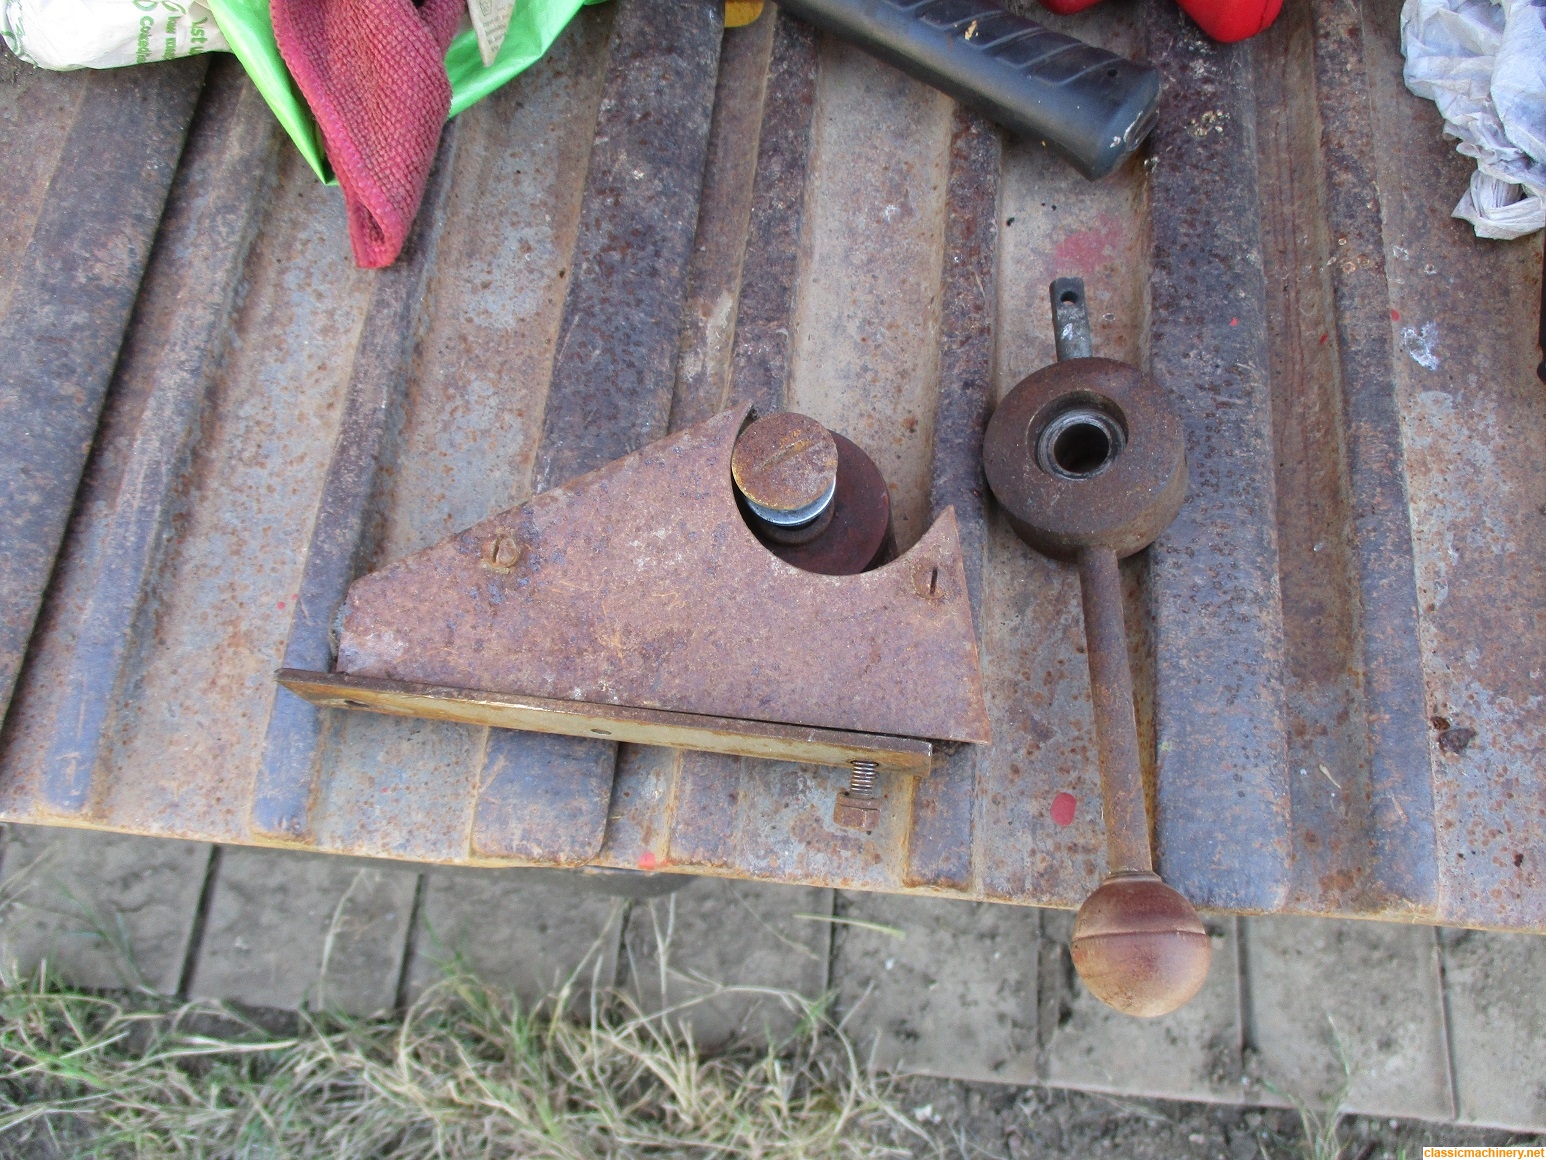
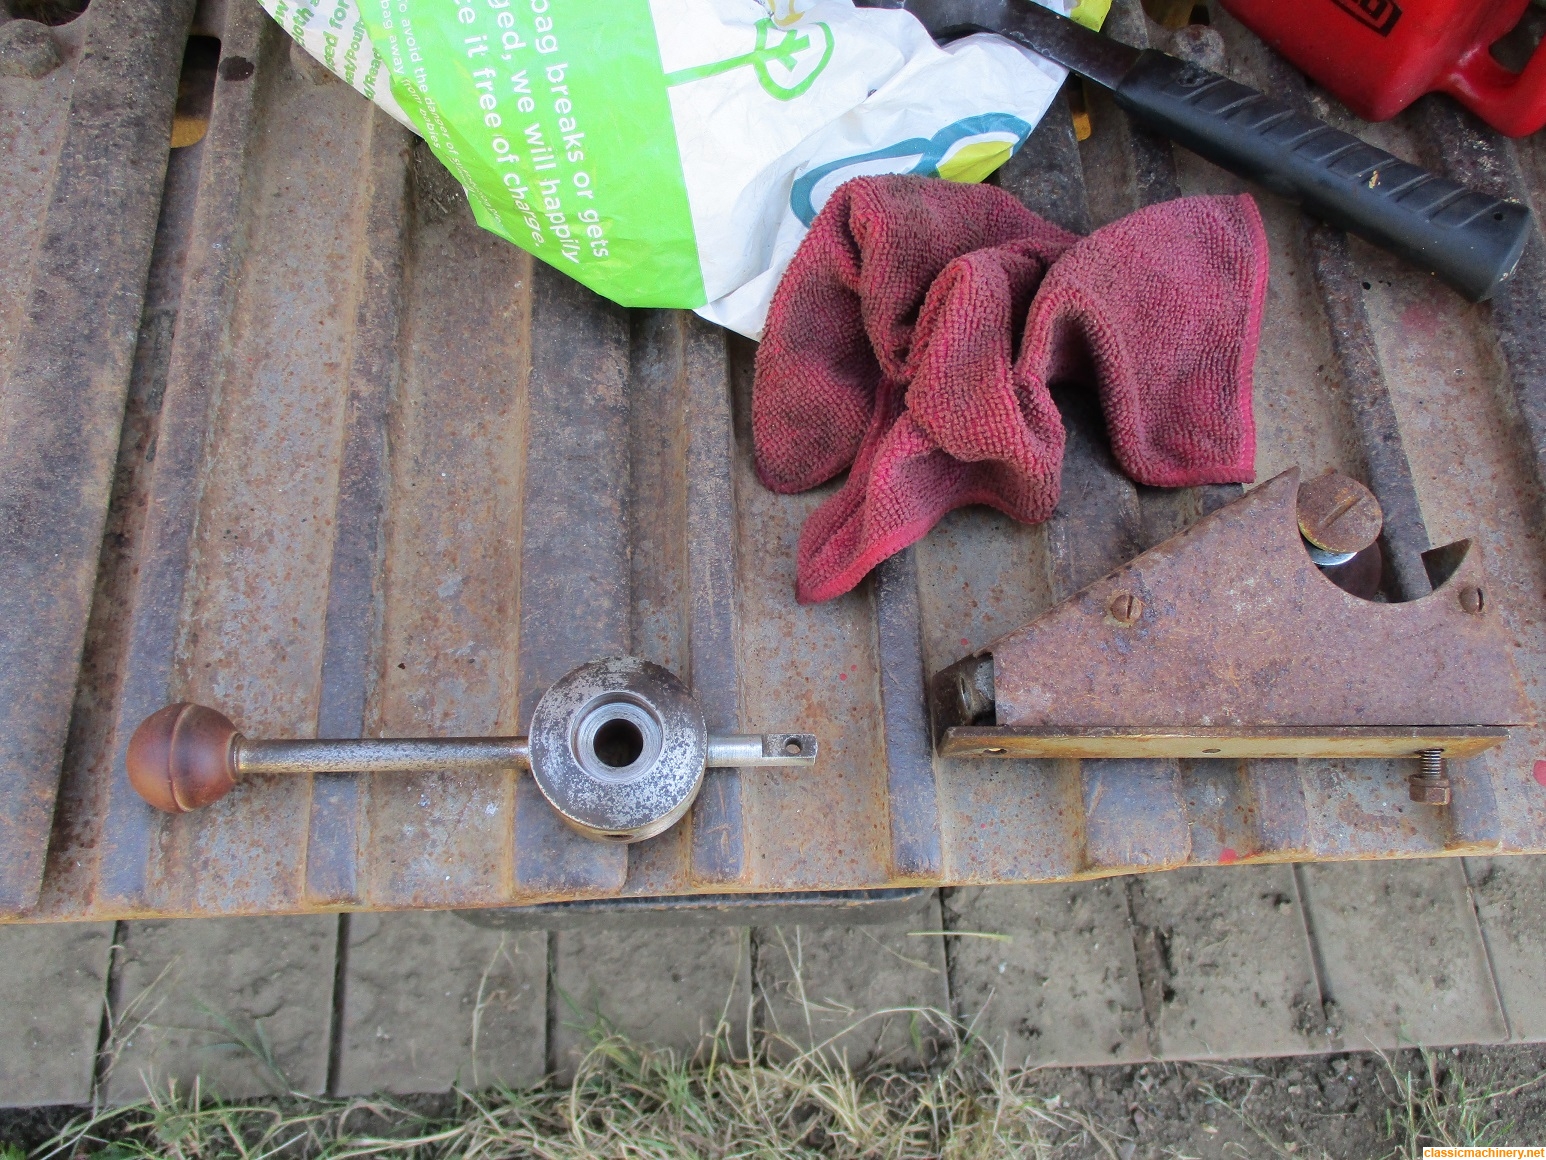
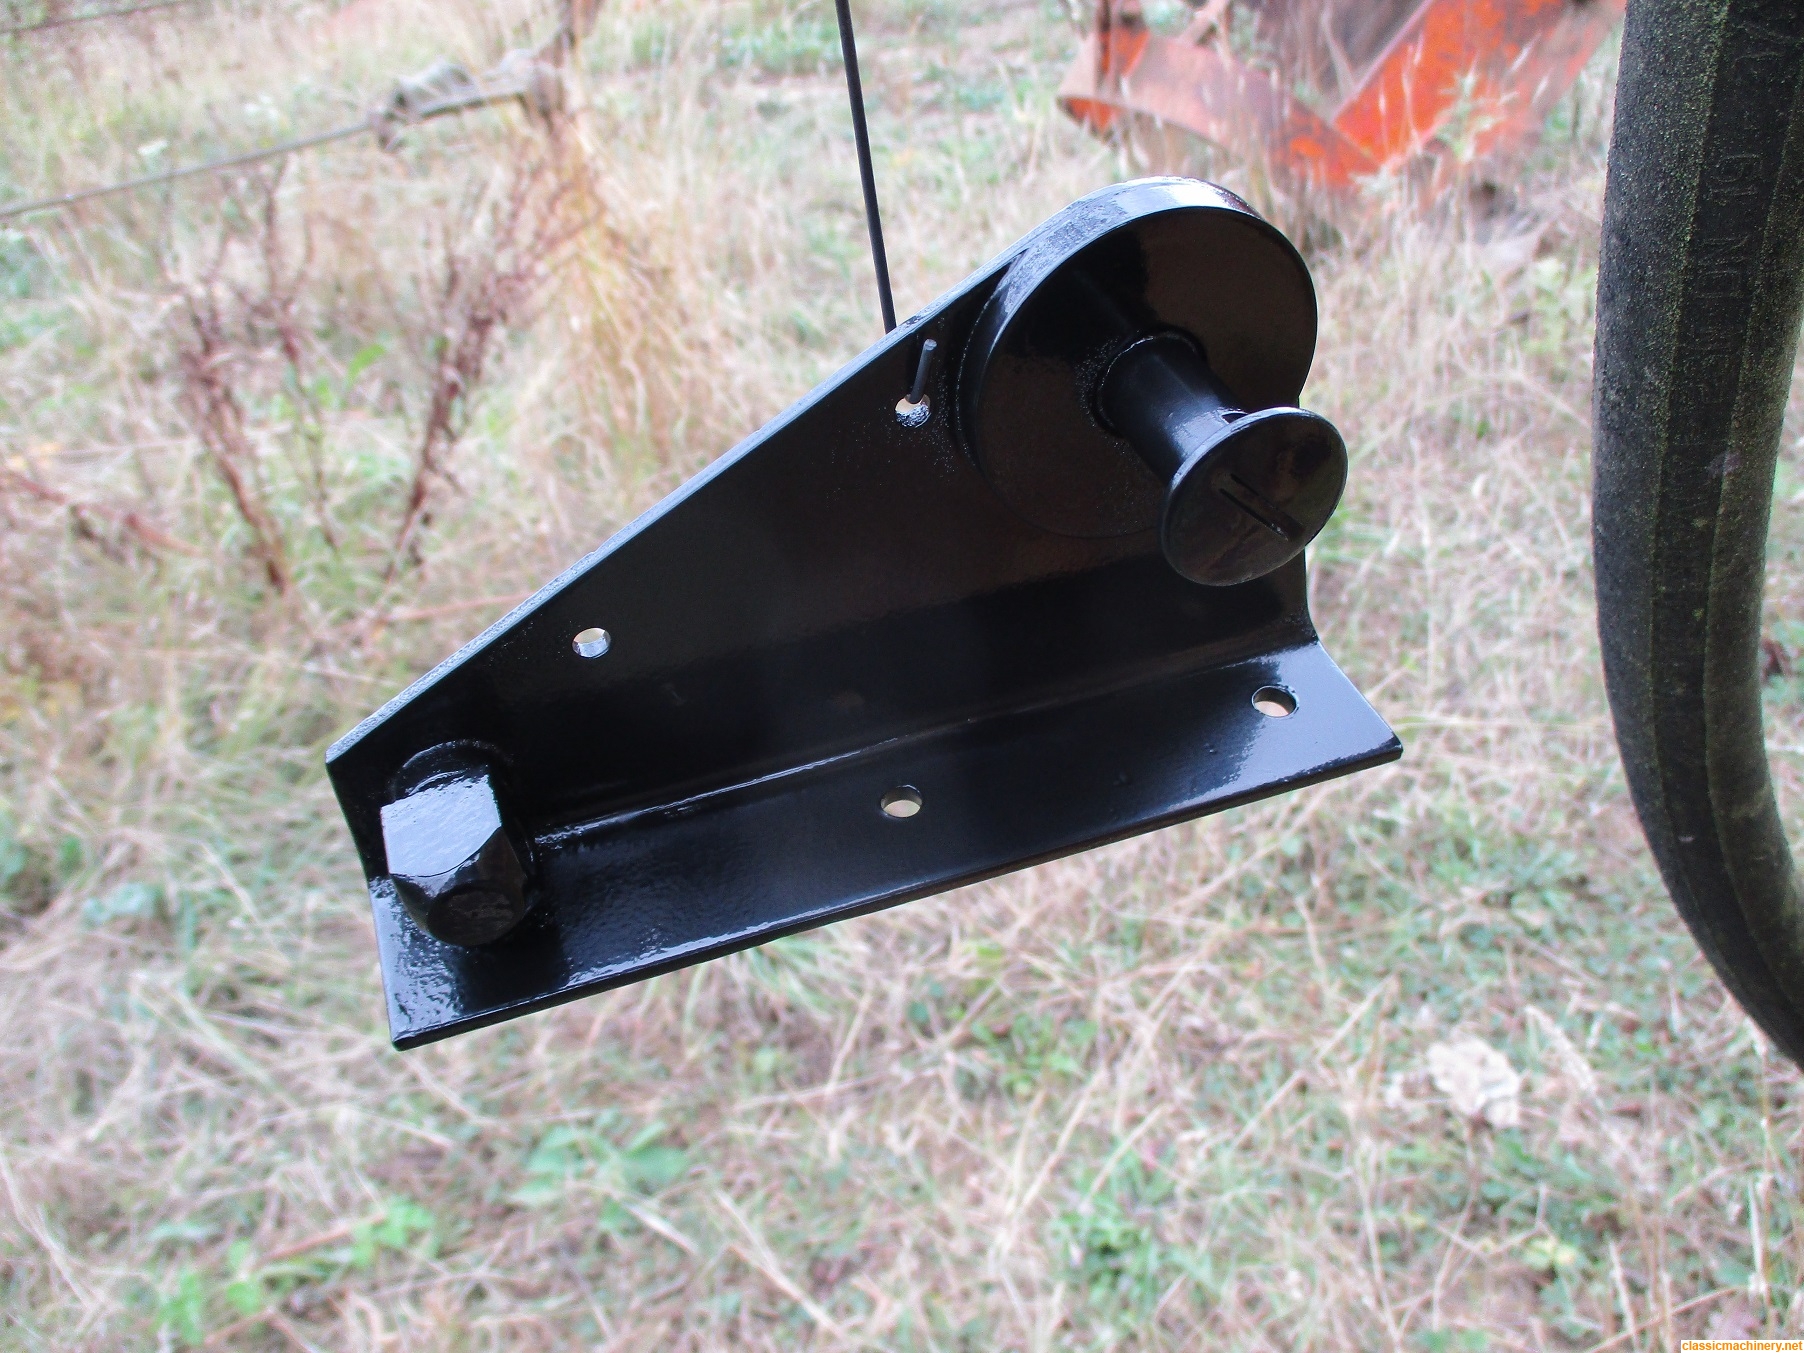
Before the manifold is refitted there is one more job and that is to remove the rocker cover, there are some issues with that once that's done hopefully start some reassembly. With the heat shield done my attention turned to the throttle quadrant which I removed all the rust from, freed up and painted, so all in all not a bad day despite the heat.
Jeremy
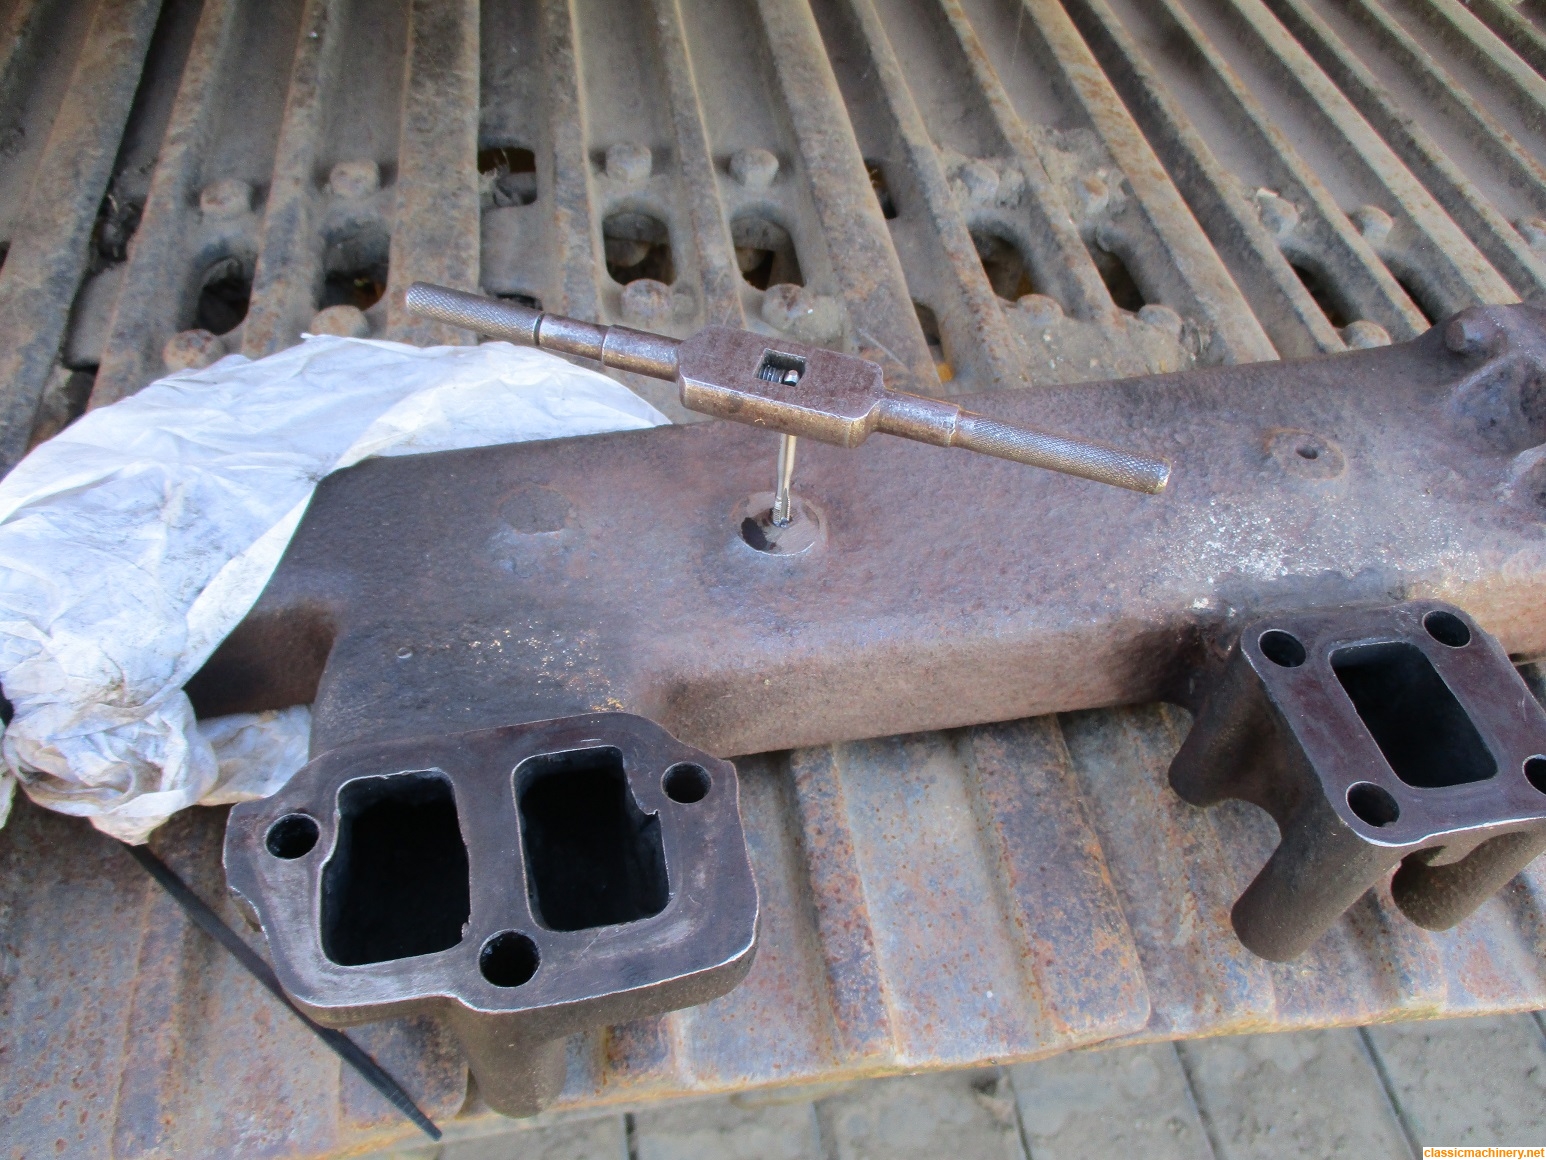

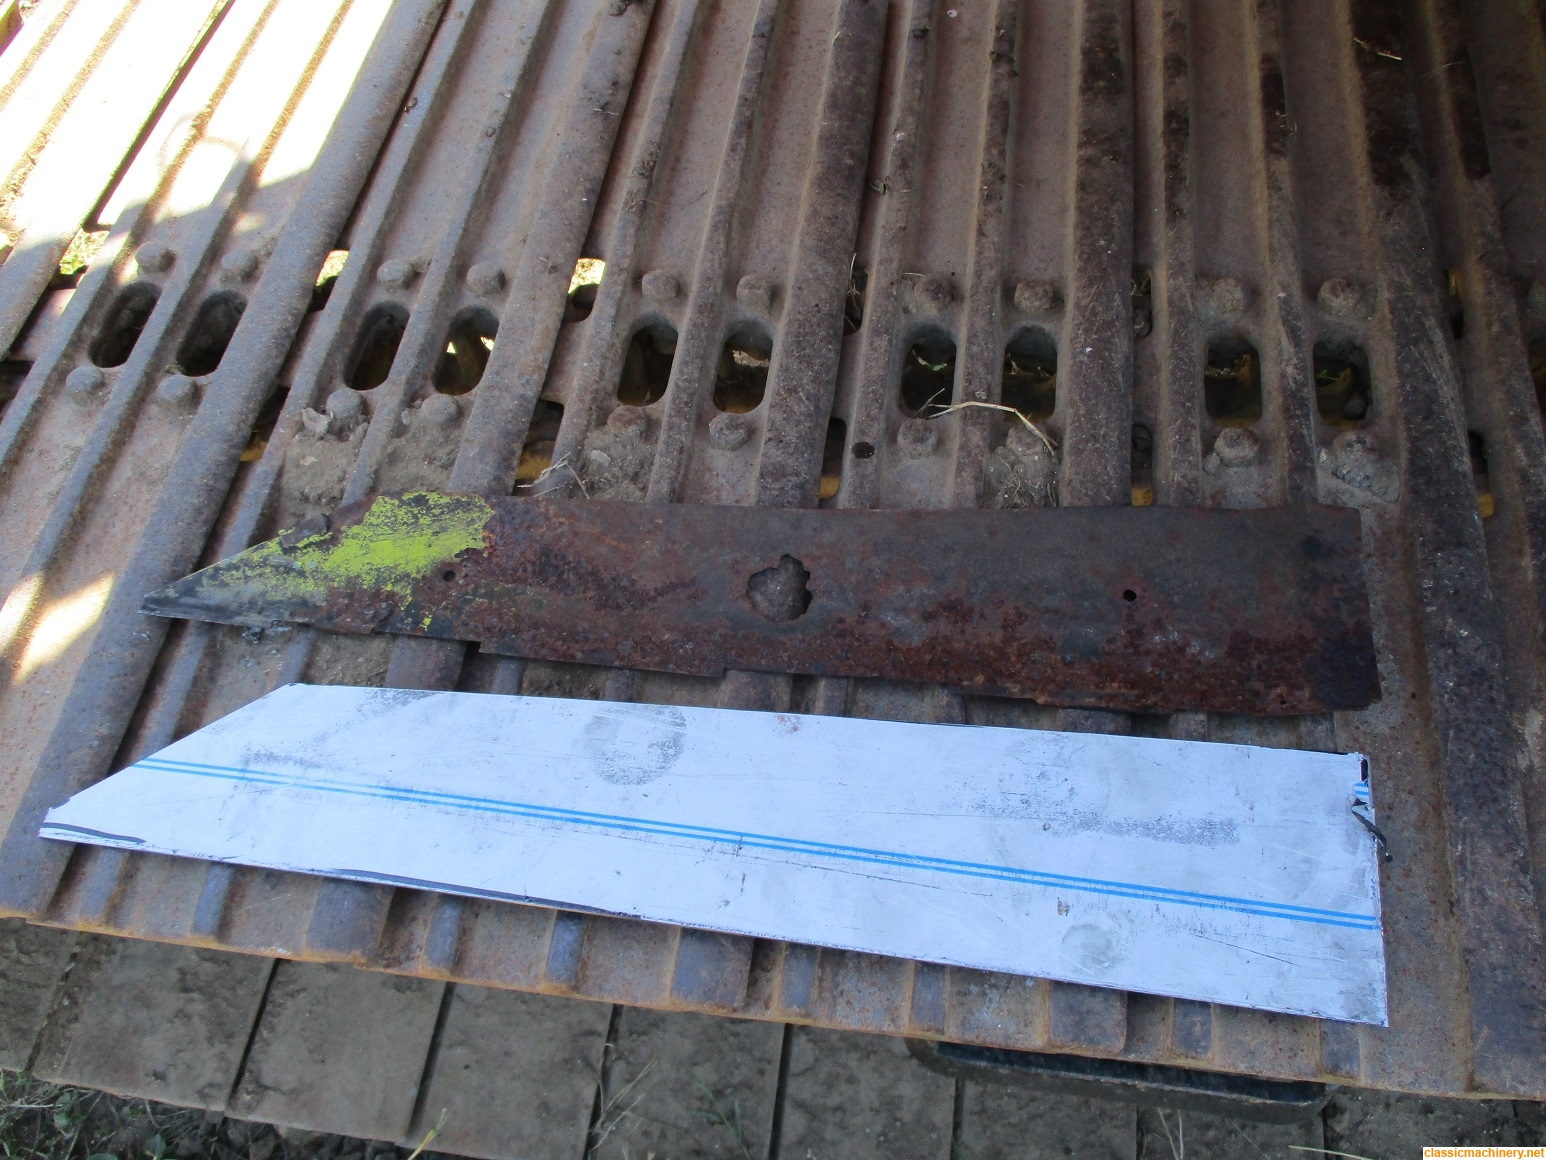
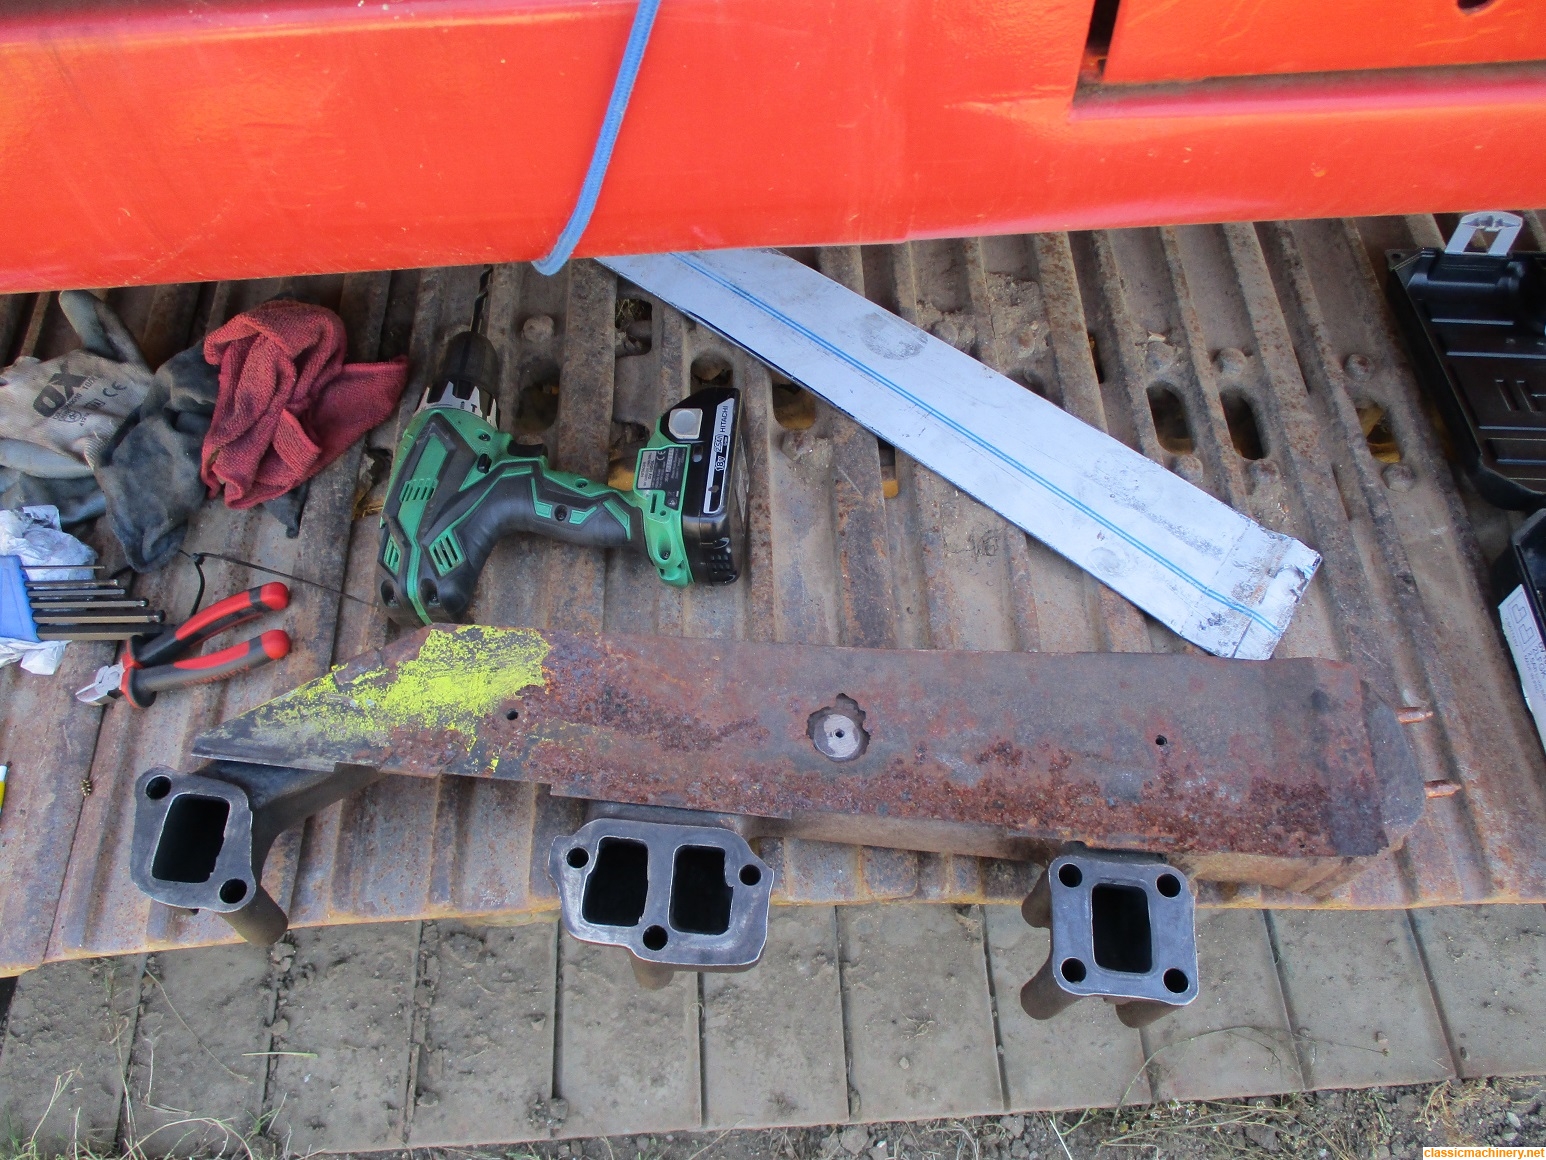
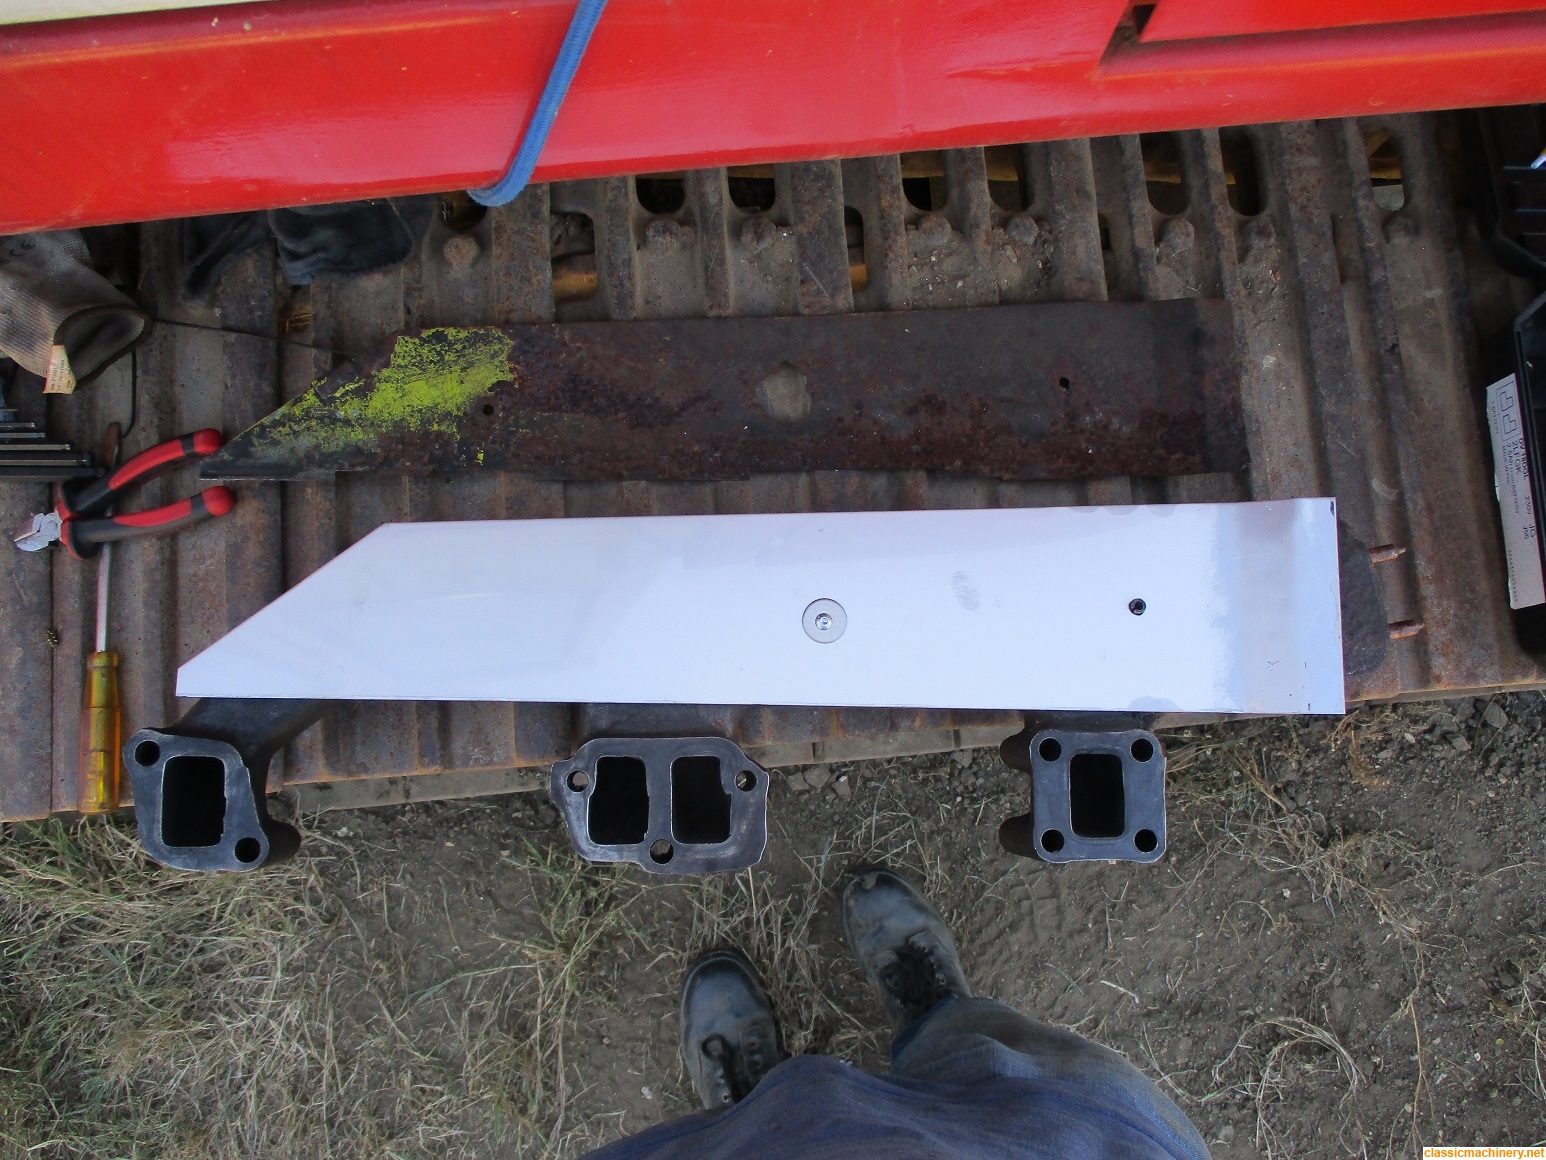
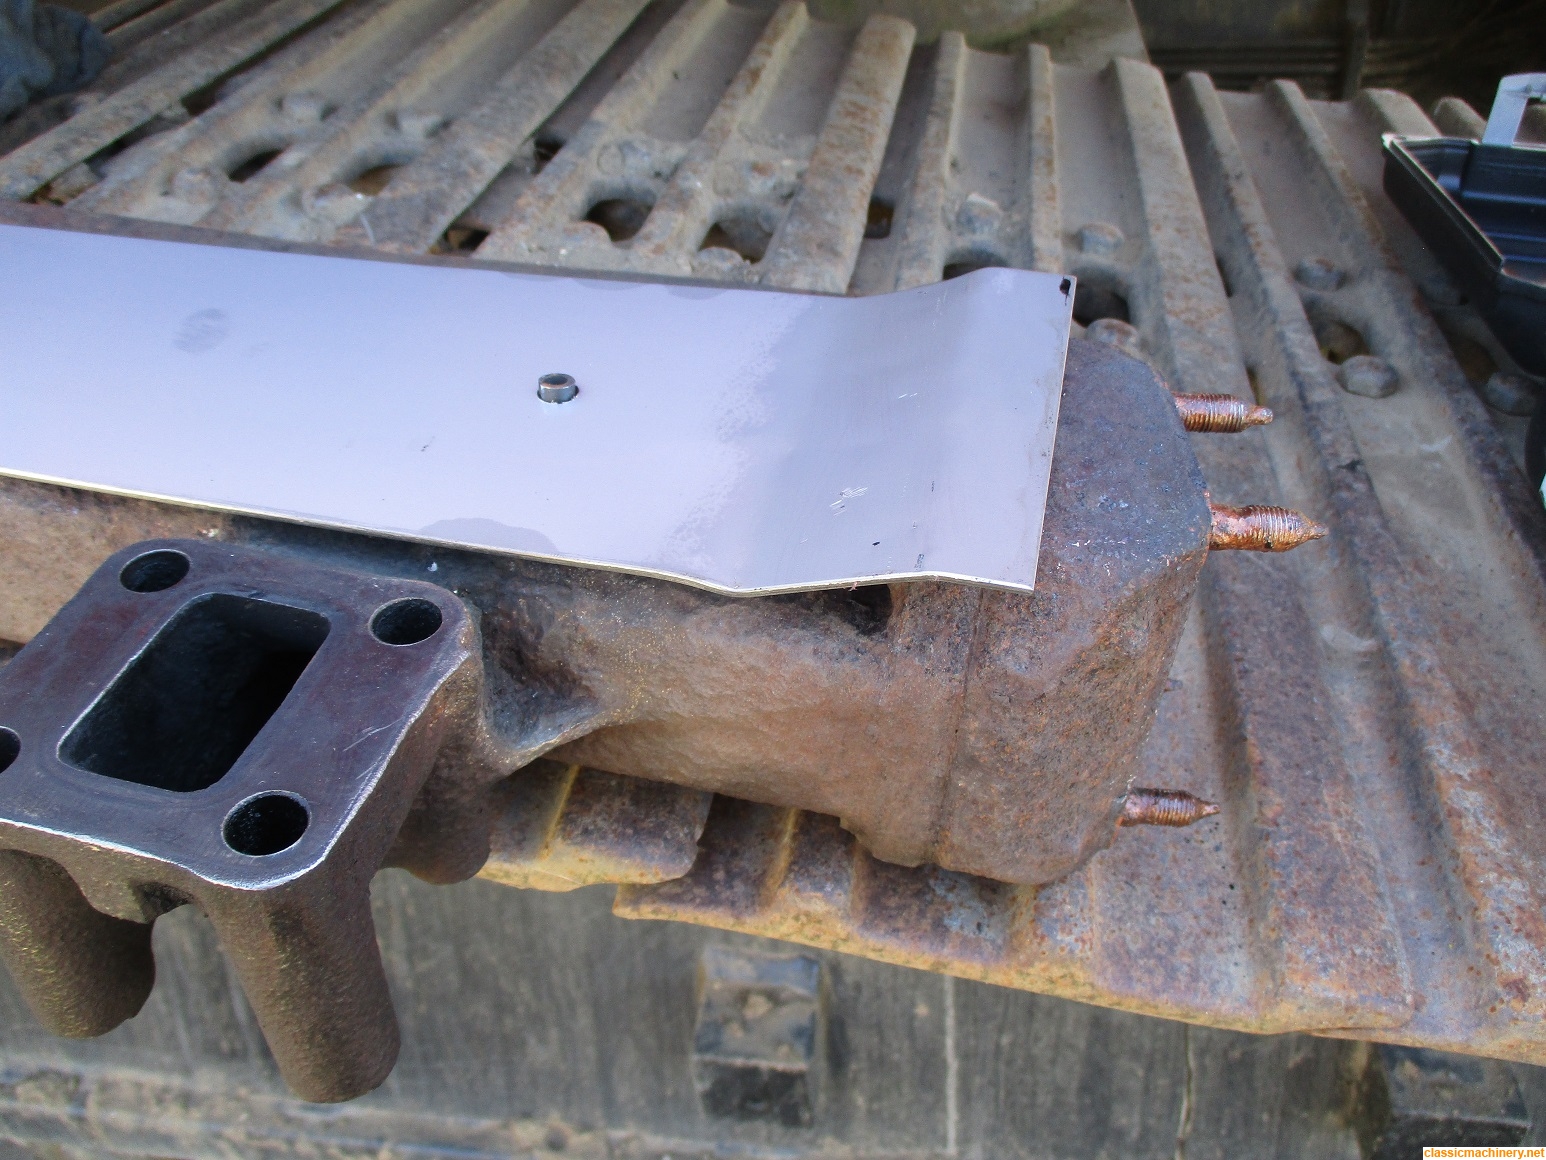

I had already decided the best way forward with the heat shield was to fabricate one out of stainless steel, saves much aggro, yesterday I popped into a local company who are very reasonable and they cut me off a piece of stainless plate to shape. Today all I had to do was bend it, drill it and fit it, all easier said than done, the main issue was the 1/4" bolt that held it in position had snapped off in the manifold which is too tough to tap, so I carefully drilled the 1/4" bolt dead centrally then tapped it M5 a good result
Before the manifold is refitted there is one more job and that is to remove the rocker cover, there are some issues with that
once that's done hopefully start some reassembly. With the heat shield done my attention turned to the throttle quadrant which I removed all the rust from, freed up and painted, so all in all not a bad day despite the heat. Jeremy
-
Jeremy Rowland
Topic author - Moderator
- Posts: 8705
- Joined: Sun Aug 05, 2007 8:36 pm
- Real name: Jeremy Rowland
- Has thanked: 1888 times
- Been thanked: 1705 times
Re: Hymac 690
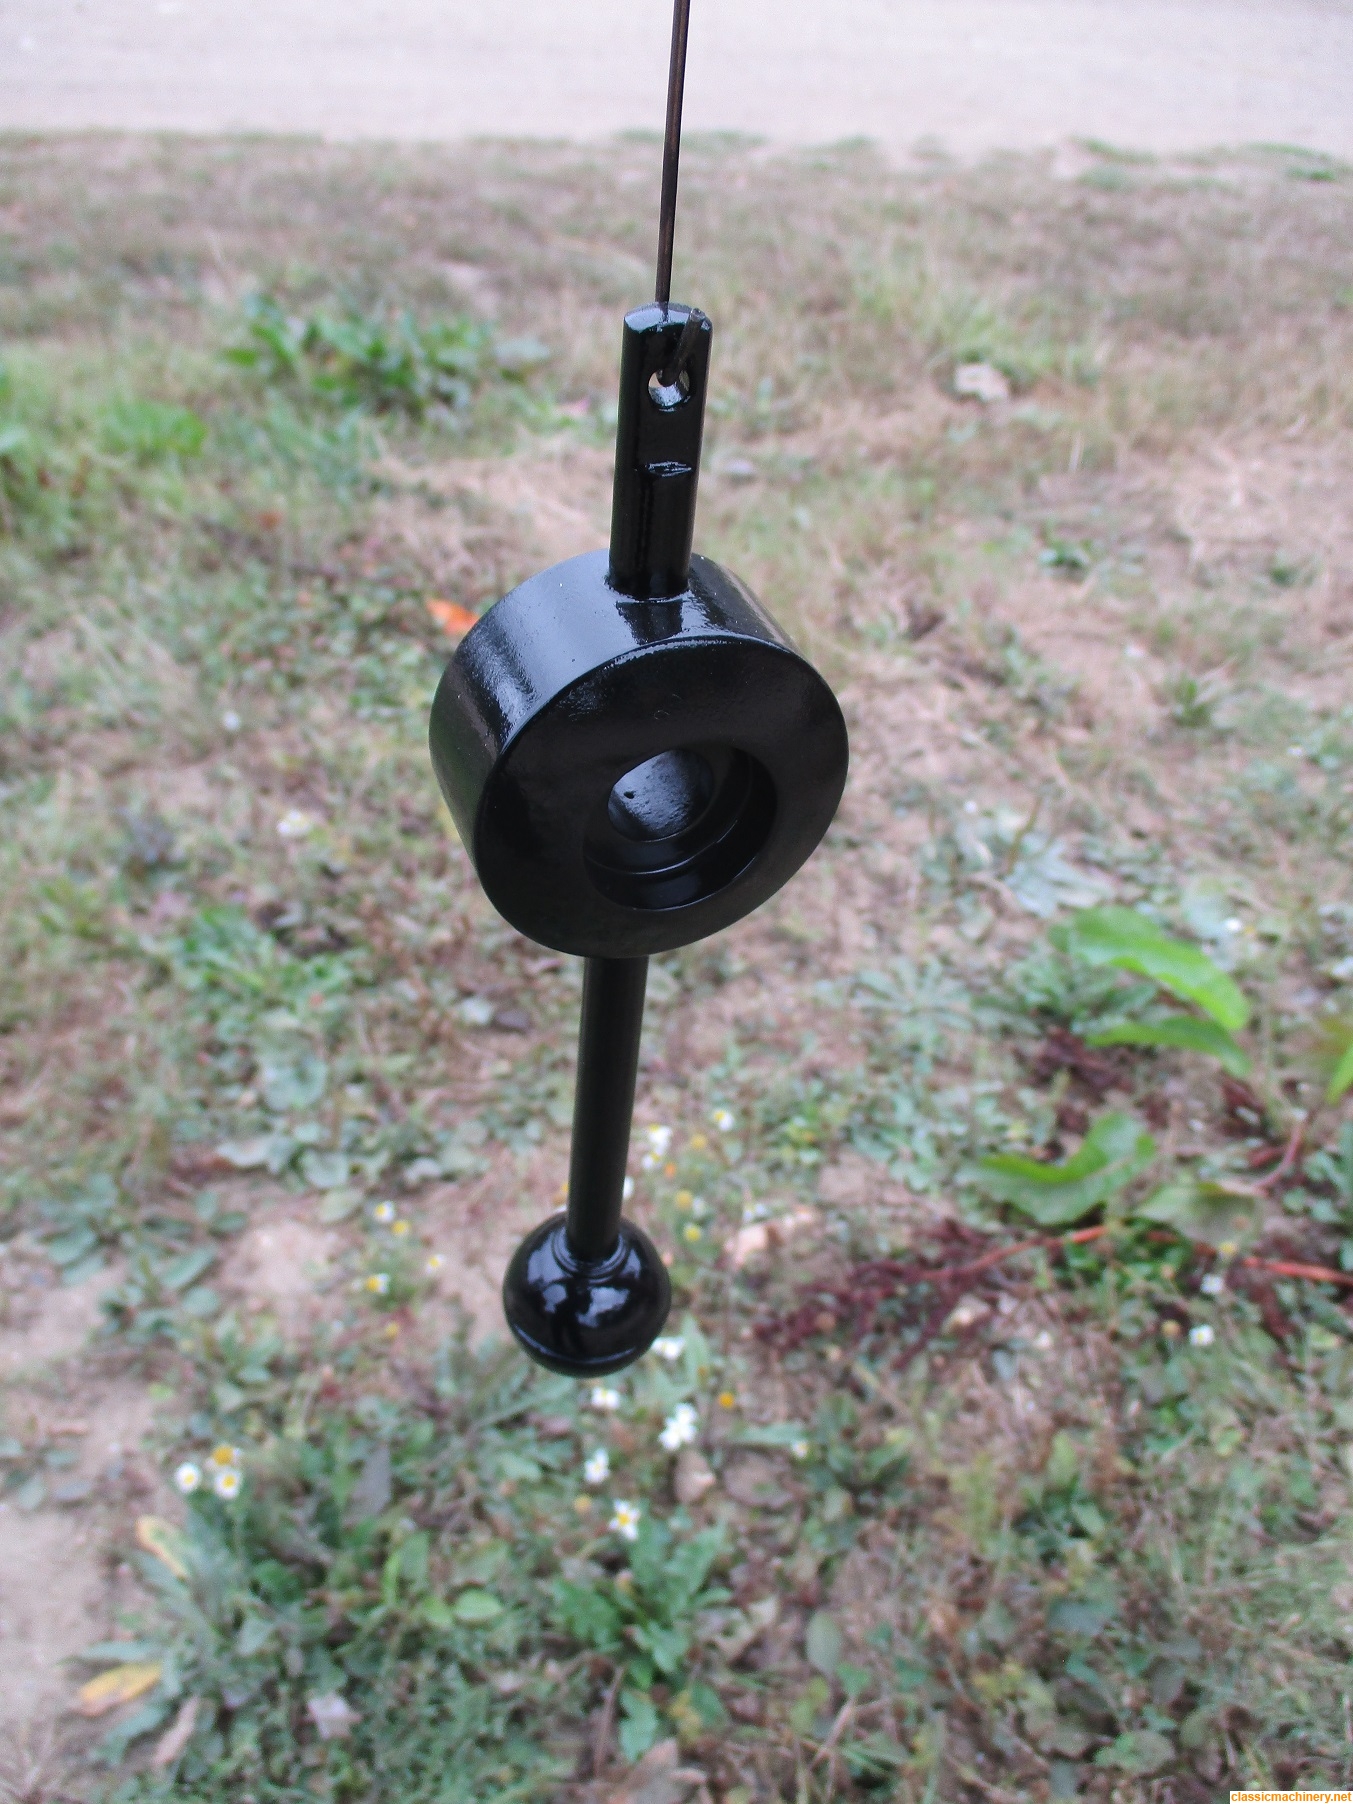
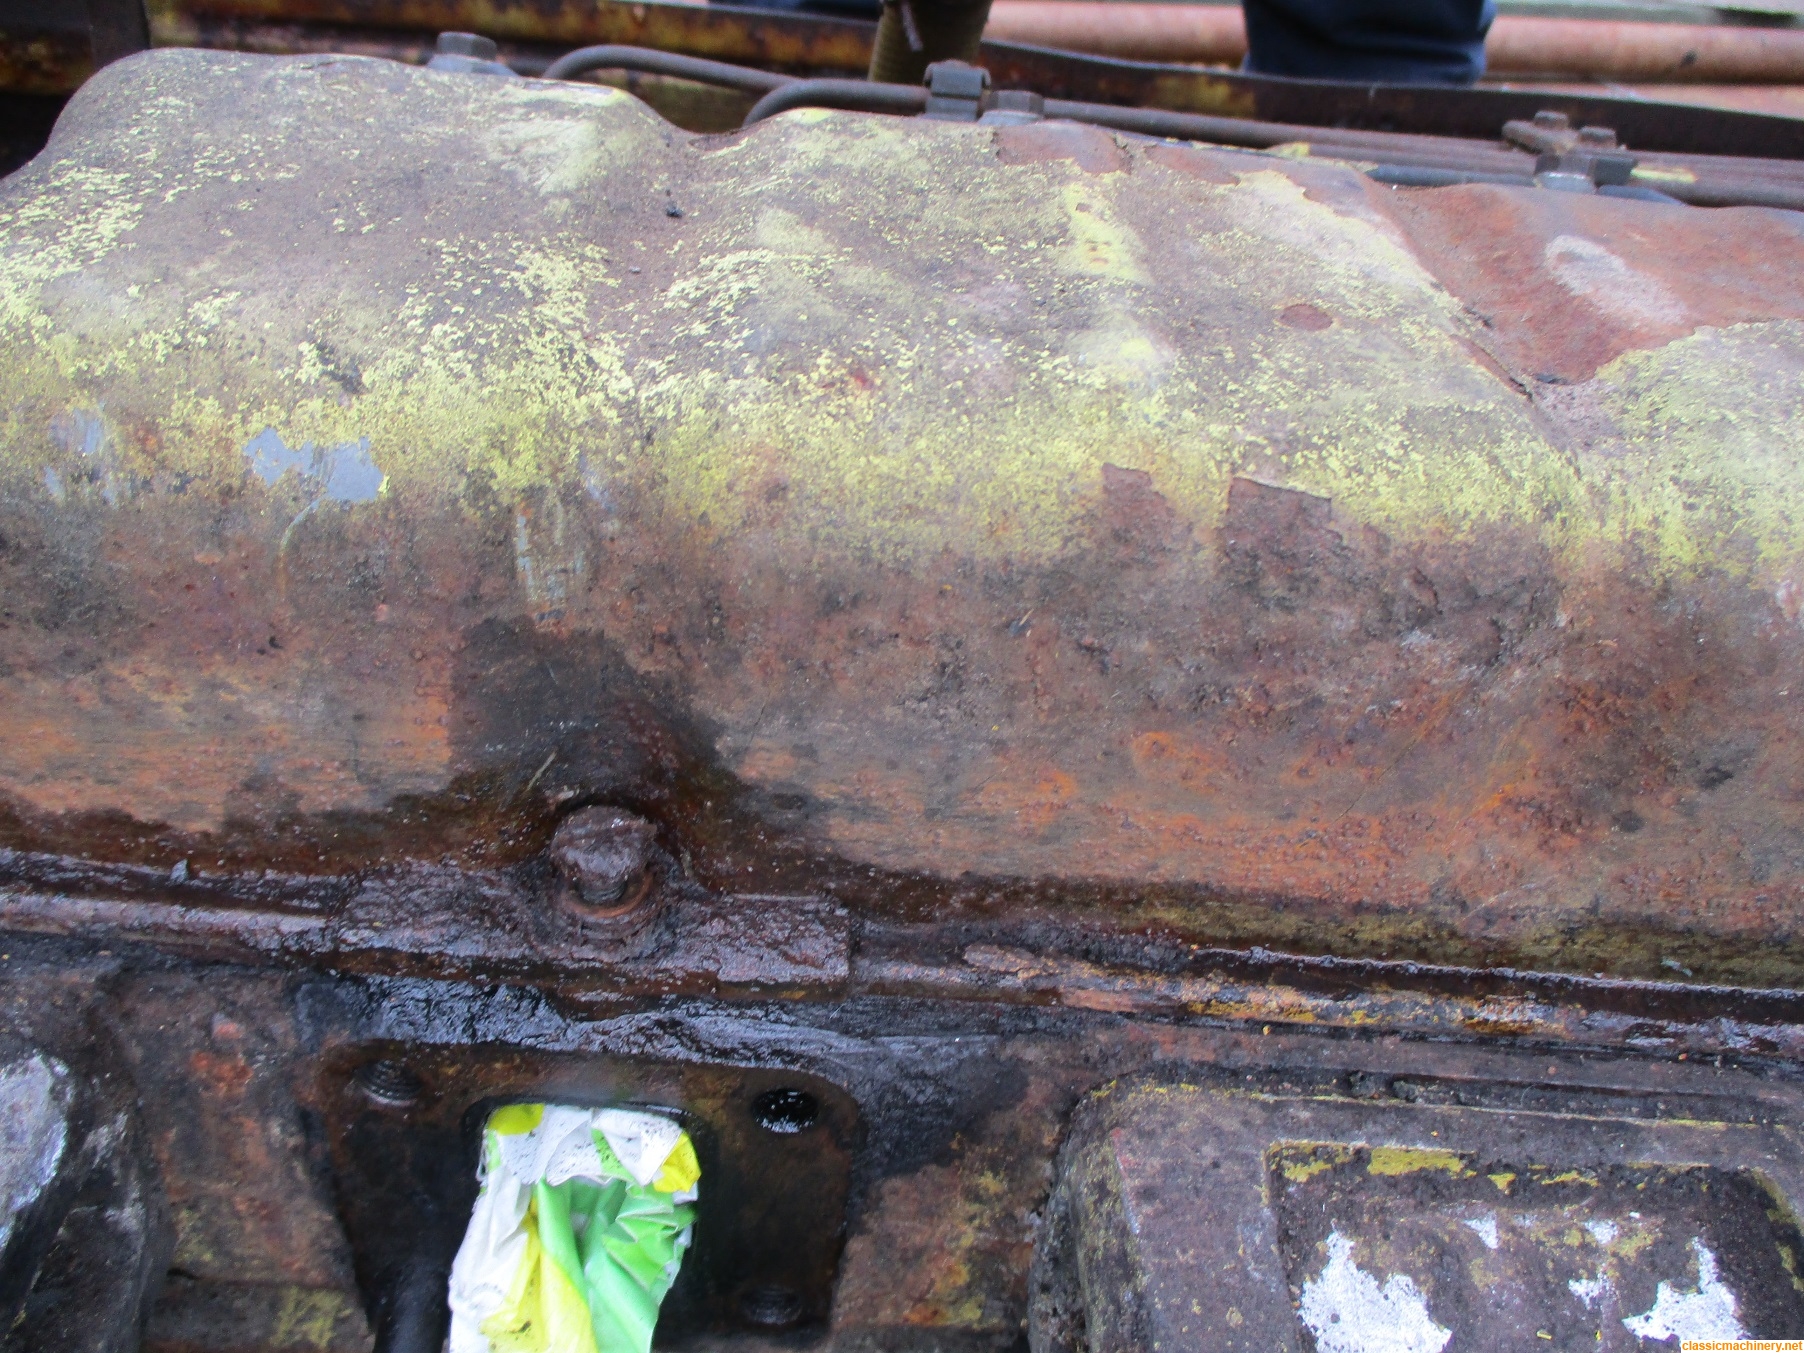
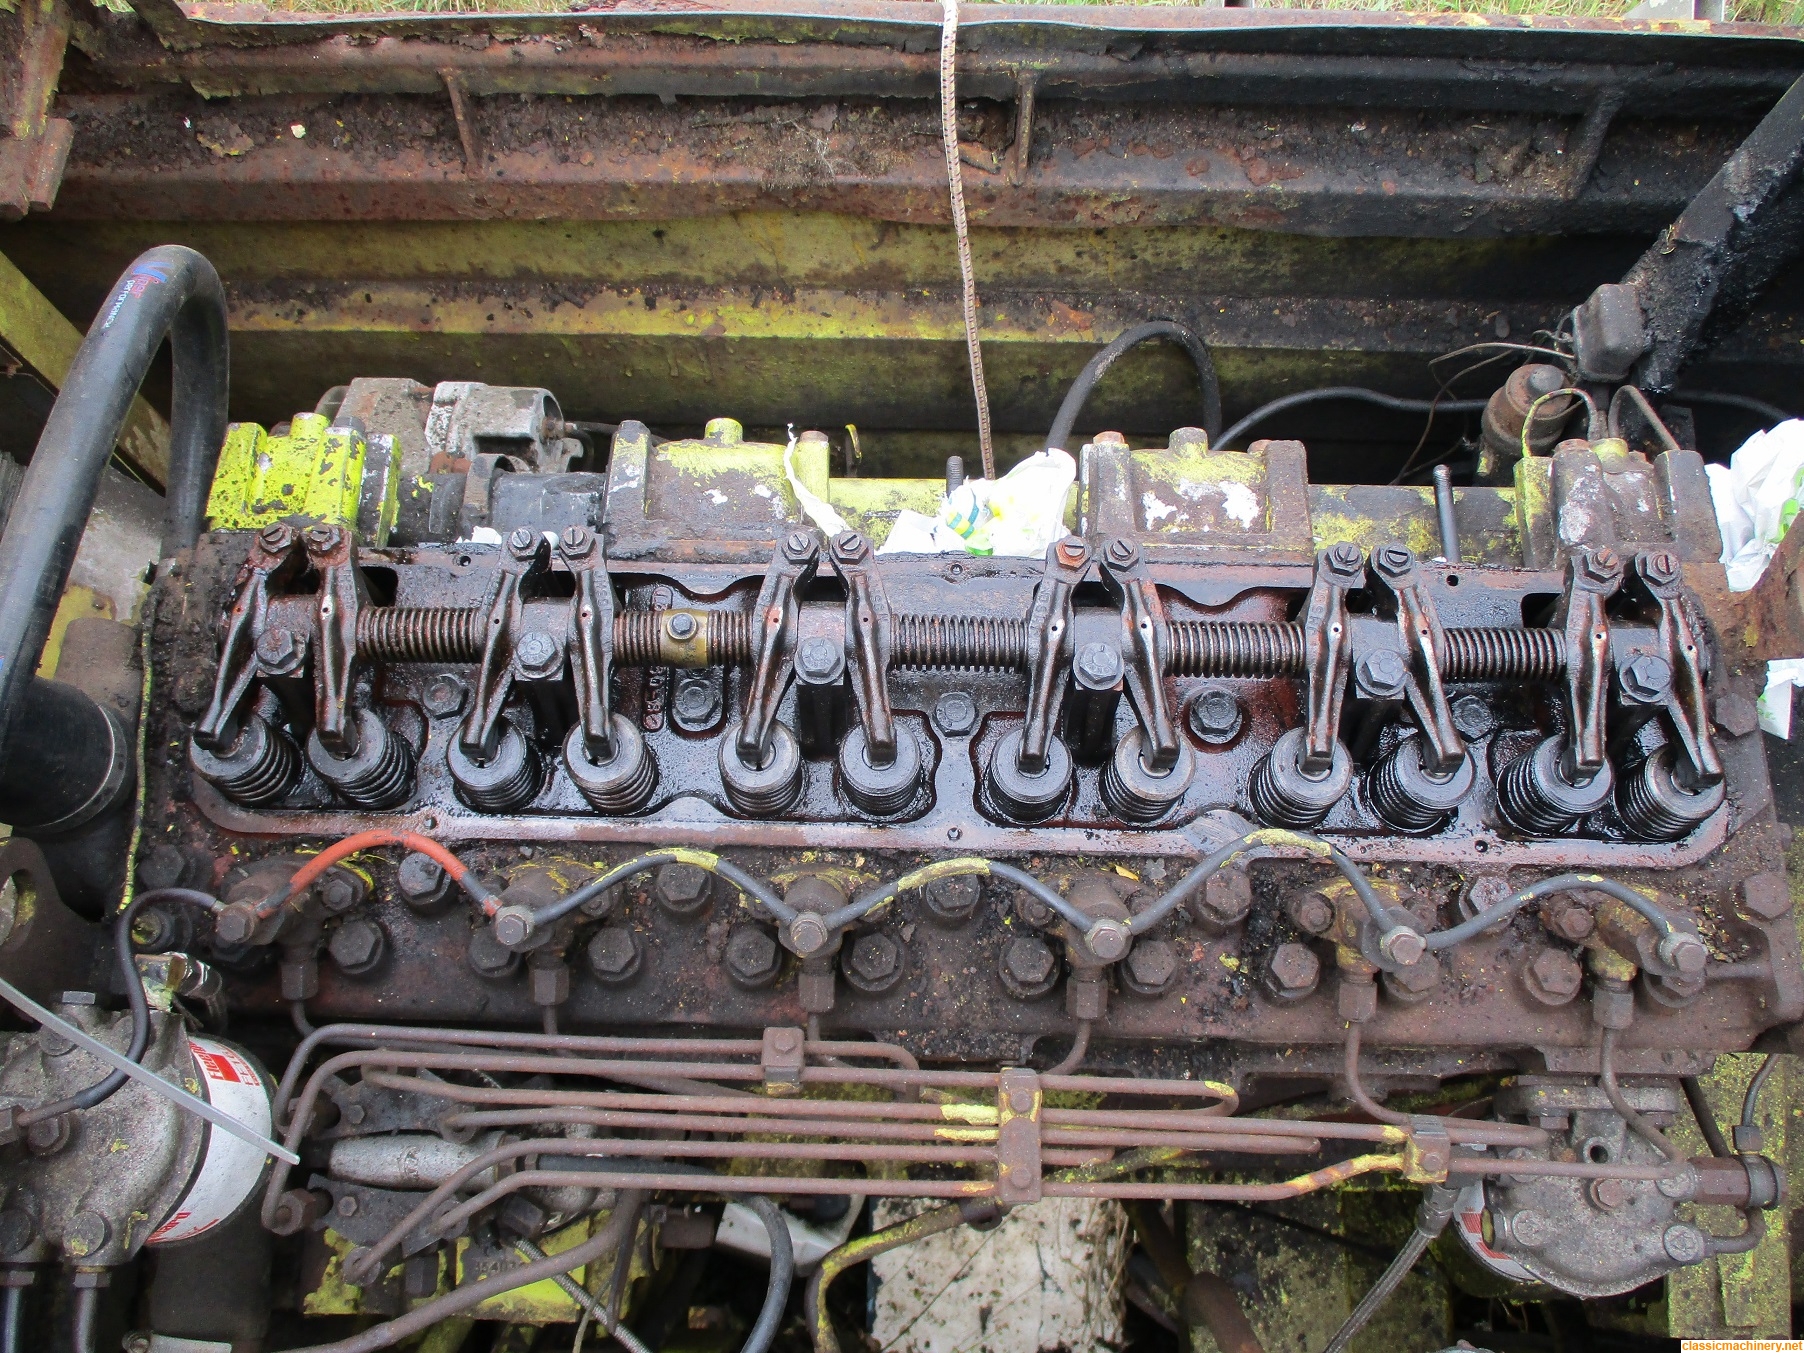
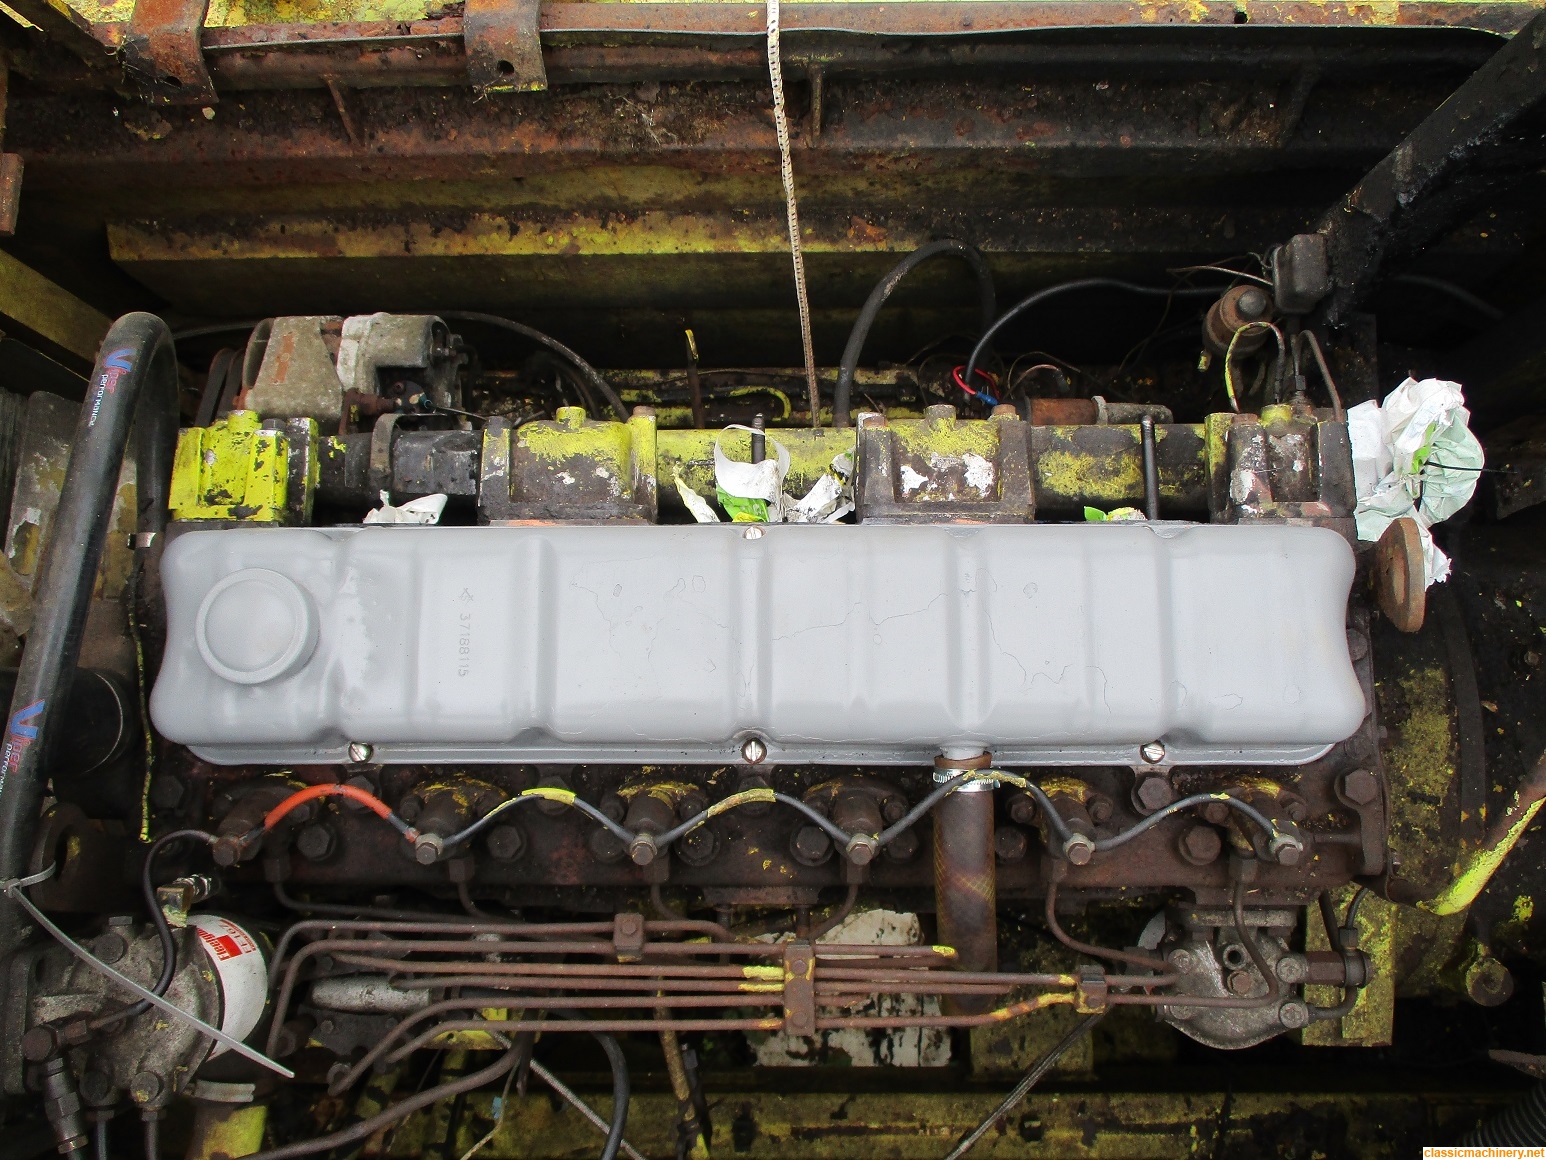
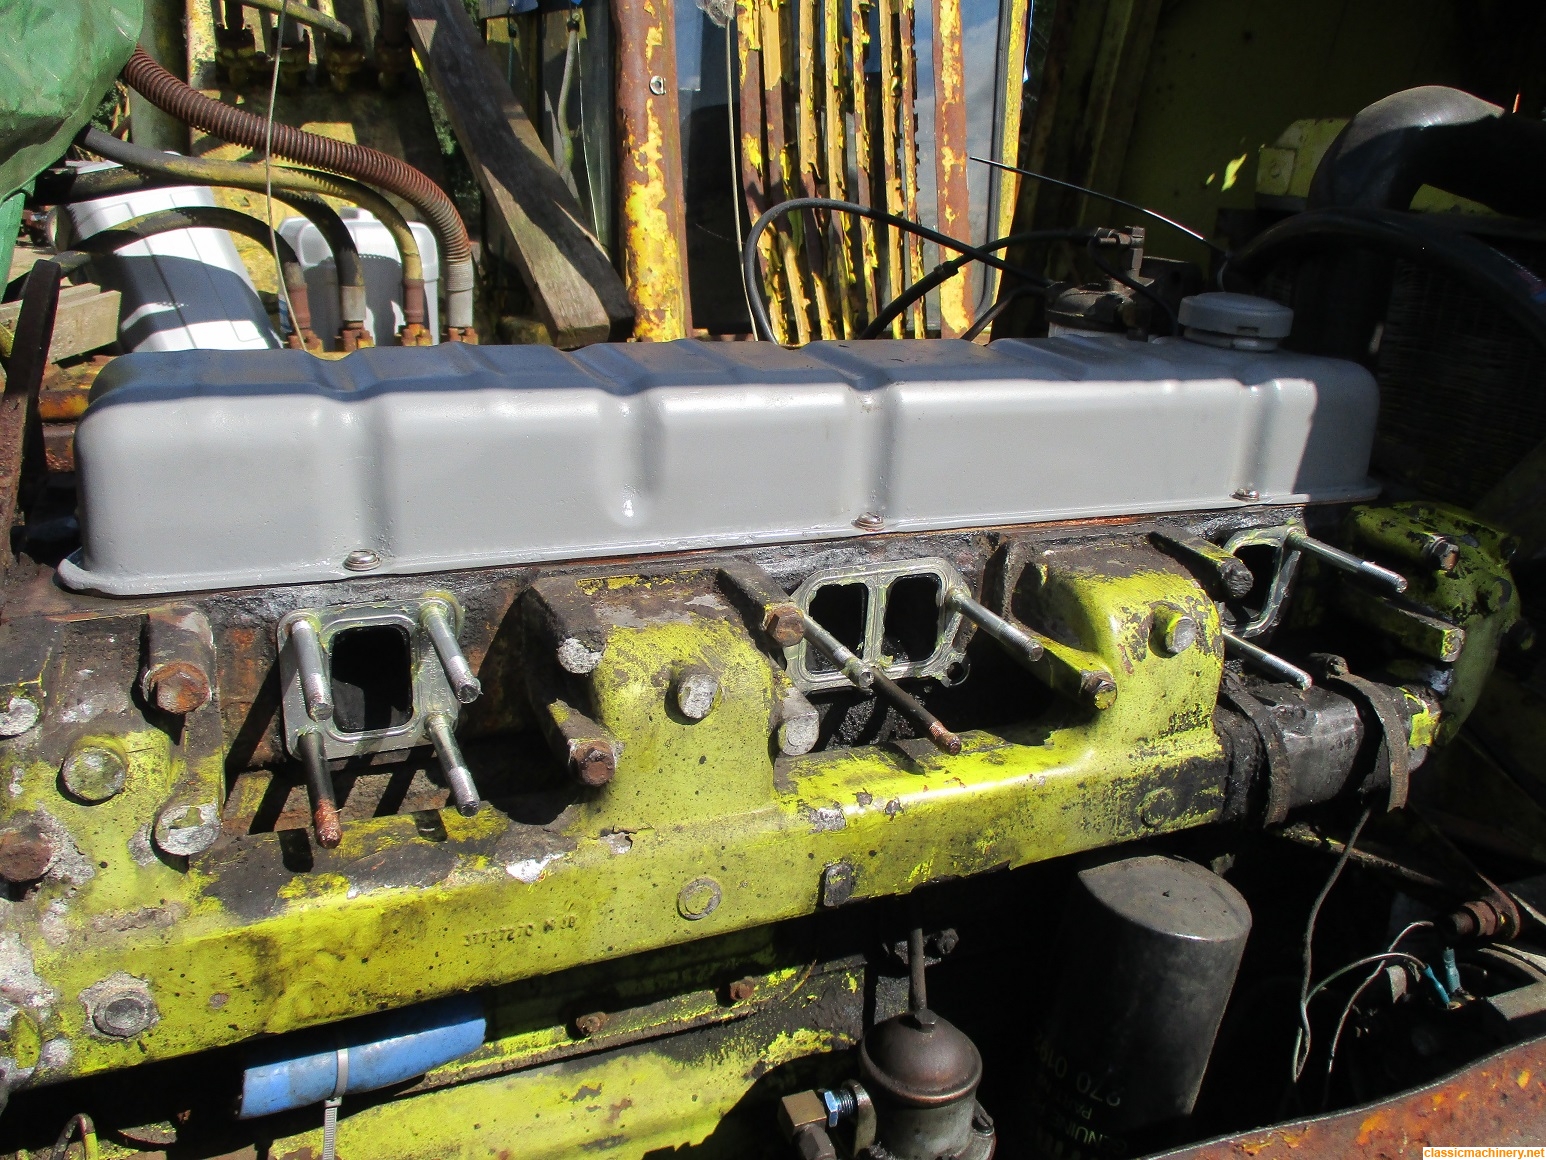
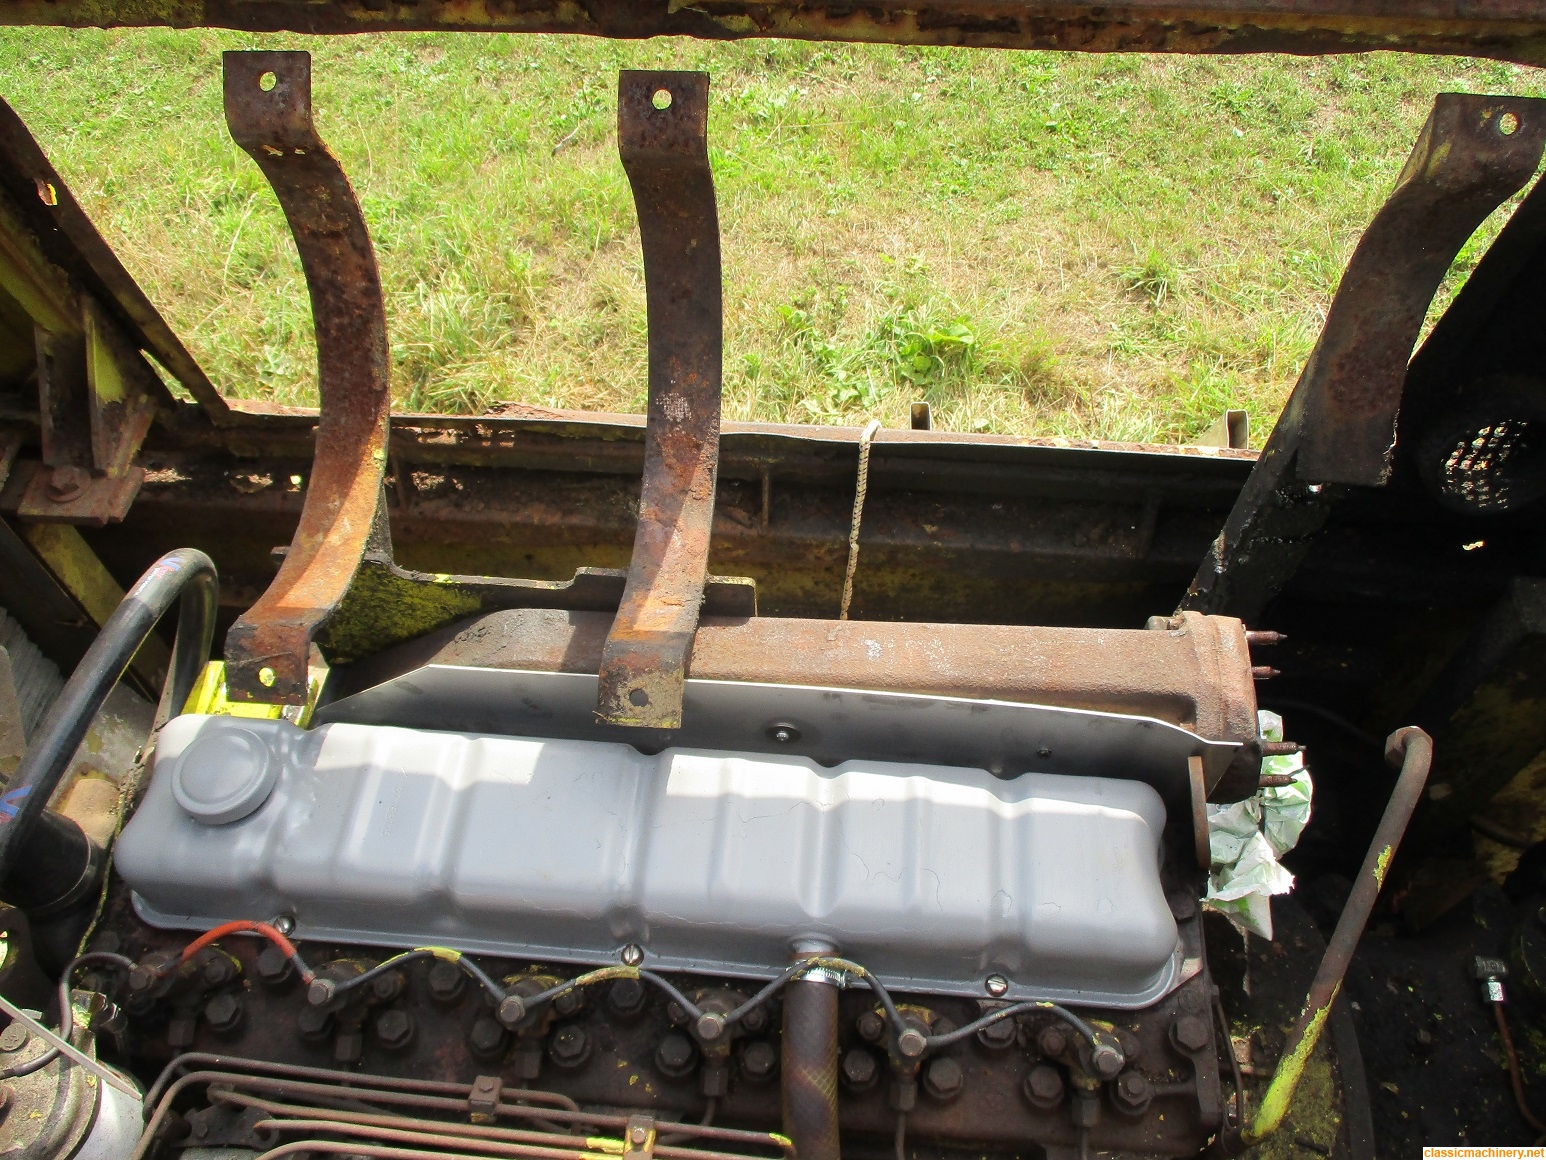
Today was also quite a successful day first job finish painting the hand throttle components, then time to whip the rocker cover off the engine, at one point I did think that rain would stop play but no. The rocker cover needed to come off for a number of reasons; first off I wanted to check that the crankcase breather was not clogged up with muck, it turned out to be fine, secondly I was concerned at the level of corrosion on the exhaust manifold side, with no top cover on the engine canopy the rain drops straight on top of the engine, thirdly the screws which hold the cover in place are very corroded and it concerned me that should I have to remove the cover in the future at anytime then I did not want to have try and drill out any broken screw bits with the exhaust and turbo in the way, and finally the oil filler cap simply spins round.
I was pleased that the screws came out with no issue, checked the breather, that was fine, decided to rub down the cover to remove all rust then painted it, then some kind pigeon crapped on the inside of the rocker cover for me welding the loose oil filler cap holder. After I had finished making a hack of the welding then I managed to hammer and bend the cap holder back to its original shape, job done, cover refitted, so now the exhaust manifold can be refitted.
Jeremy
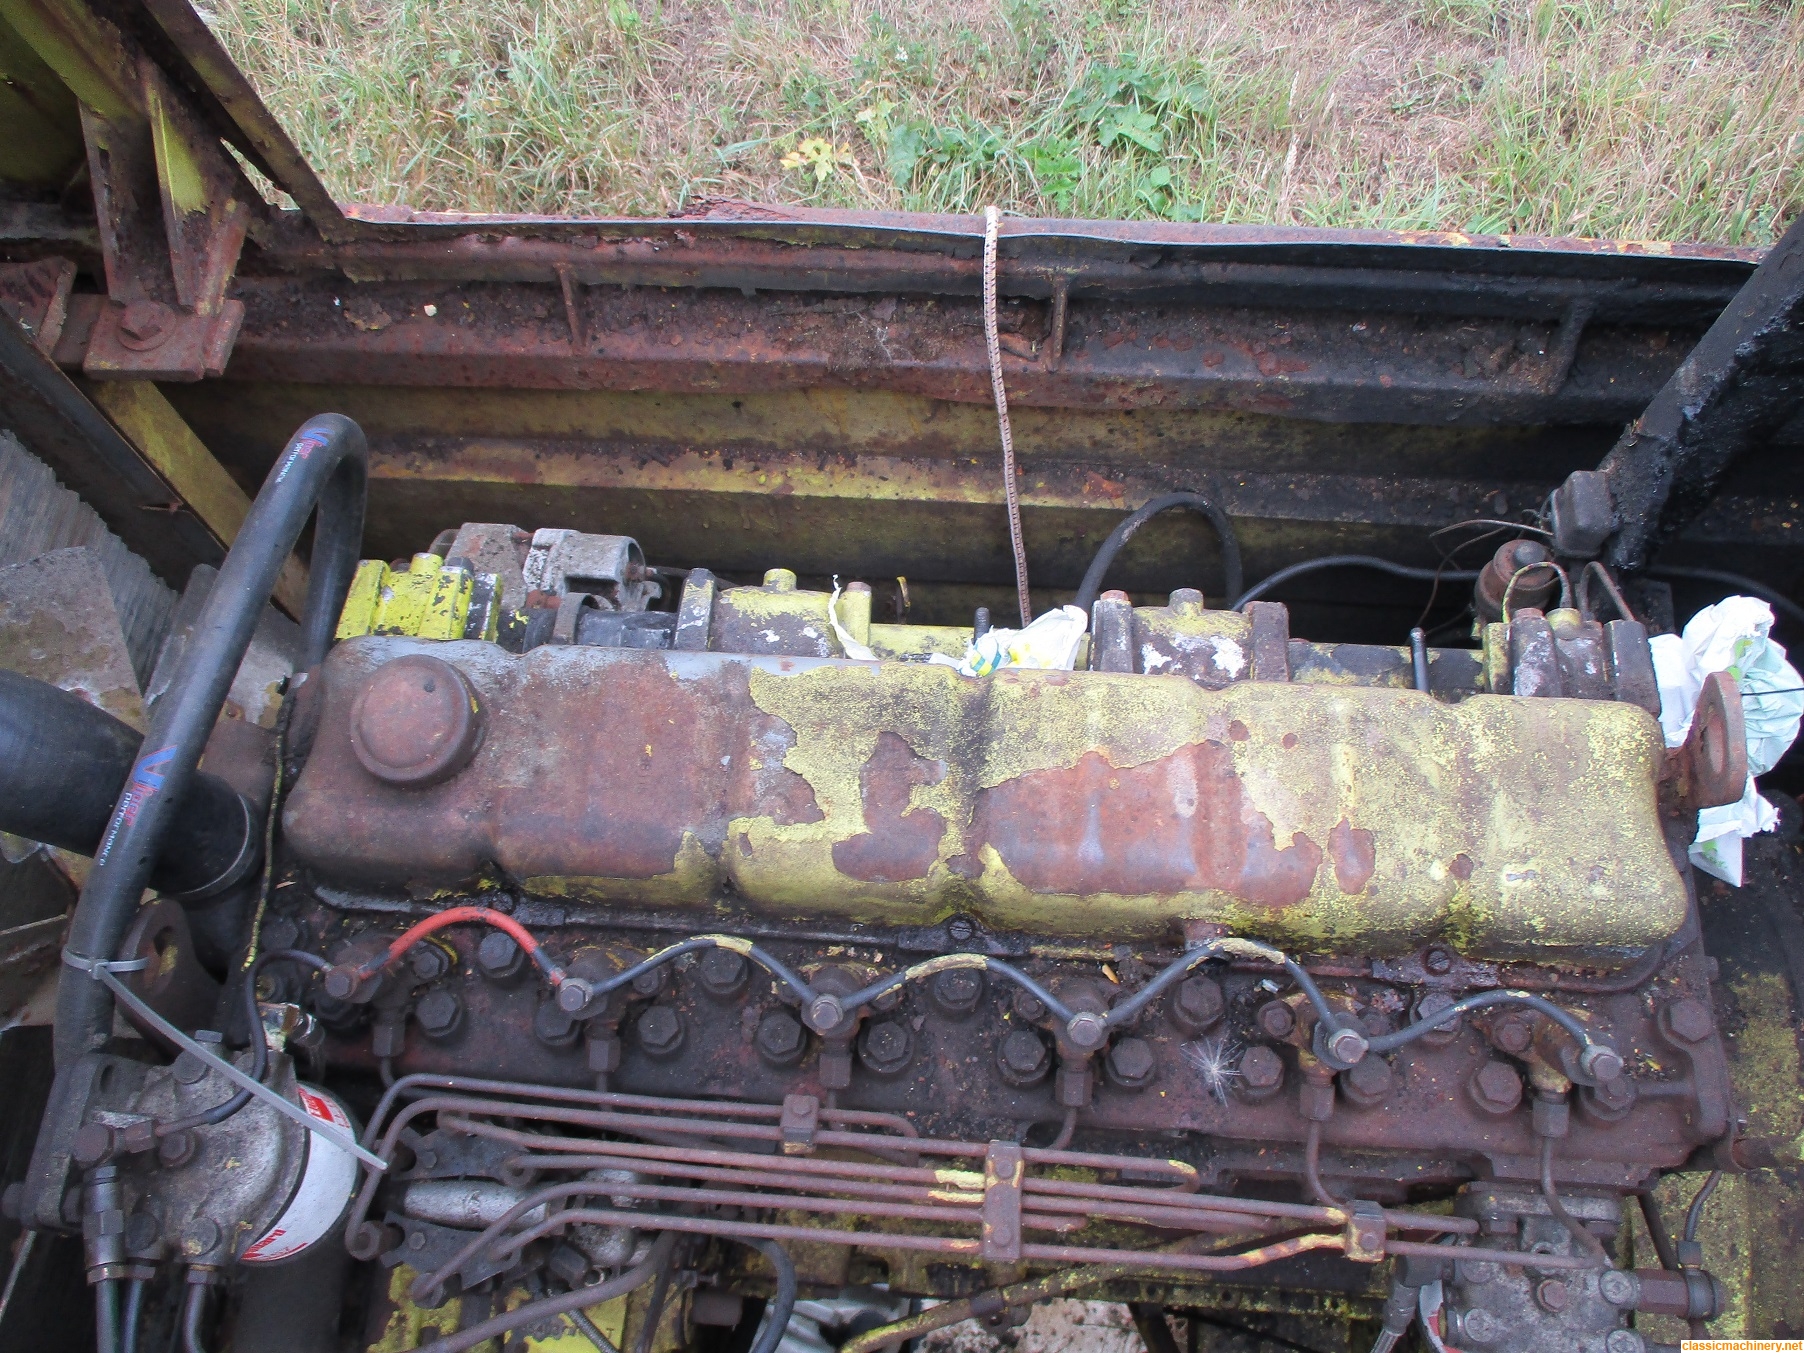
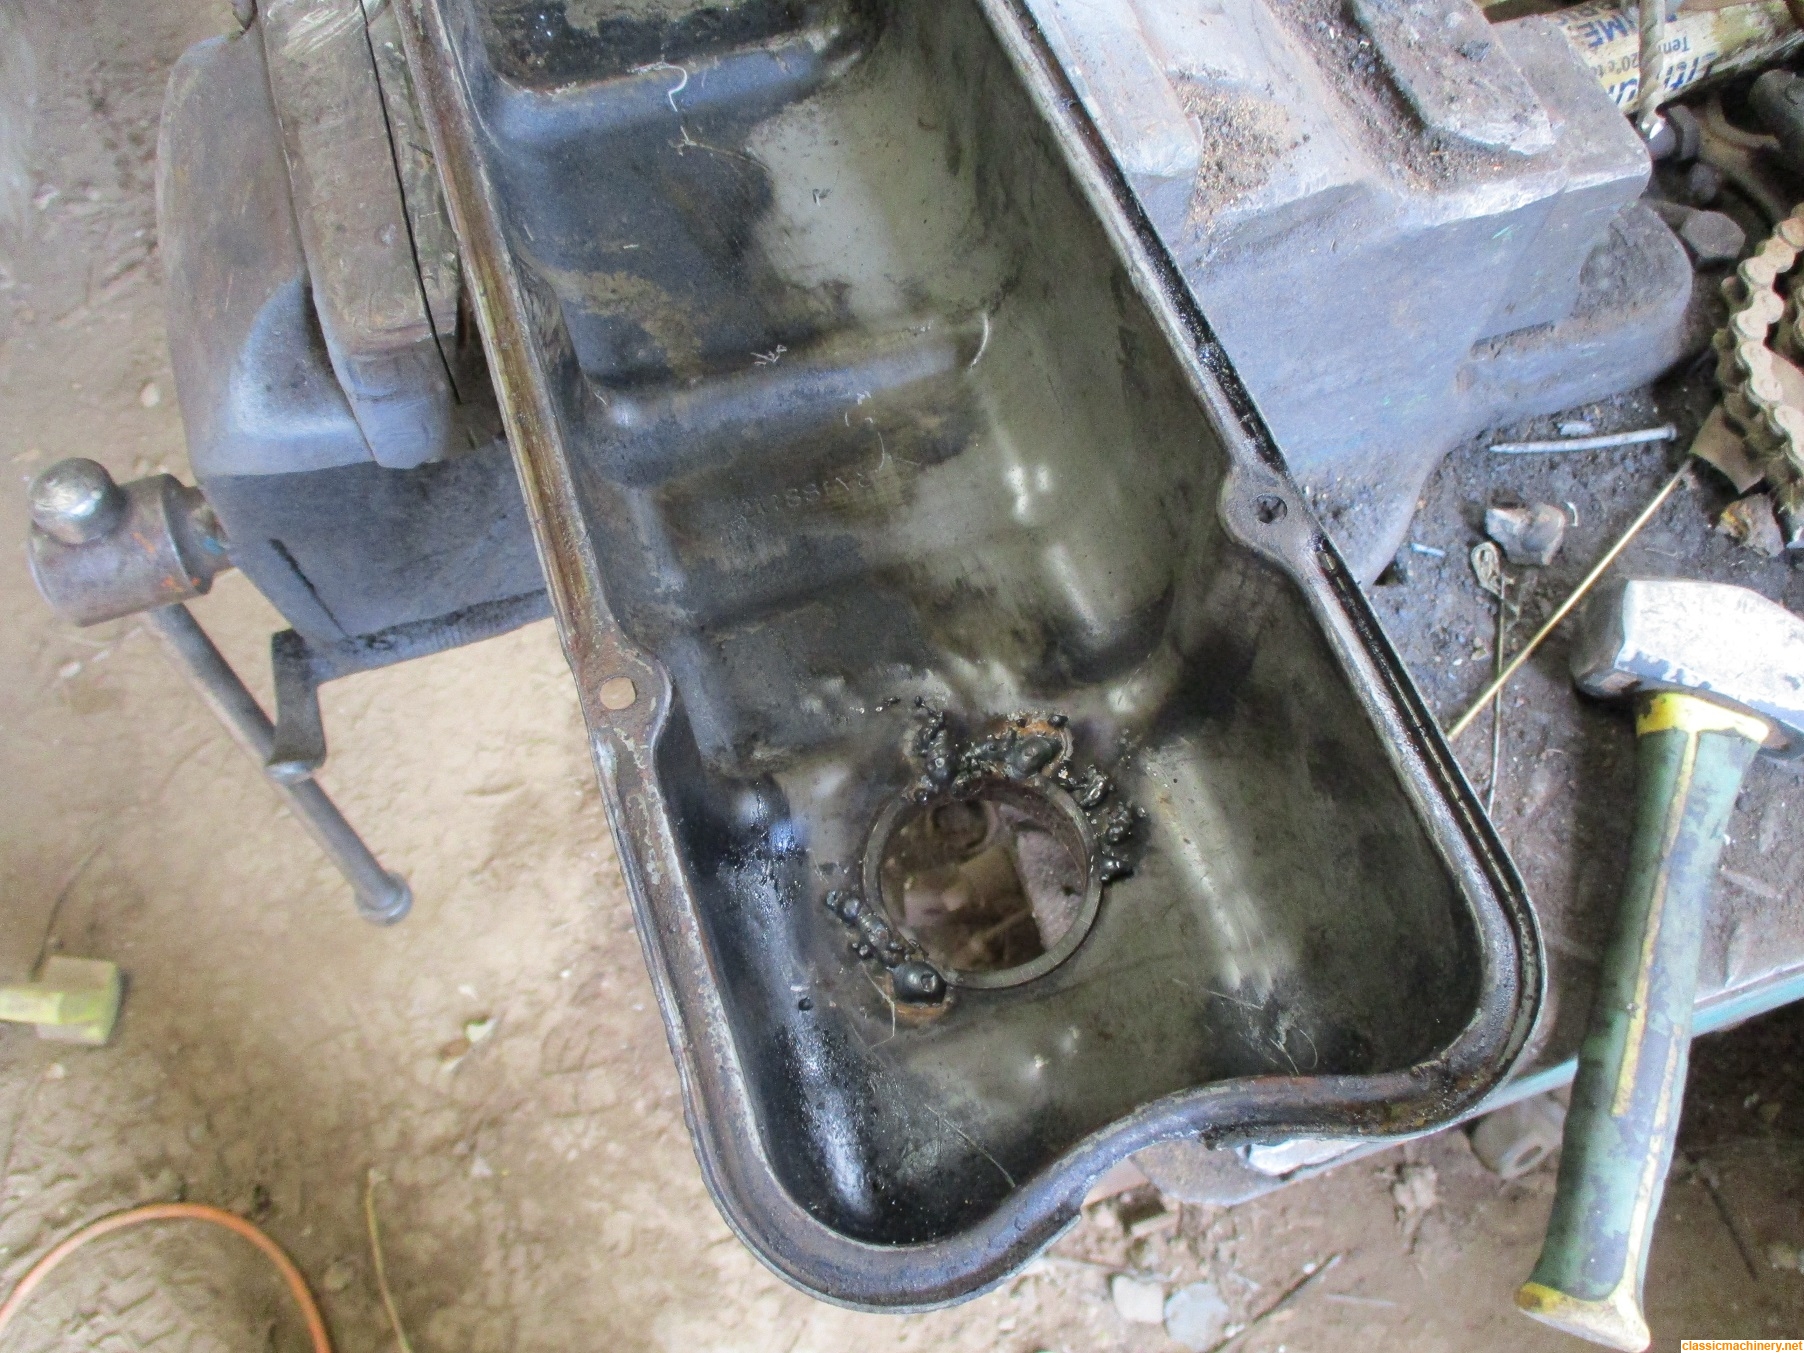
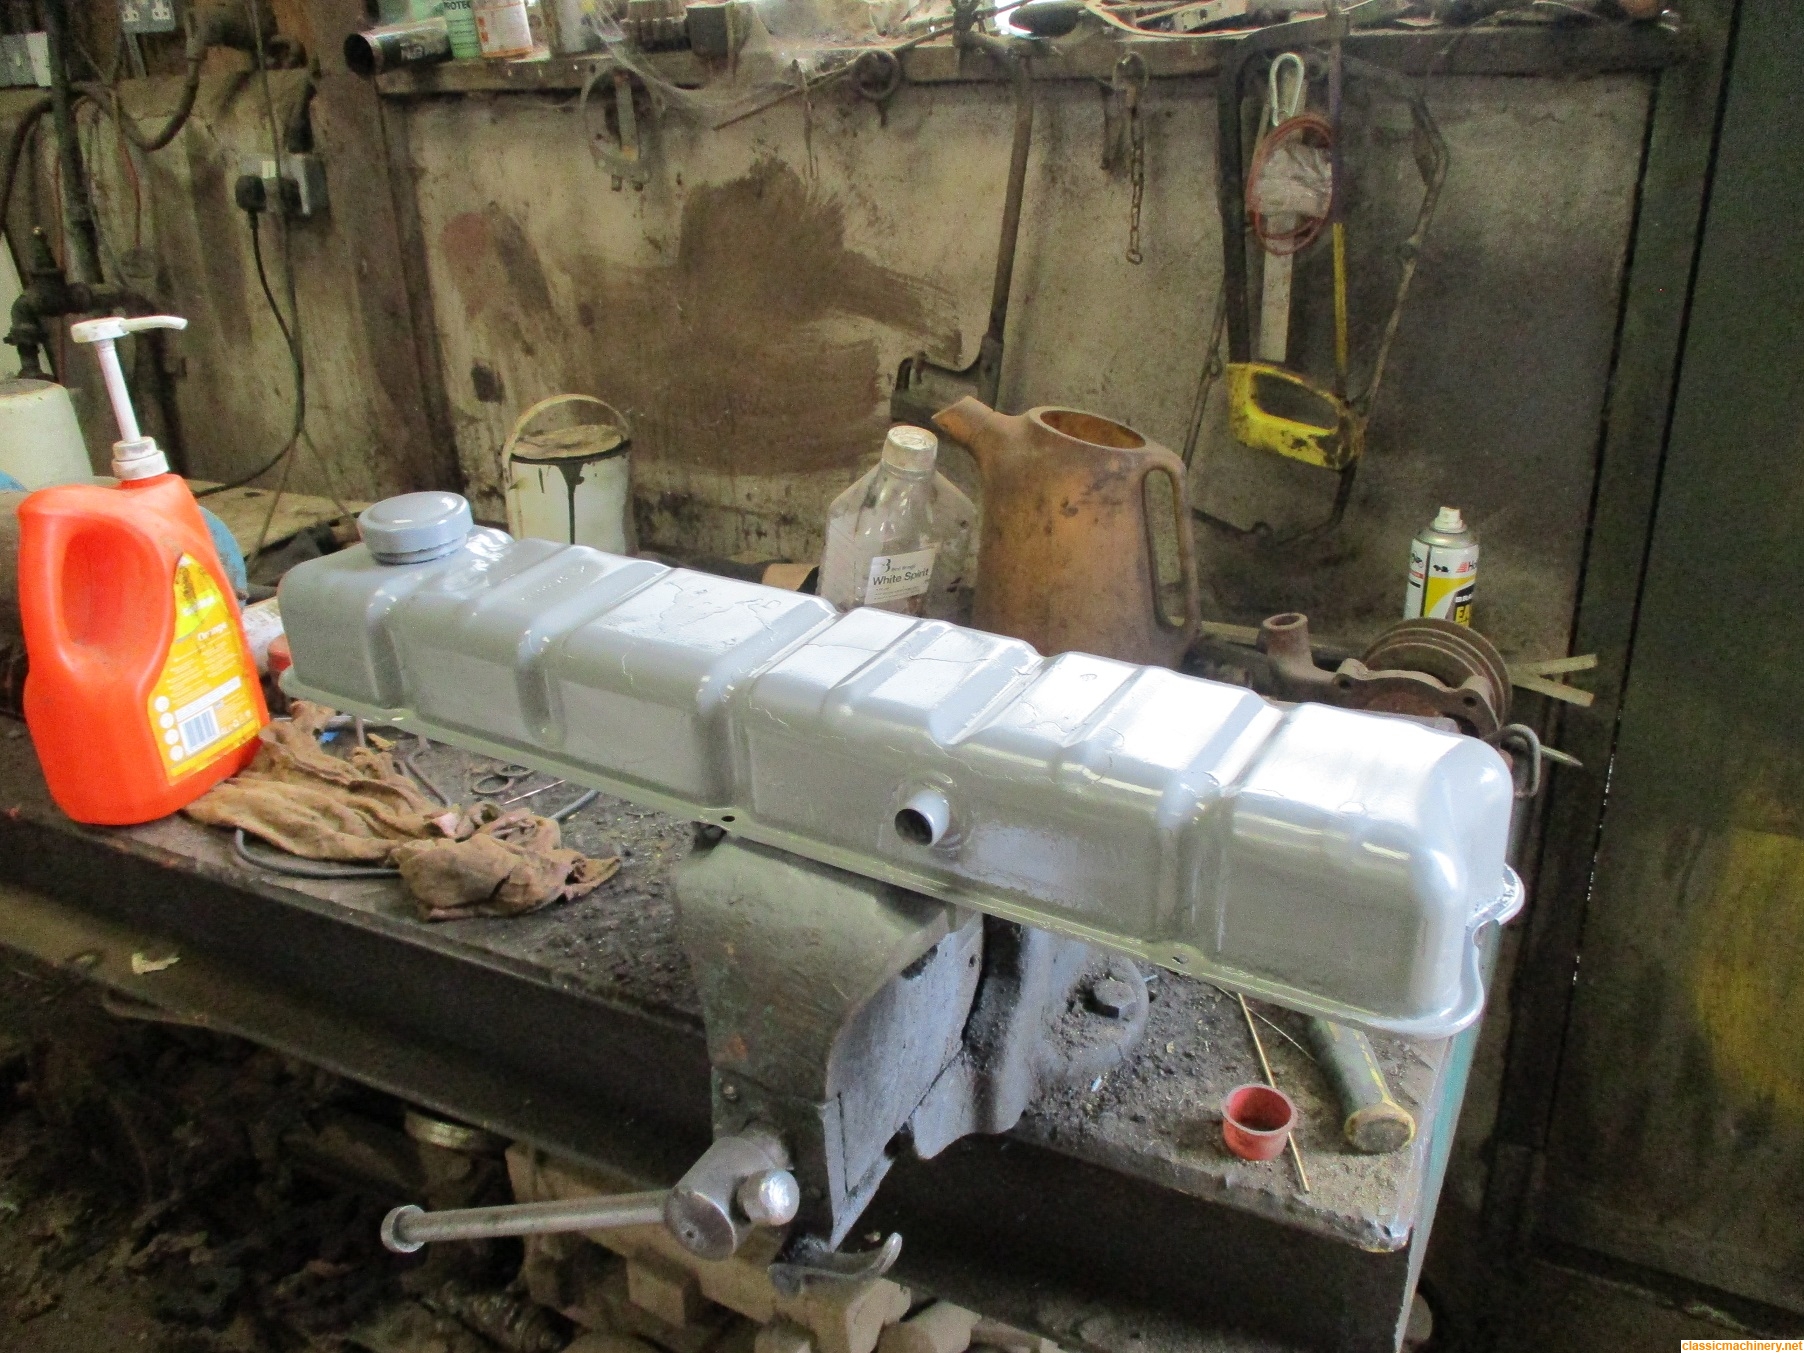
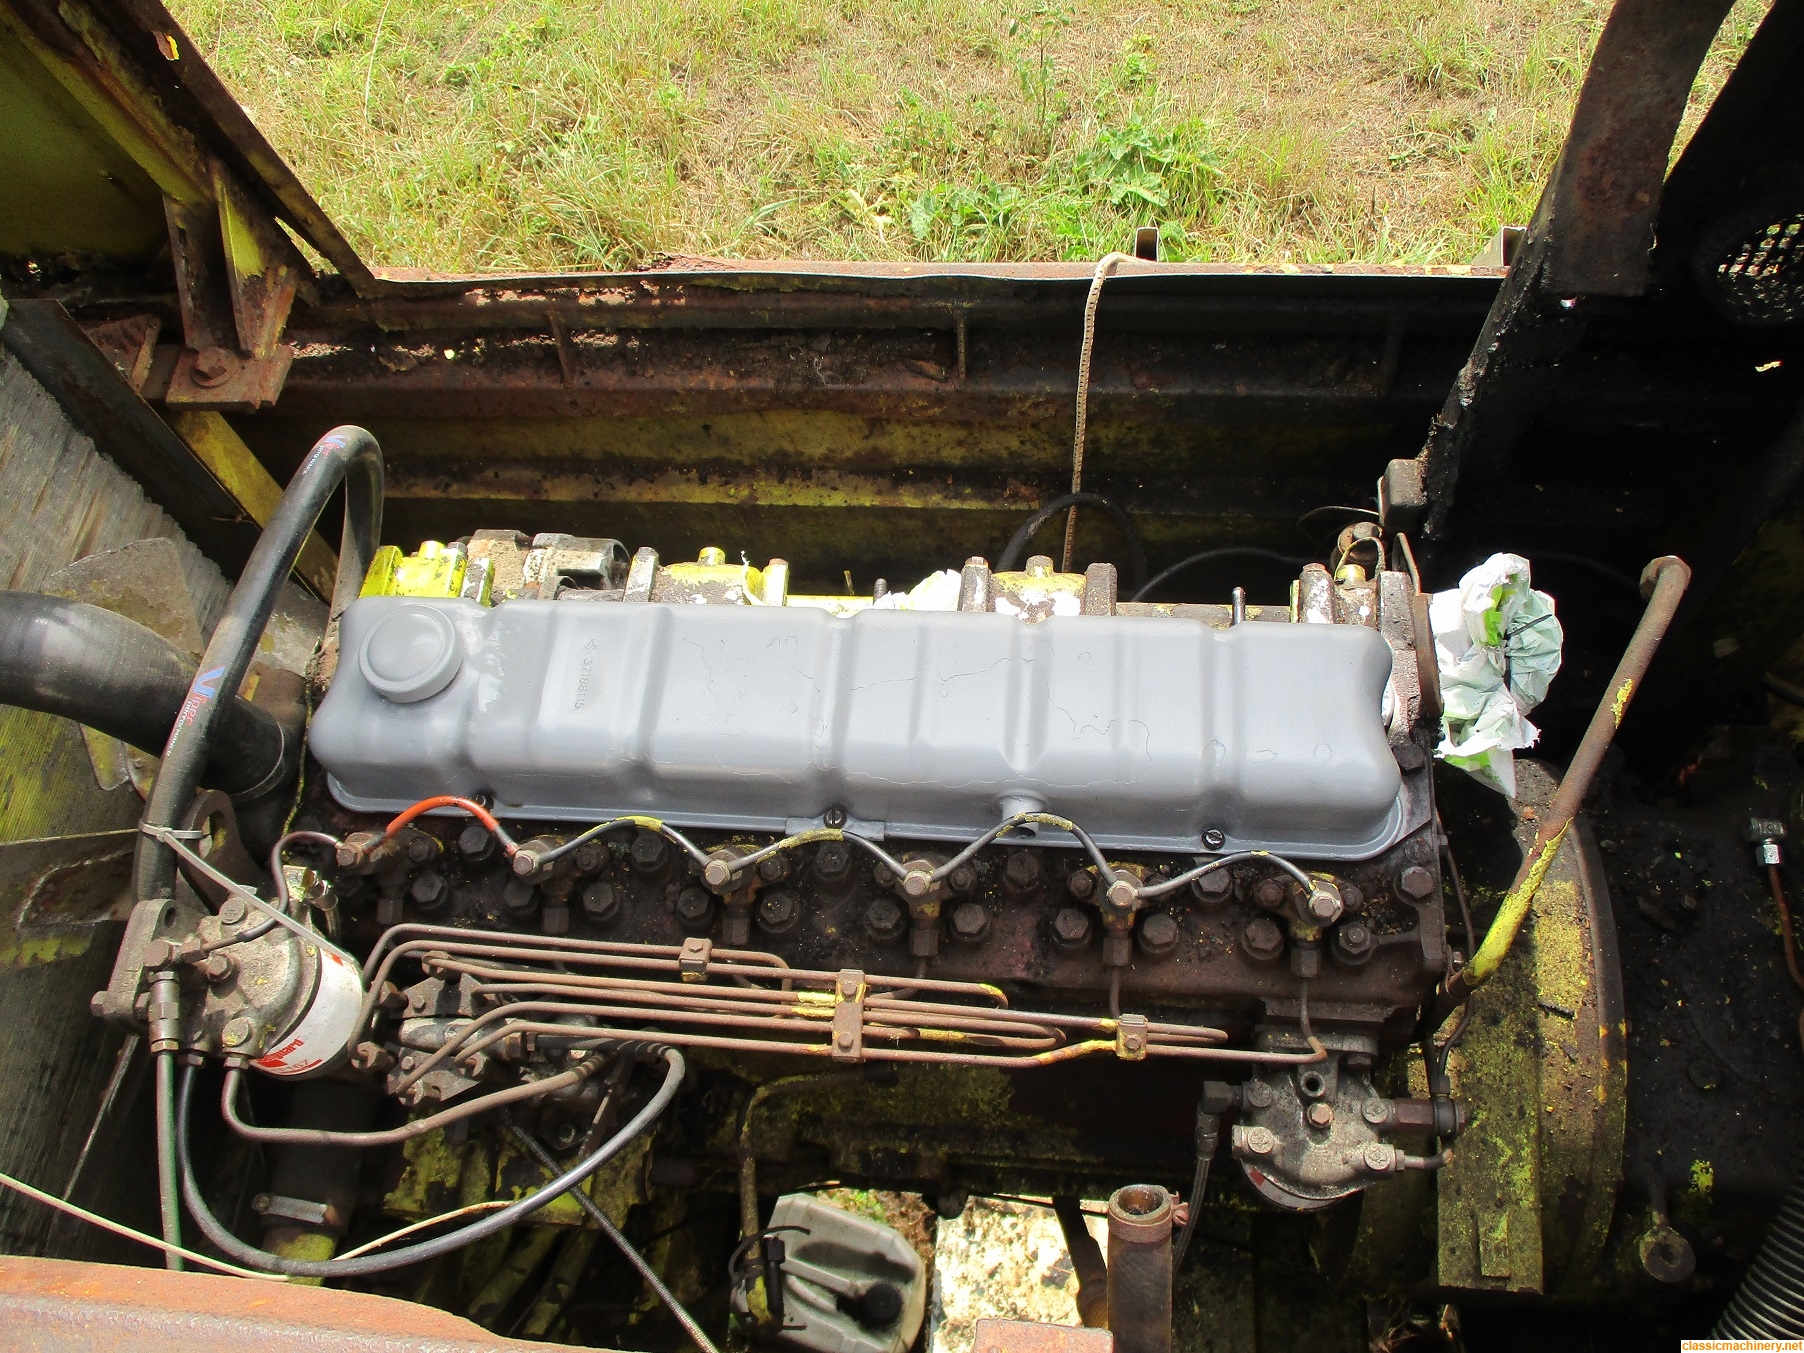
-
Jeremy Rowland
Topic author - Moderator
- Posts: 8705
- Joined: Sun Aug 05, 2007 8:36 pm
- Real name: Jeremy Rowland
- Has thanked: 1888 times
- Been thanked: 1705 times
Re: Hymac 690
I went up there today with a cunning plan  my intention was to refit the exhaust manifold, before that I had purchased 6 new UNF Stainless screws to replace the well rotted ones in the rocker cover (the ones that looked like they may break off to me) so fitted those, plus a new jubilee clip on the crankcase breather hose, next job exhaust manifold.
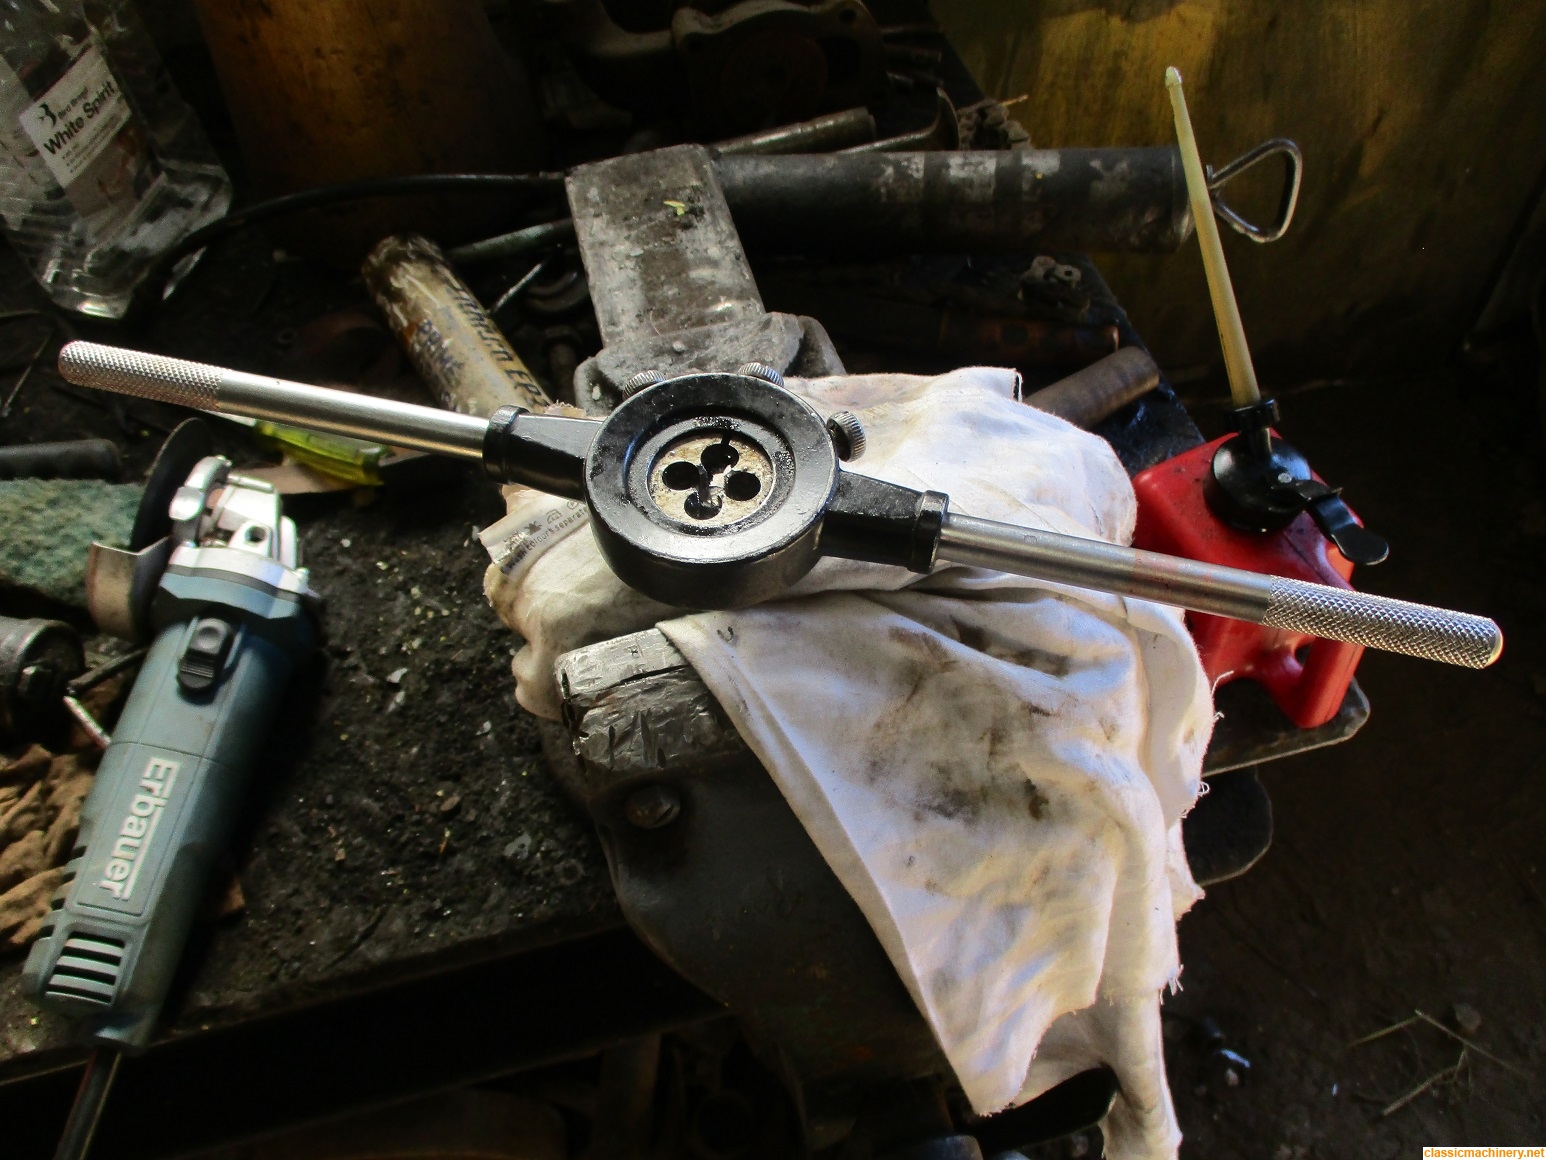
While chasing the threads with a die nut, some spots of rain appeared, then it all went pear shaped as it threw it down oh well, so not much accomplished this week.
Jeremy
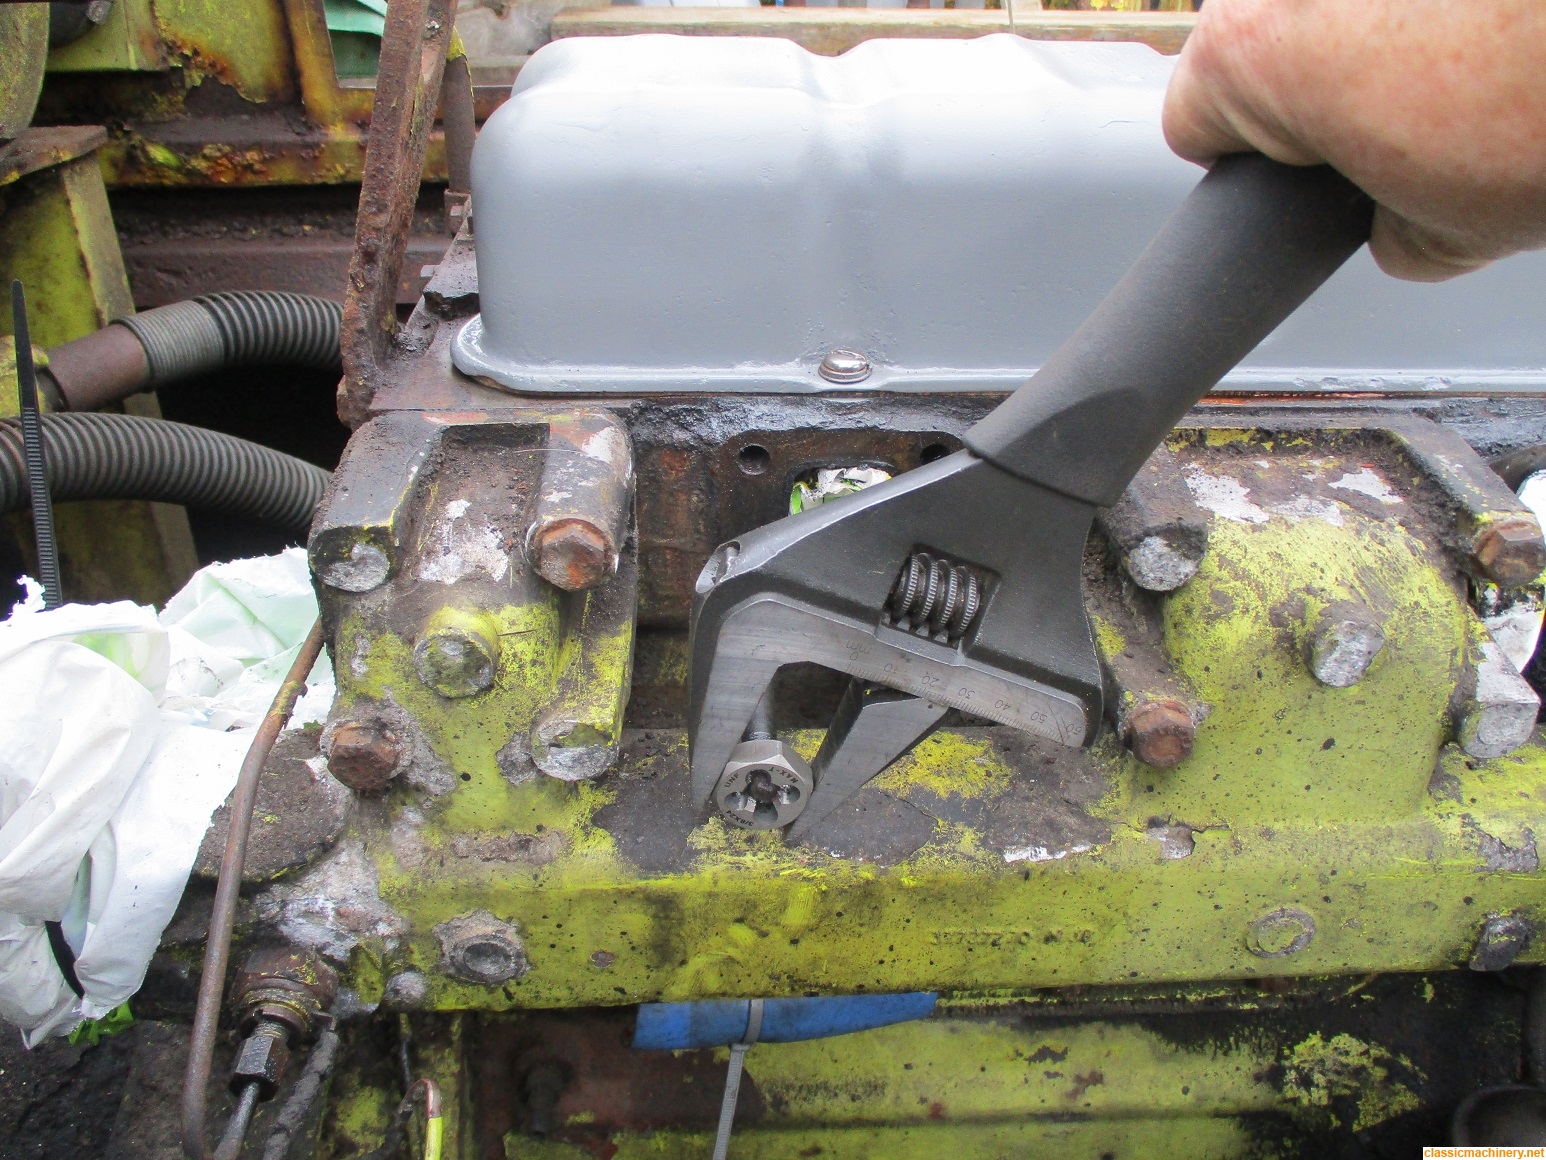
While chasing the threads with a die nut, some spots of rain appeared, then it all went pear shaped as it threw it down
Jeremy
-
Jeremy Rowland
Topic author - Moderator
- Posts: 8705
- Joined: Sun Aug 05, 2007 8:36 pm
- Real name: Jeremy Rowland
- Has thanked: 1888 times
- Been thanked: 1705 times
Re: Hymac 690
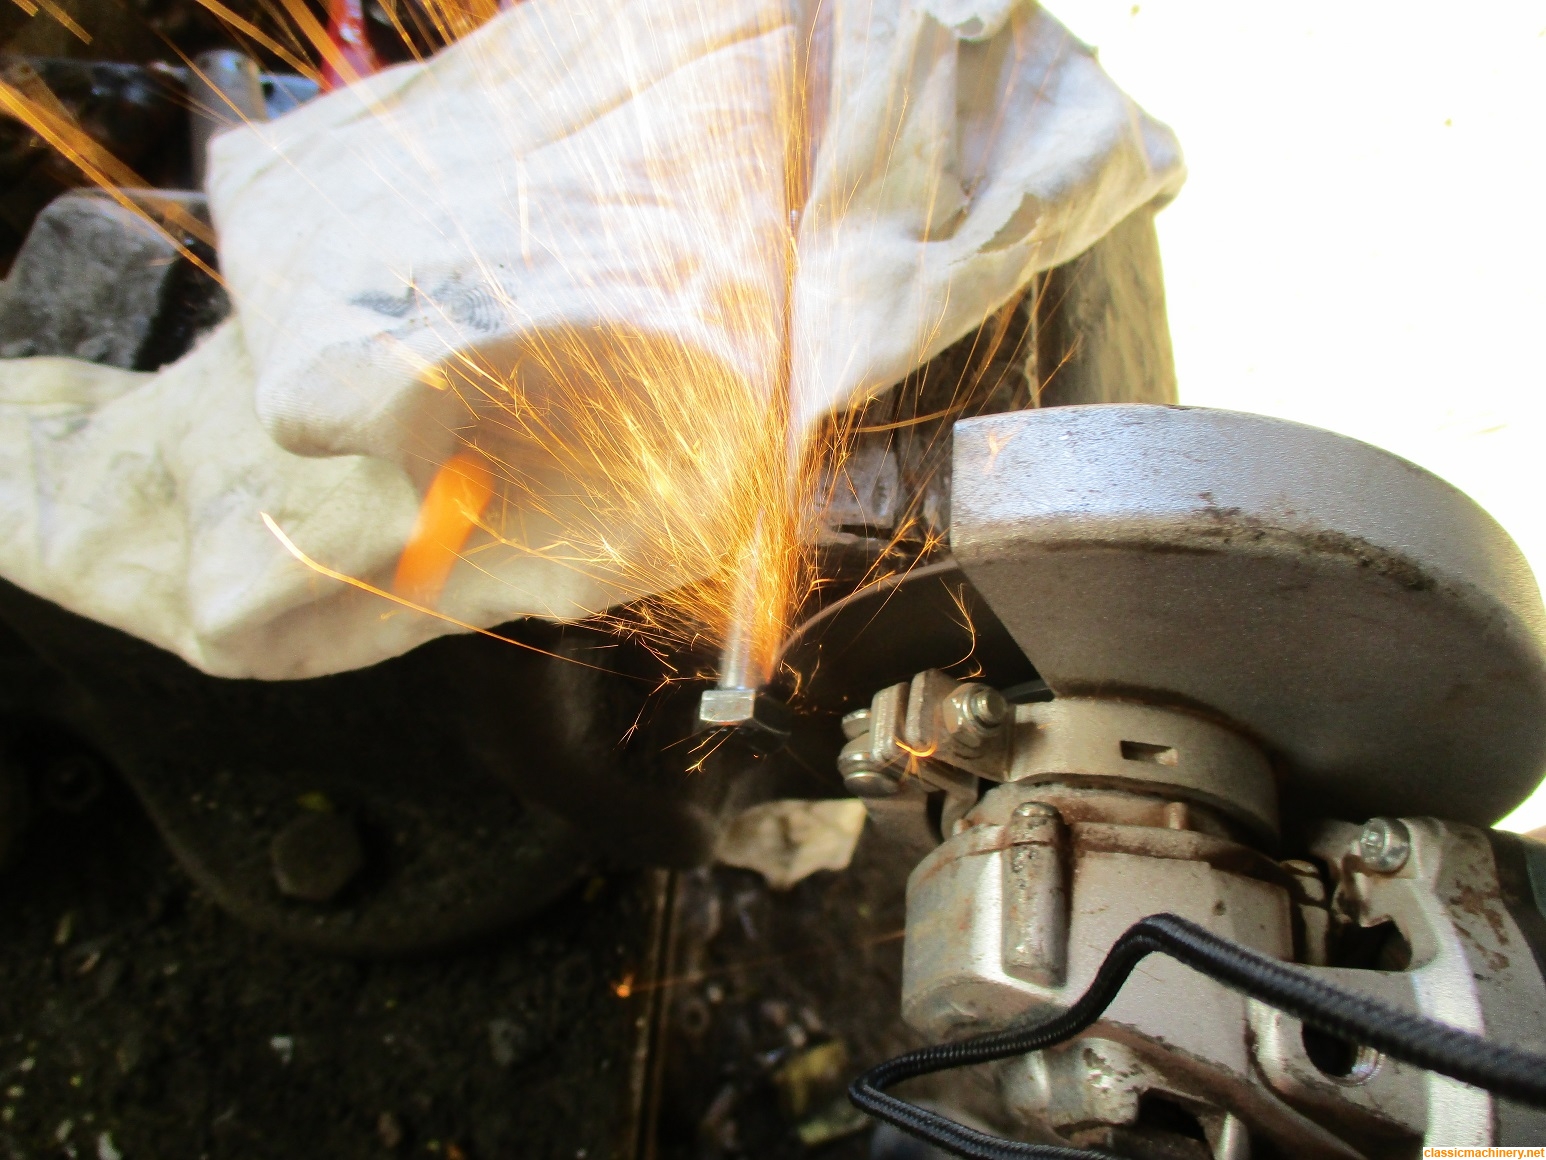
Had a half successful day on this digger today albeit fighting me to the bitter end!  First off I had to chop off the heads of the new bolts and cut a thread on them to make the new exhaust manifold studs, after much ado that was done, stuff using a hacksaw to remove the heads, a slitting disc on an angle grinder is a lot quicker.
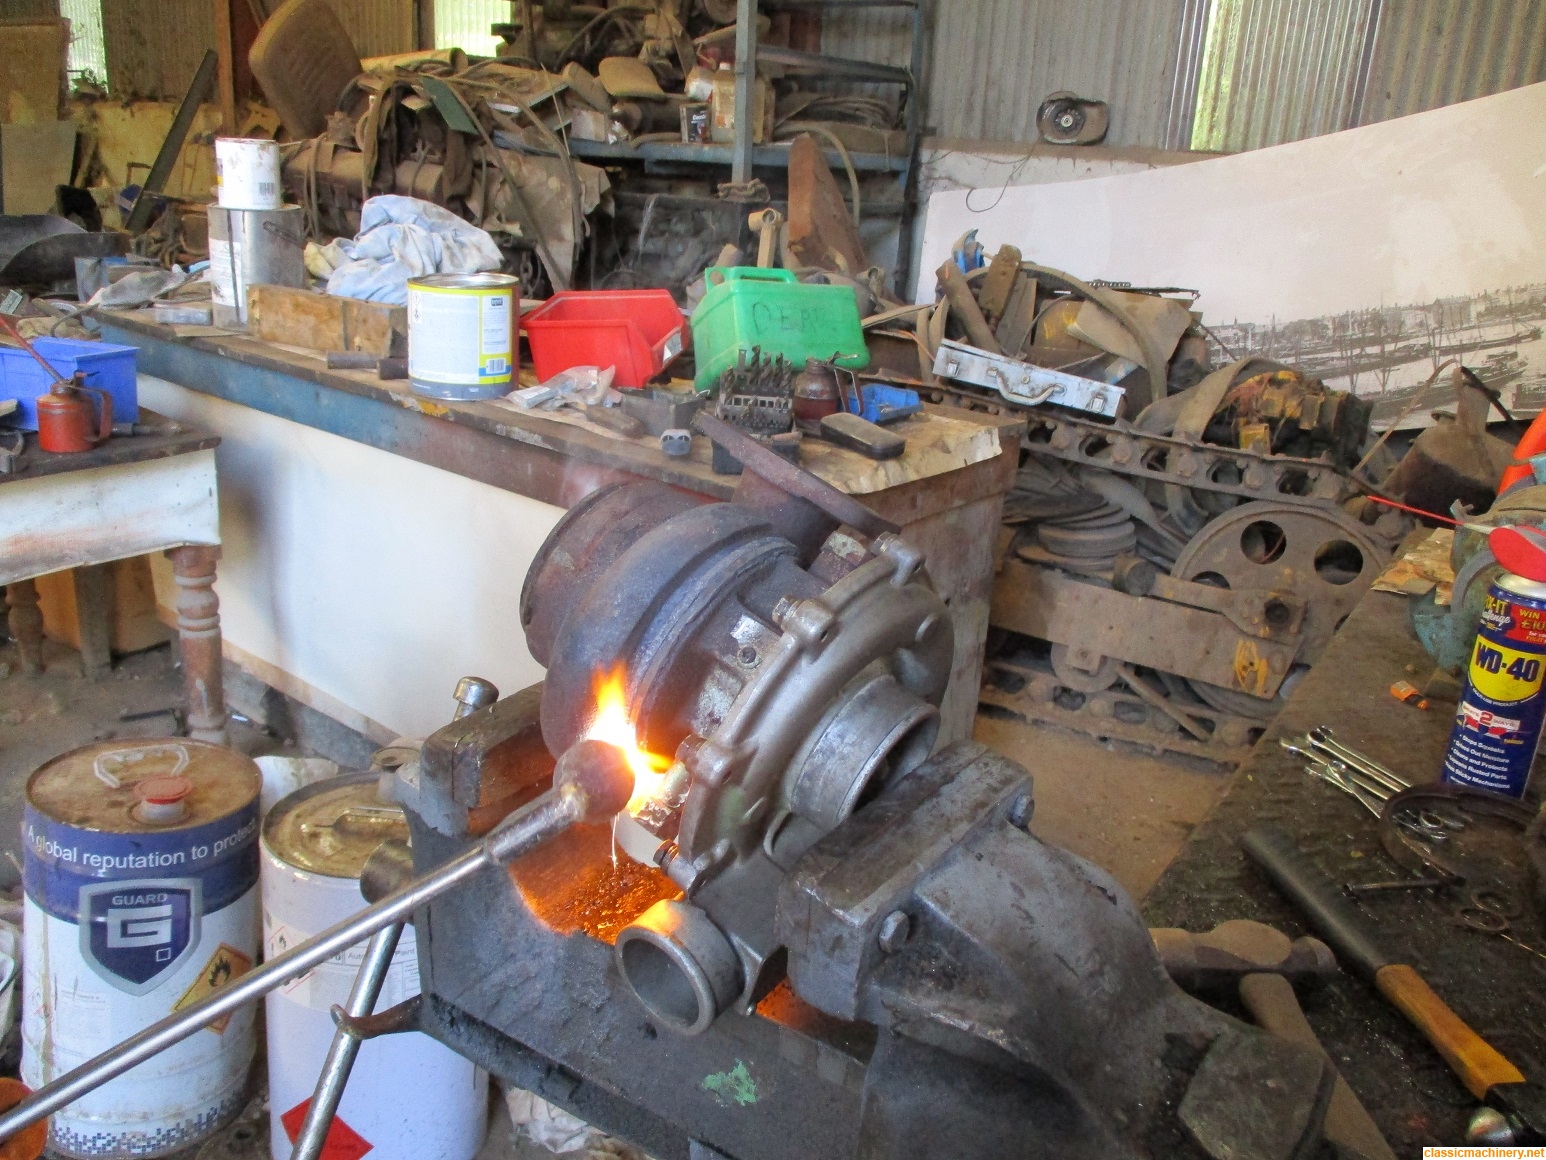
Then I fitted the studs only to find that due to the bracket which holds the exhaust silencer two were too short so I used two old bolts, finally I could see that the used turbo I bought was from a side mounted exhaust manifold so I need to turn the intake section and exhaust section around, I thought this one would come apart easier but no, even with some heat on it, it would not come apart so back to that next week, I sealed the end of the exhaust manifold to prevent ingress of muck and water.
Jeremy
Then I fitted the studs only to find that due to the bracket which holds the exhaust silencer two were too short
so I used two old bolts, finally I could see that the used turbo I bought was from a side mounted exhaust manifold so I need to turn the intake section and exhaust section around, I thought this one would come apart easier but no, even with some heat on it, it would not come apart Jeremy
-
Jeremy Rowland
Topic author - Moderator
- Posts: 8705
- Joined: Sun Aug 05, 2007 8:36 pm
- Real name: Jeremy Rowland
- Has thanked: 1888 times
- Been thanked: 1705 times
Re: Hymac 690
essexpete wrote:Do you see much of Andrew whilst you are working?
Yes Pete sometimes I break off the work I'm doing to help him and the other lads there, it's a great team and Andrew kindly makes tea for everybody three times in the day so we all get together then for a chat, some very skilled and knowledgeable people up there.
Jeremy
-
Jeremy Rowland
Topic author - Moderator
- Posts: 8705
- Joined: Sun Aug 05, 2007 8:36 pm
- Real name: Jeremy Rowland
- Has thanked: 1888 times
- Been thanked: 1705 times
Re: Hymac 690
essexpete wrote:What a great place to be Jeremy.
Yes it makes travelling there well worth the while.
Jeremy
Who is online
Users browsing this forum: No registered users and 10 guests