Poclain 75 CKB

Discuss excavators here

Topic author
Jeremy Rowland
Moderator
Posts: 8677
Joined: Sun Aug 05, 2007 8:36 pm
Real name: Jeremy Rowland
Has thanked: 1873 times
Been thanked: 1692 times

Re: Poclain 75 CKB

Post #91 by Jeremy Rowland » Fri Oct 02, 2020 4:56 pm

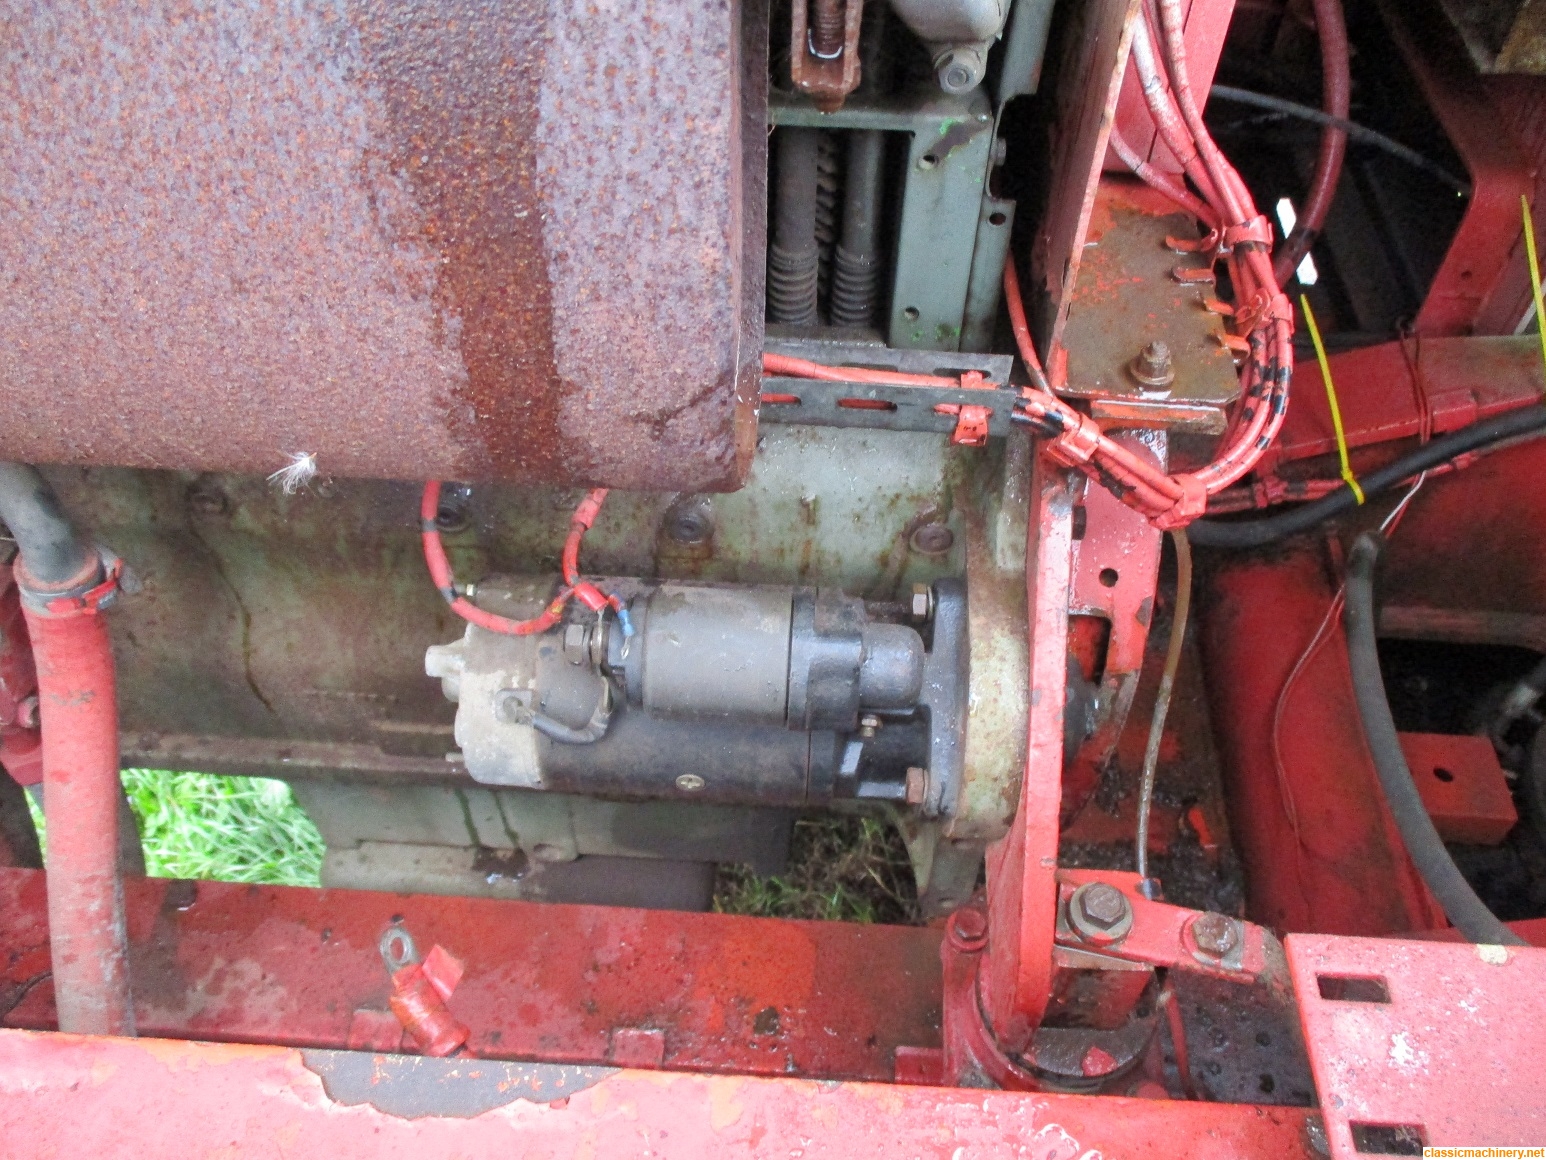
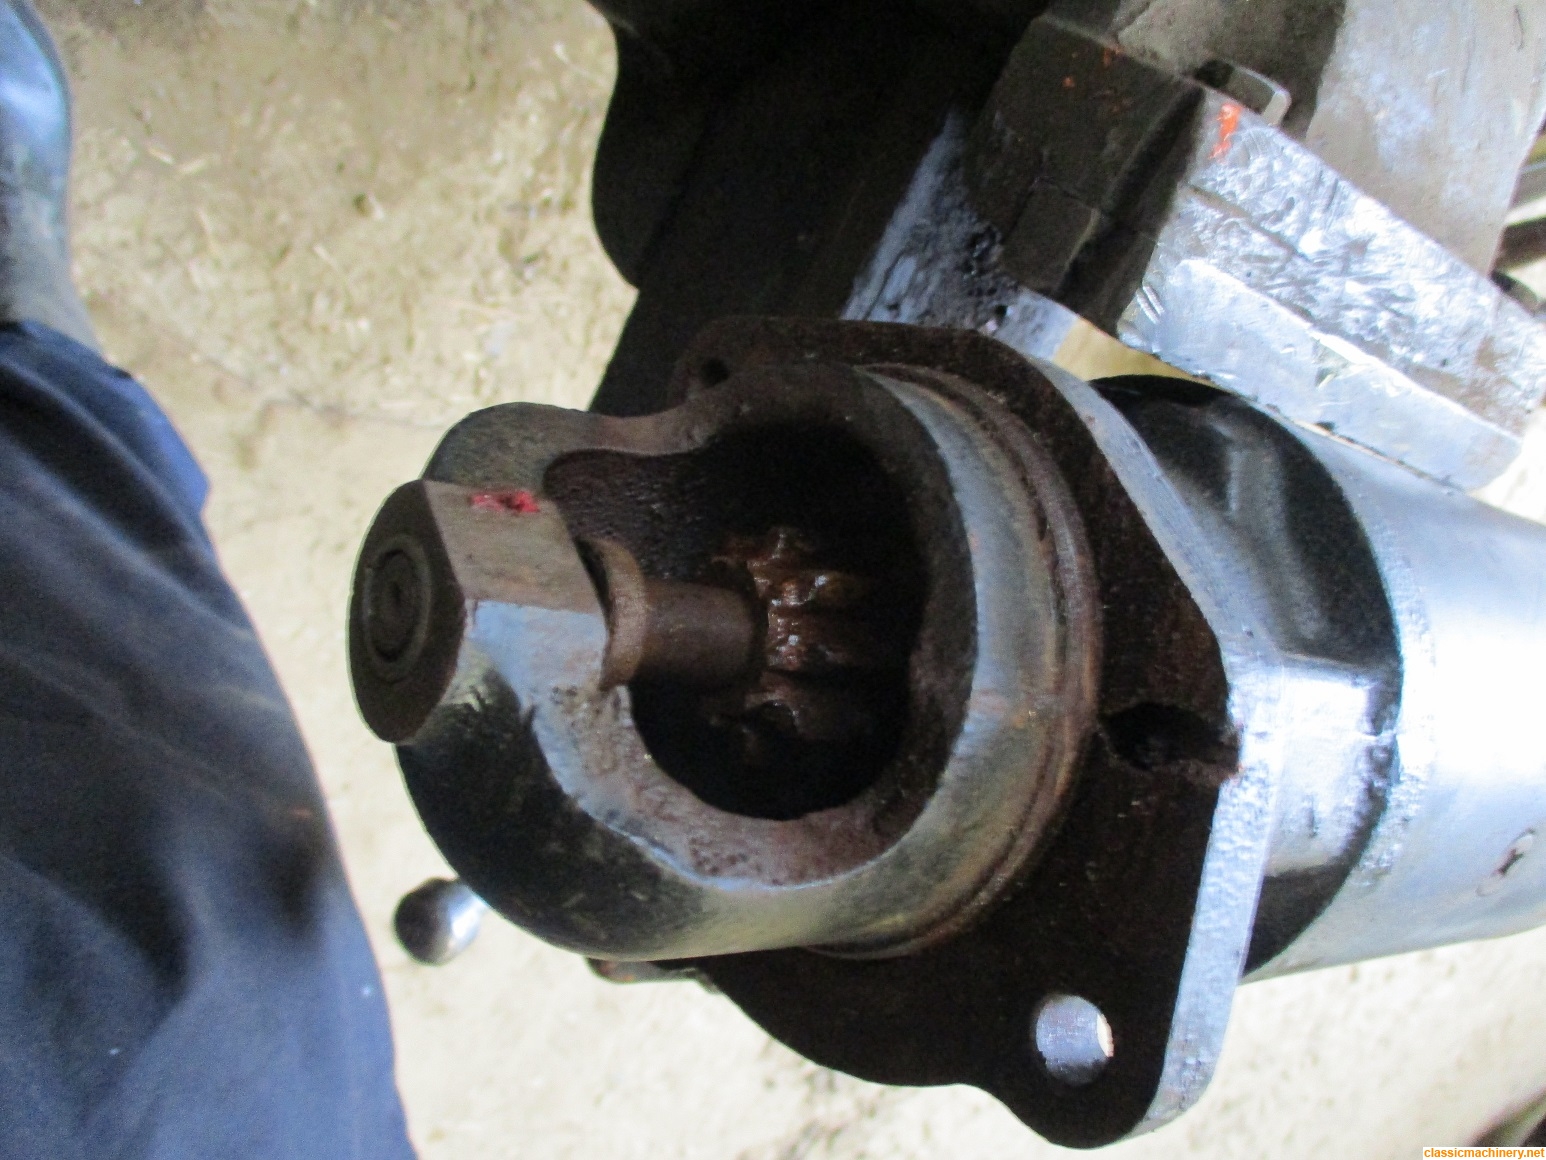
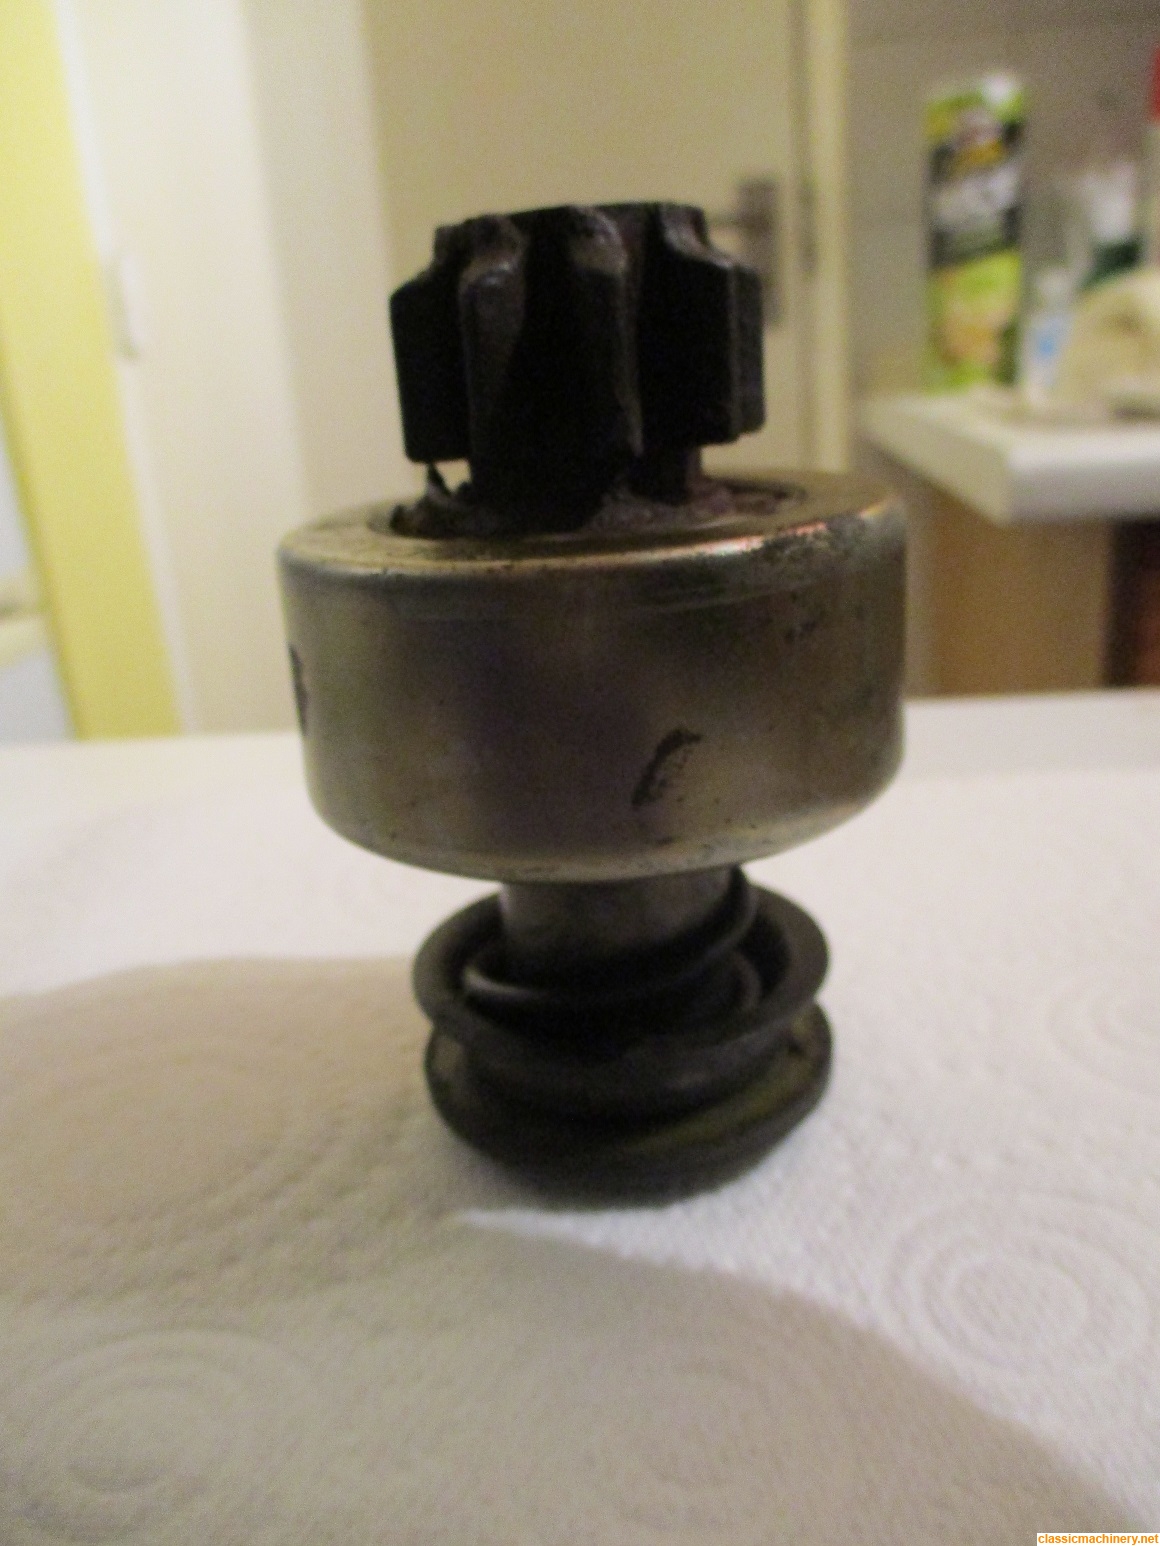
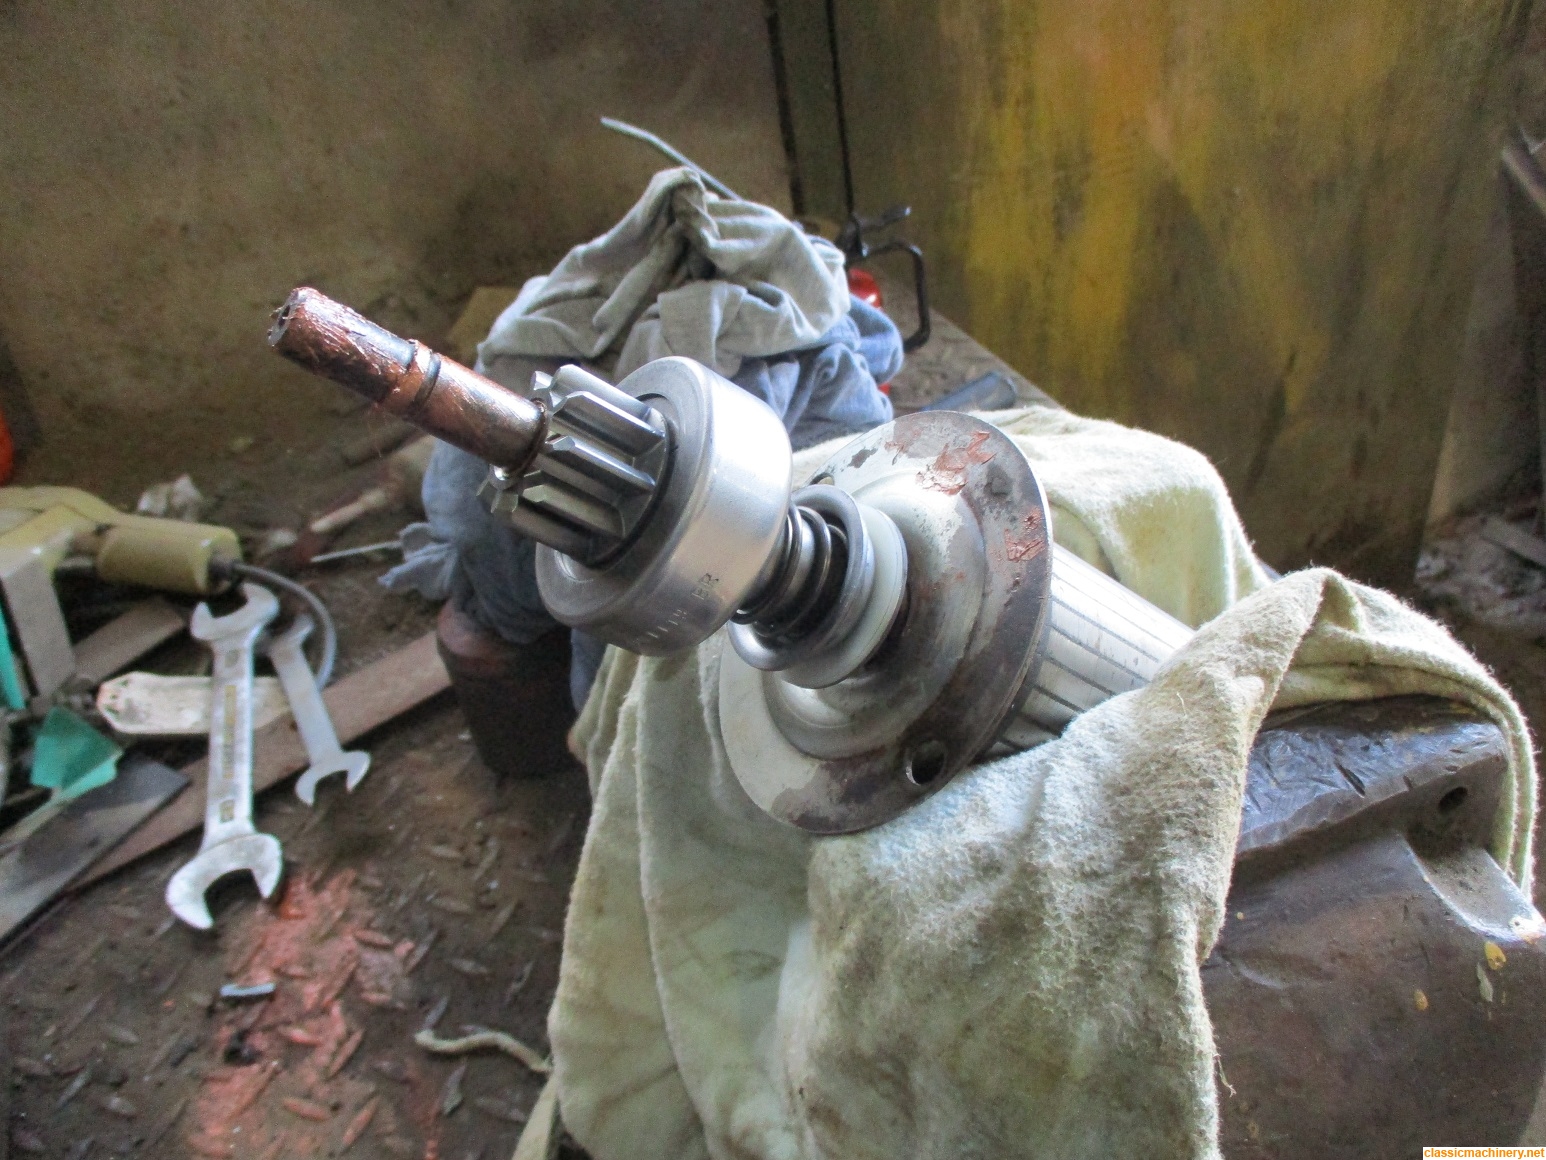
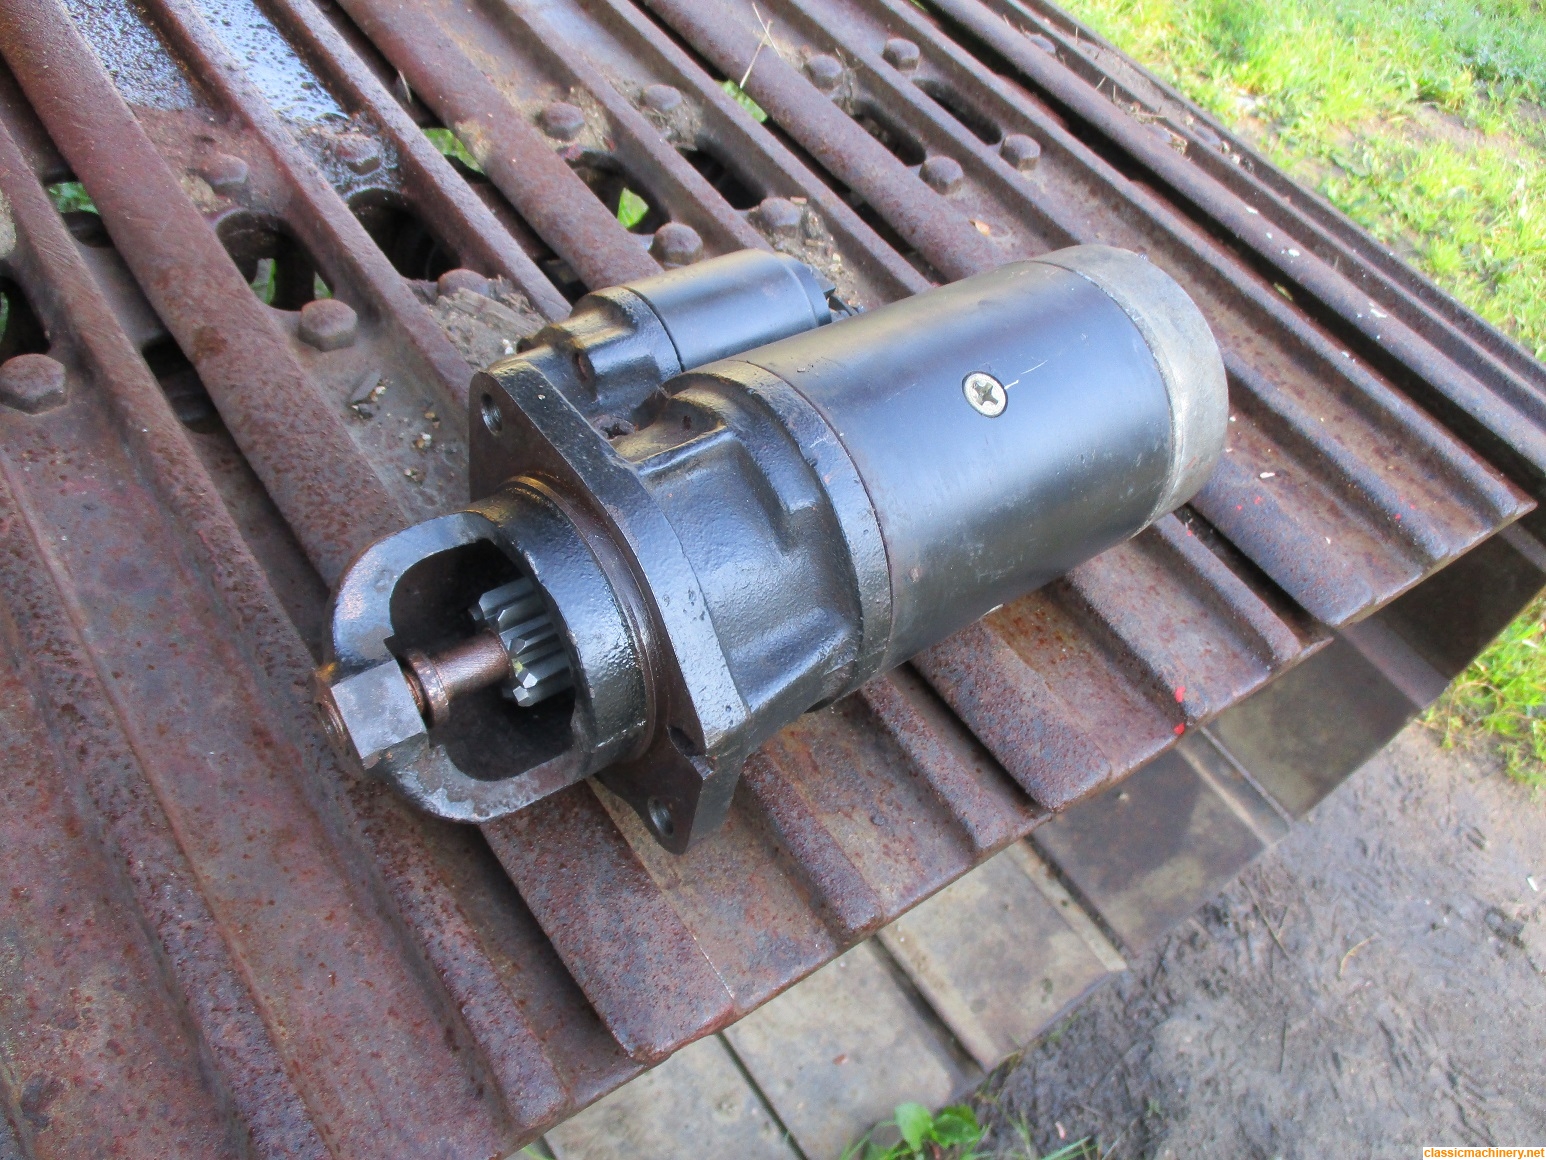
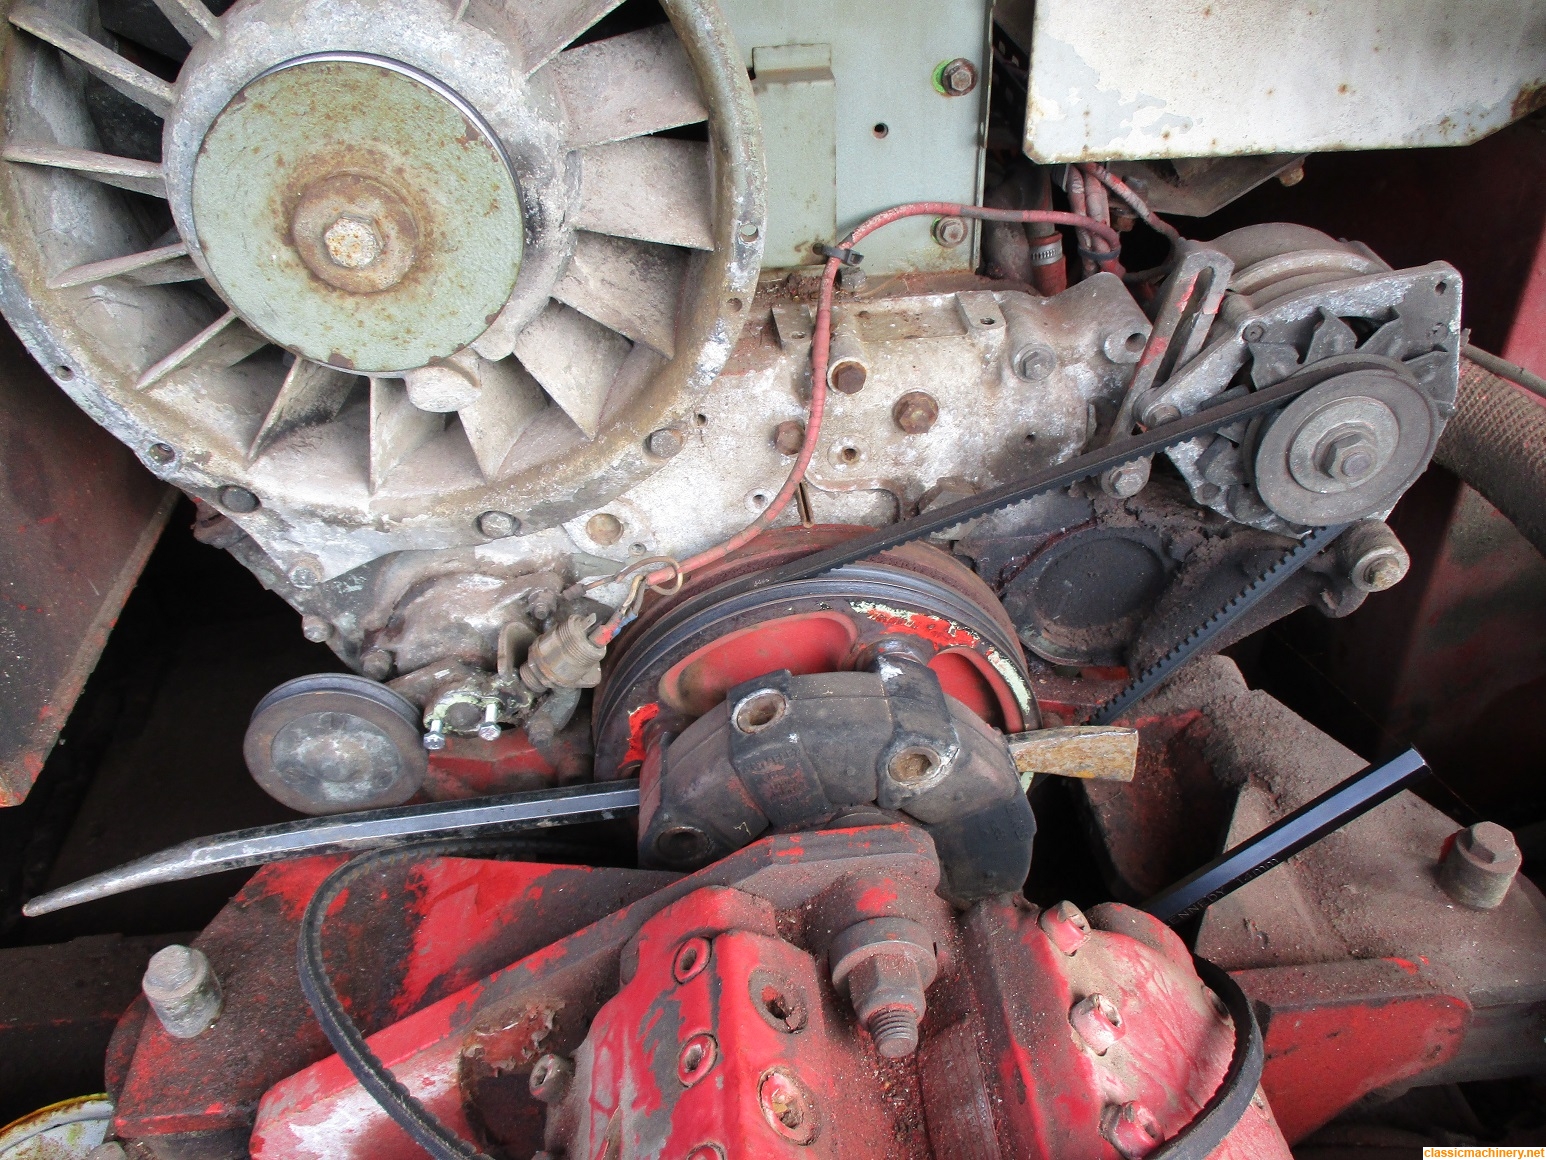
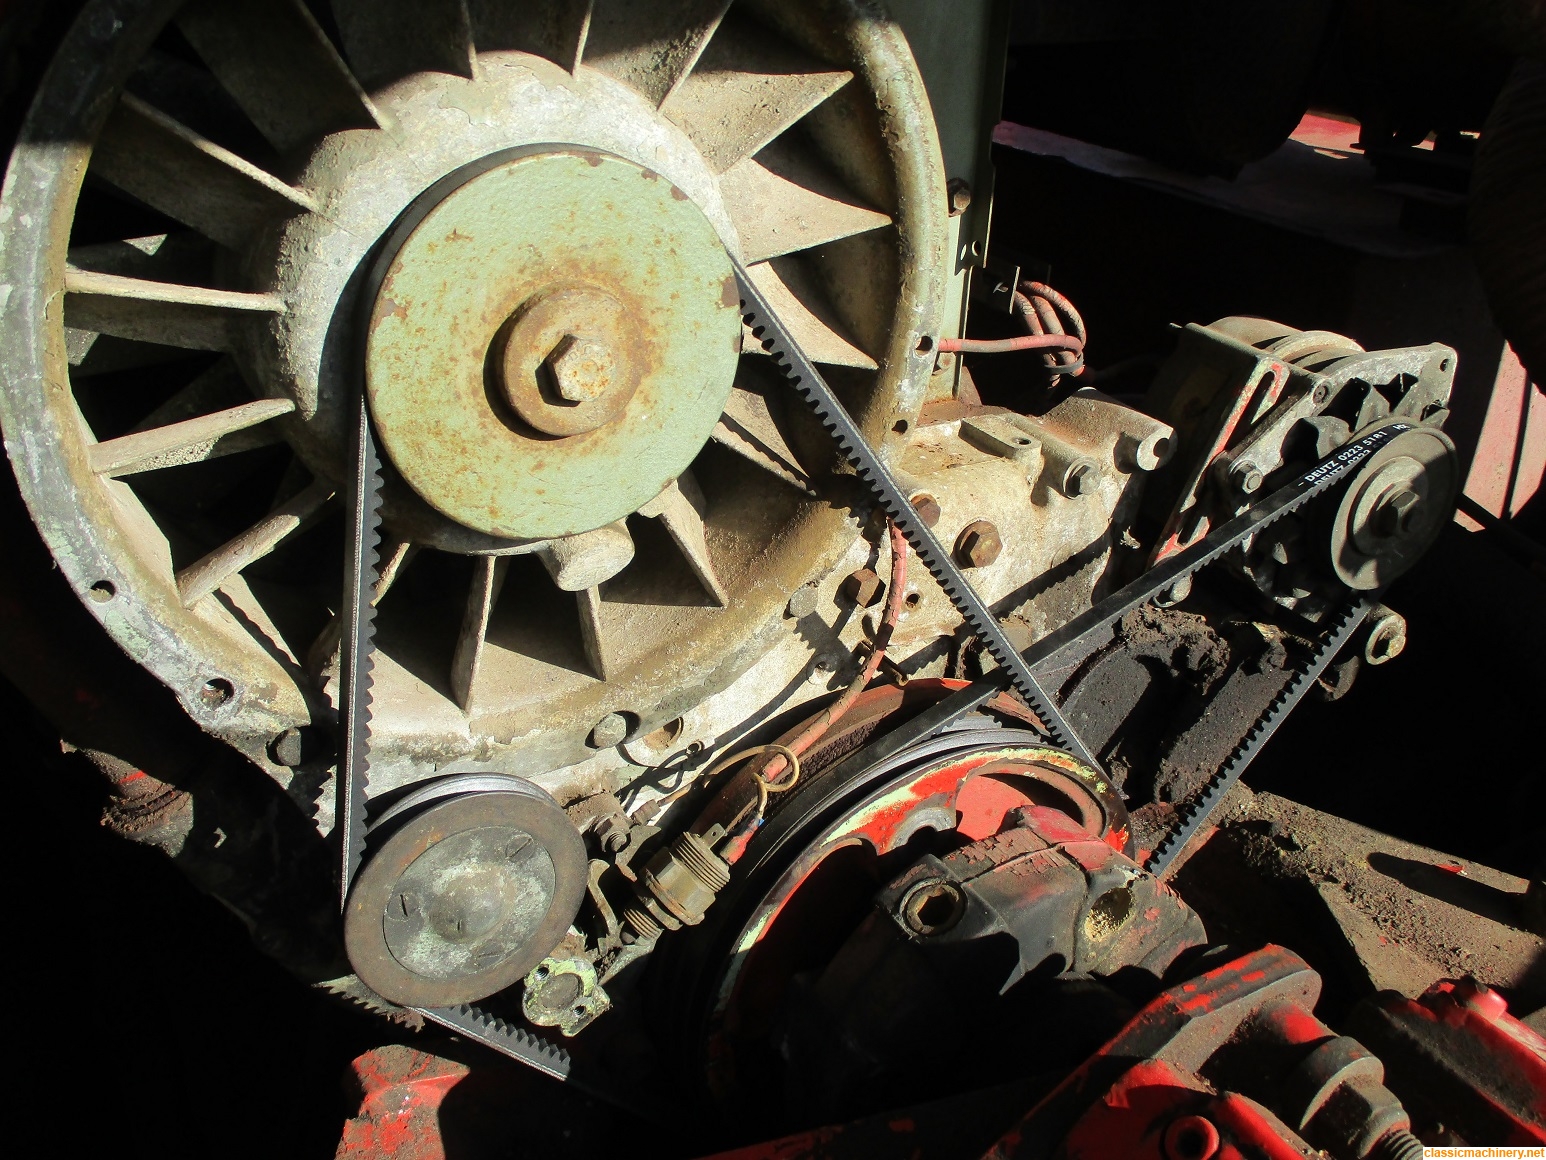
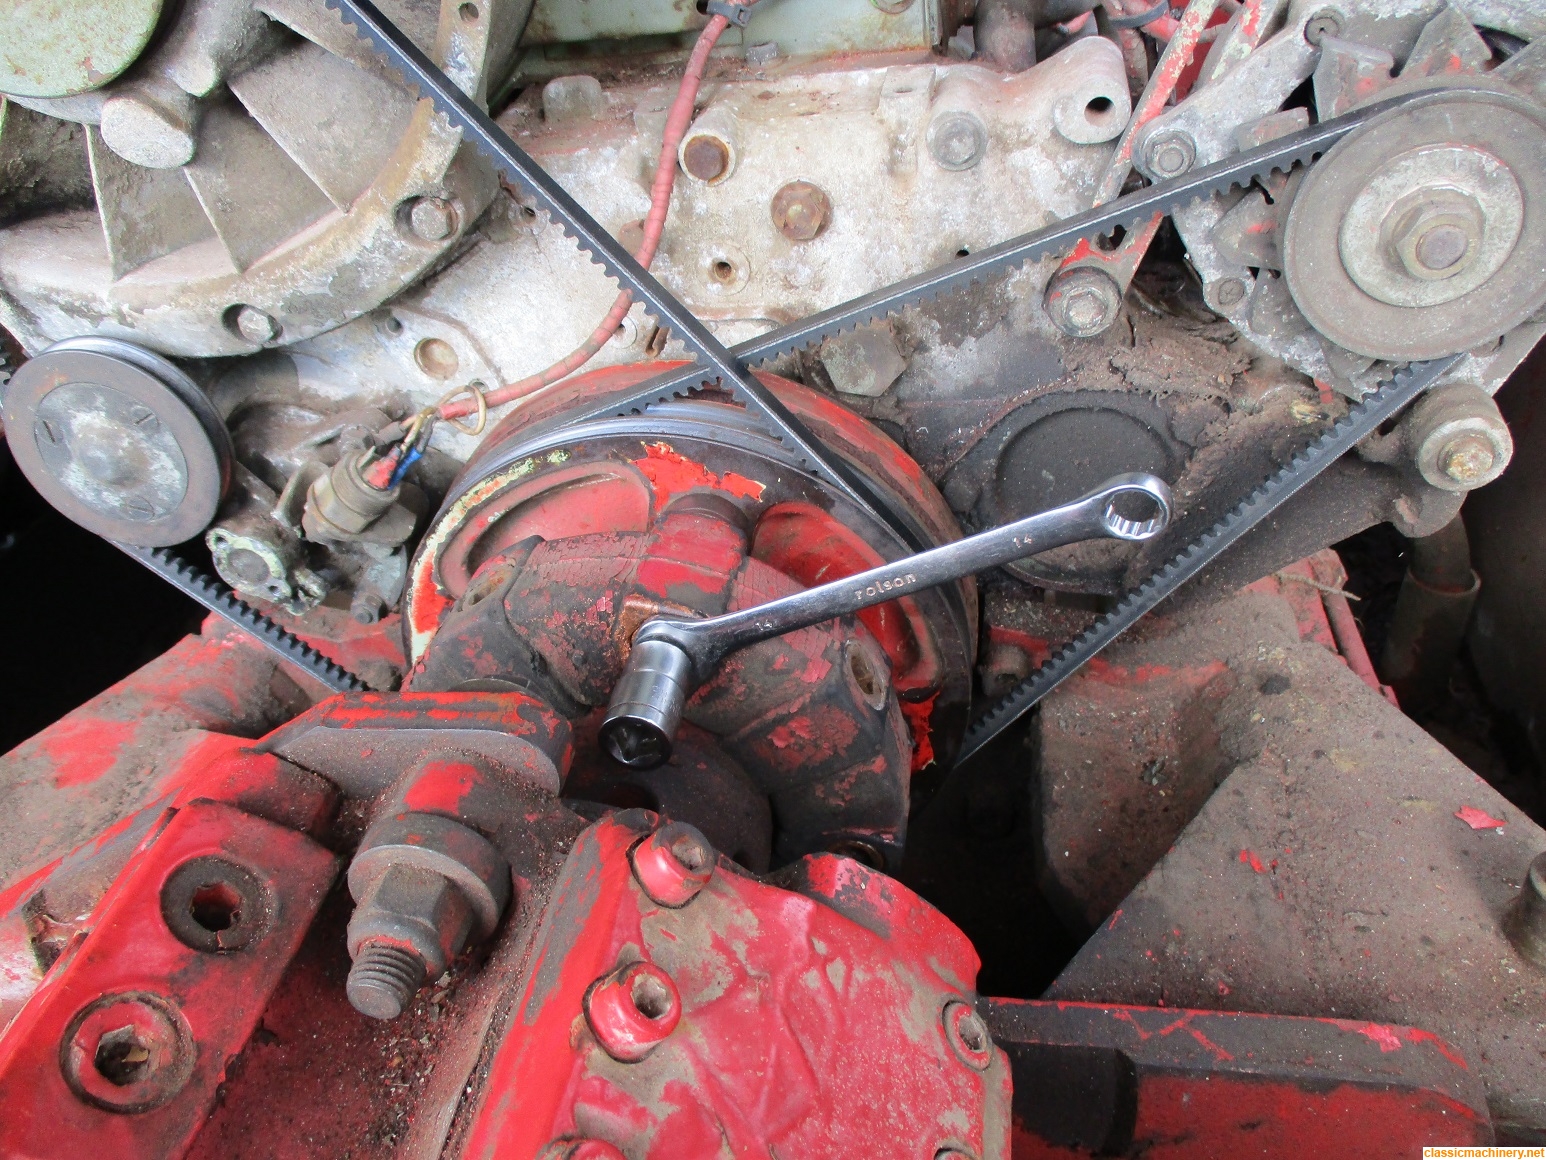
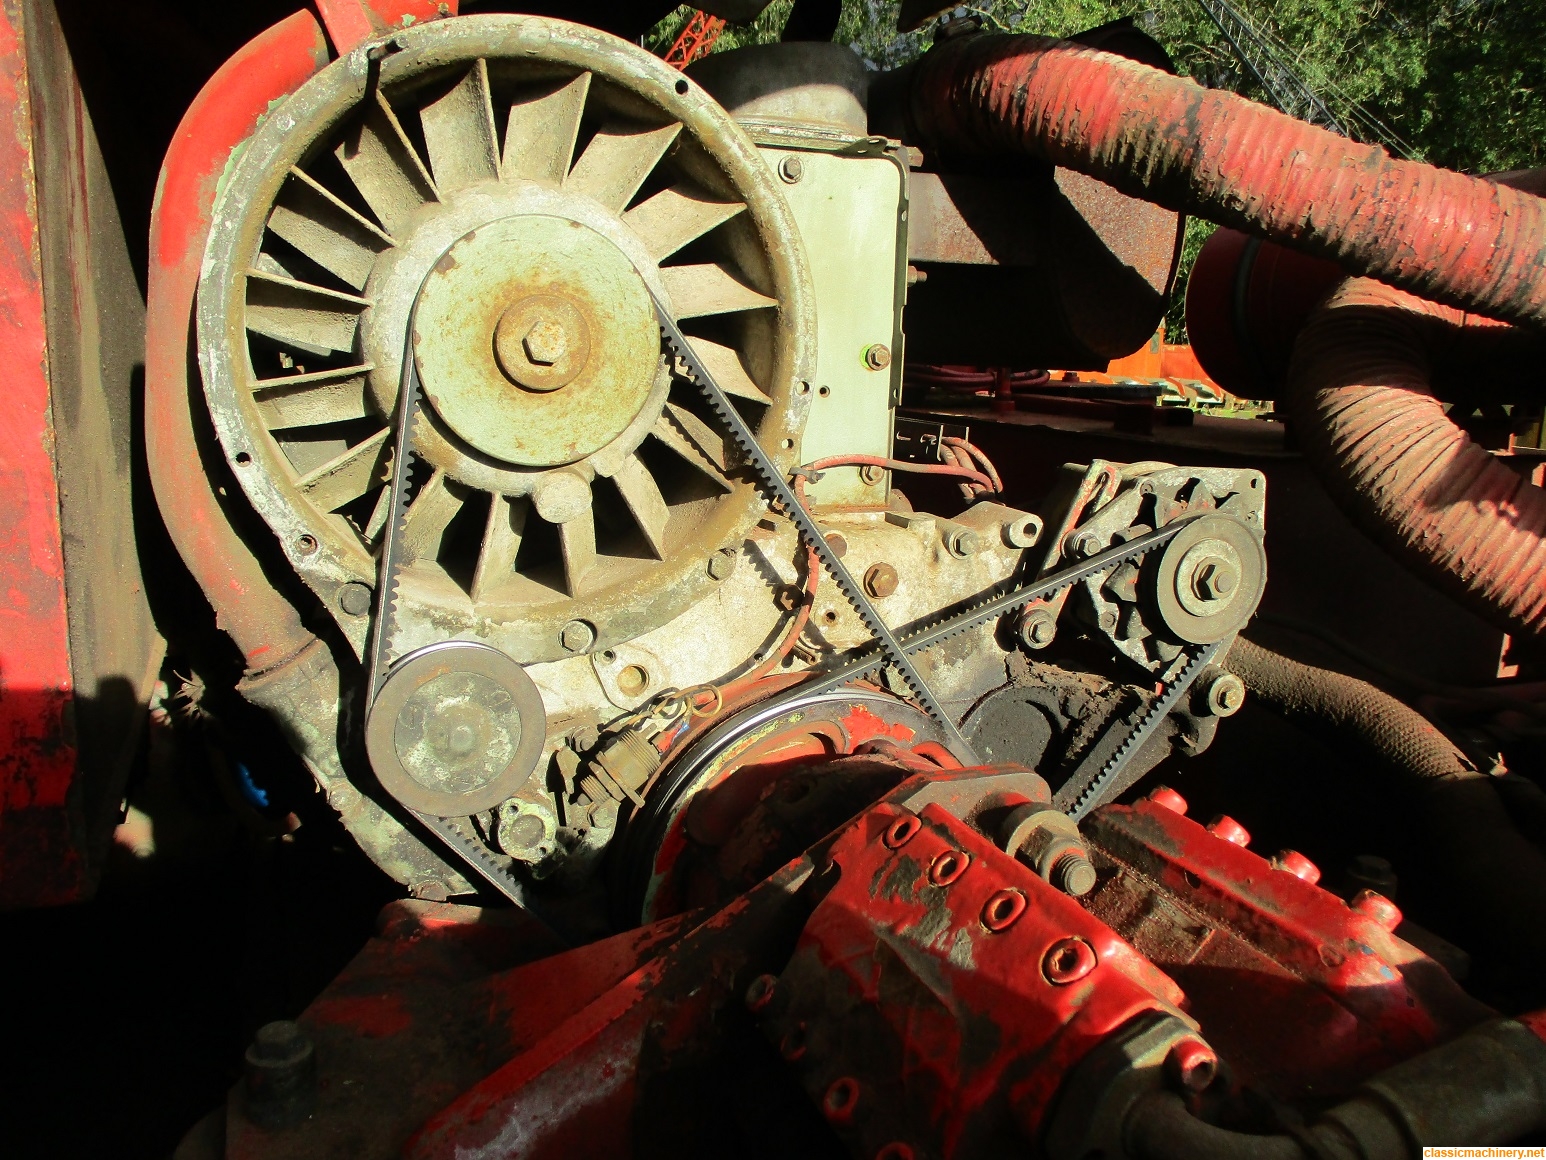
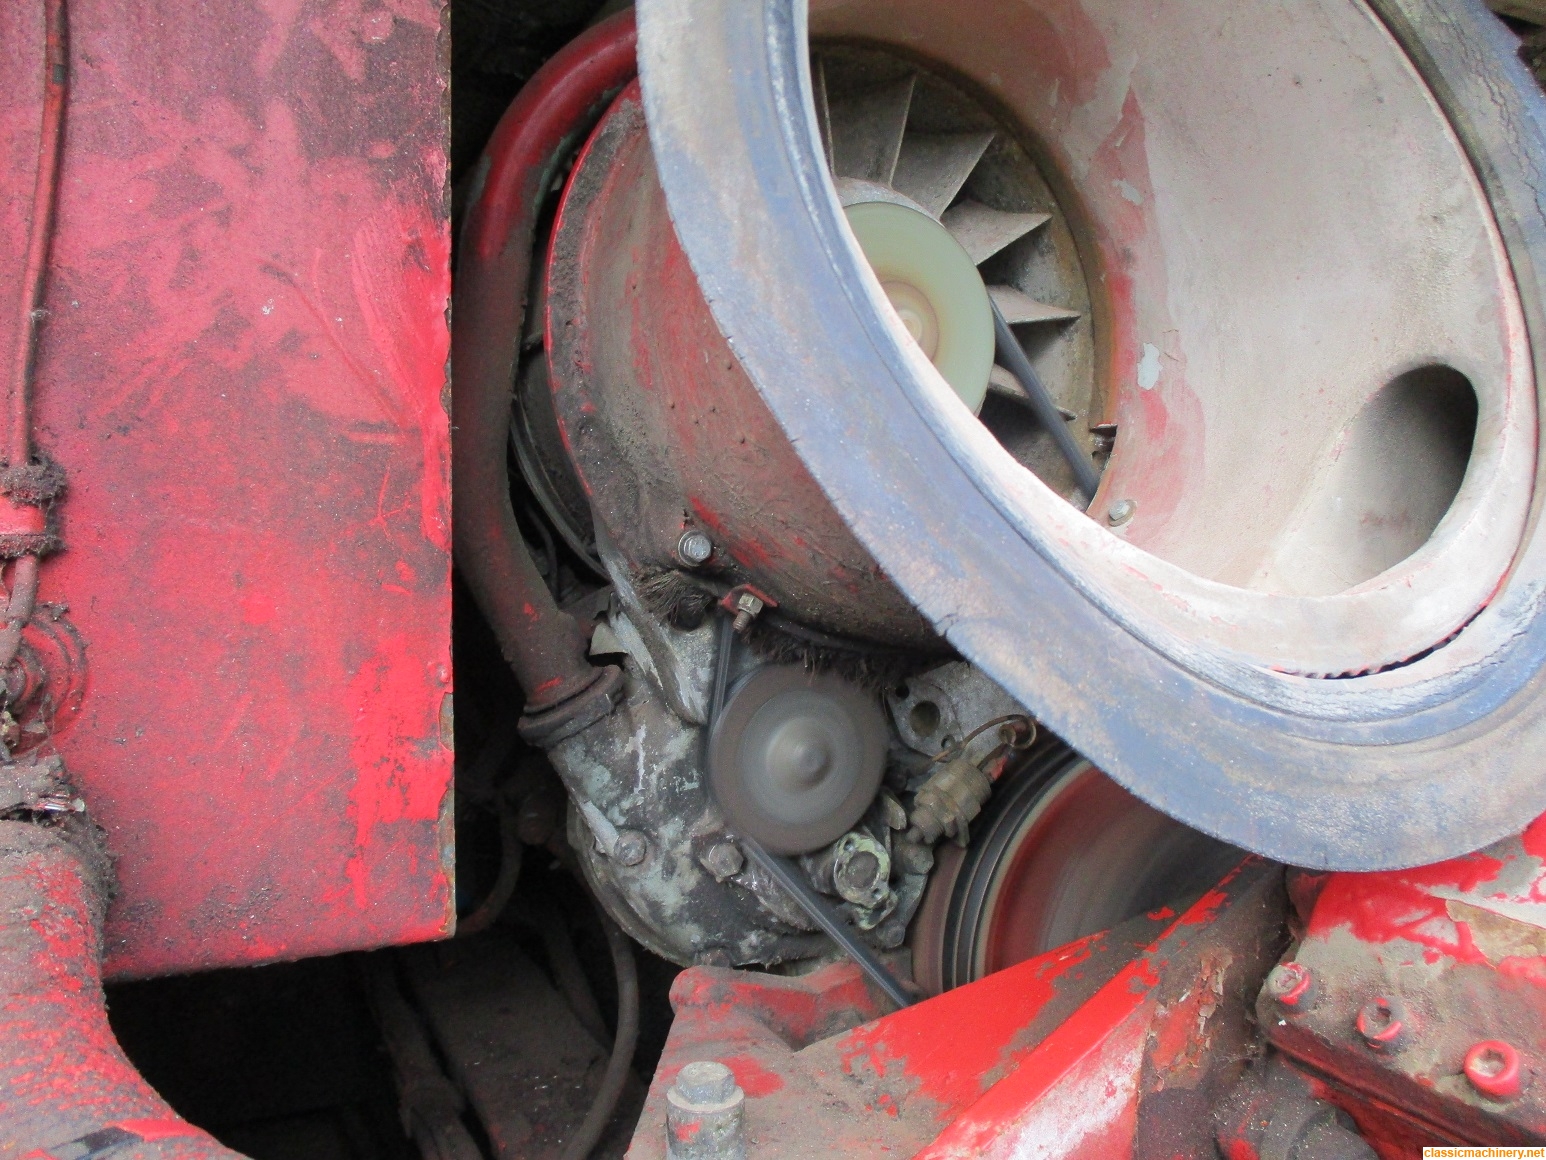
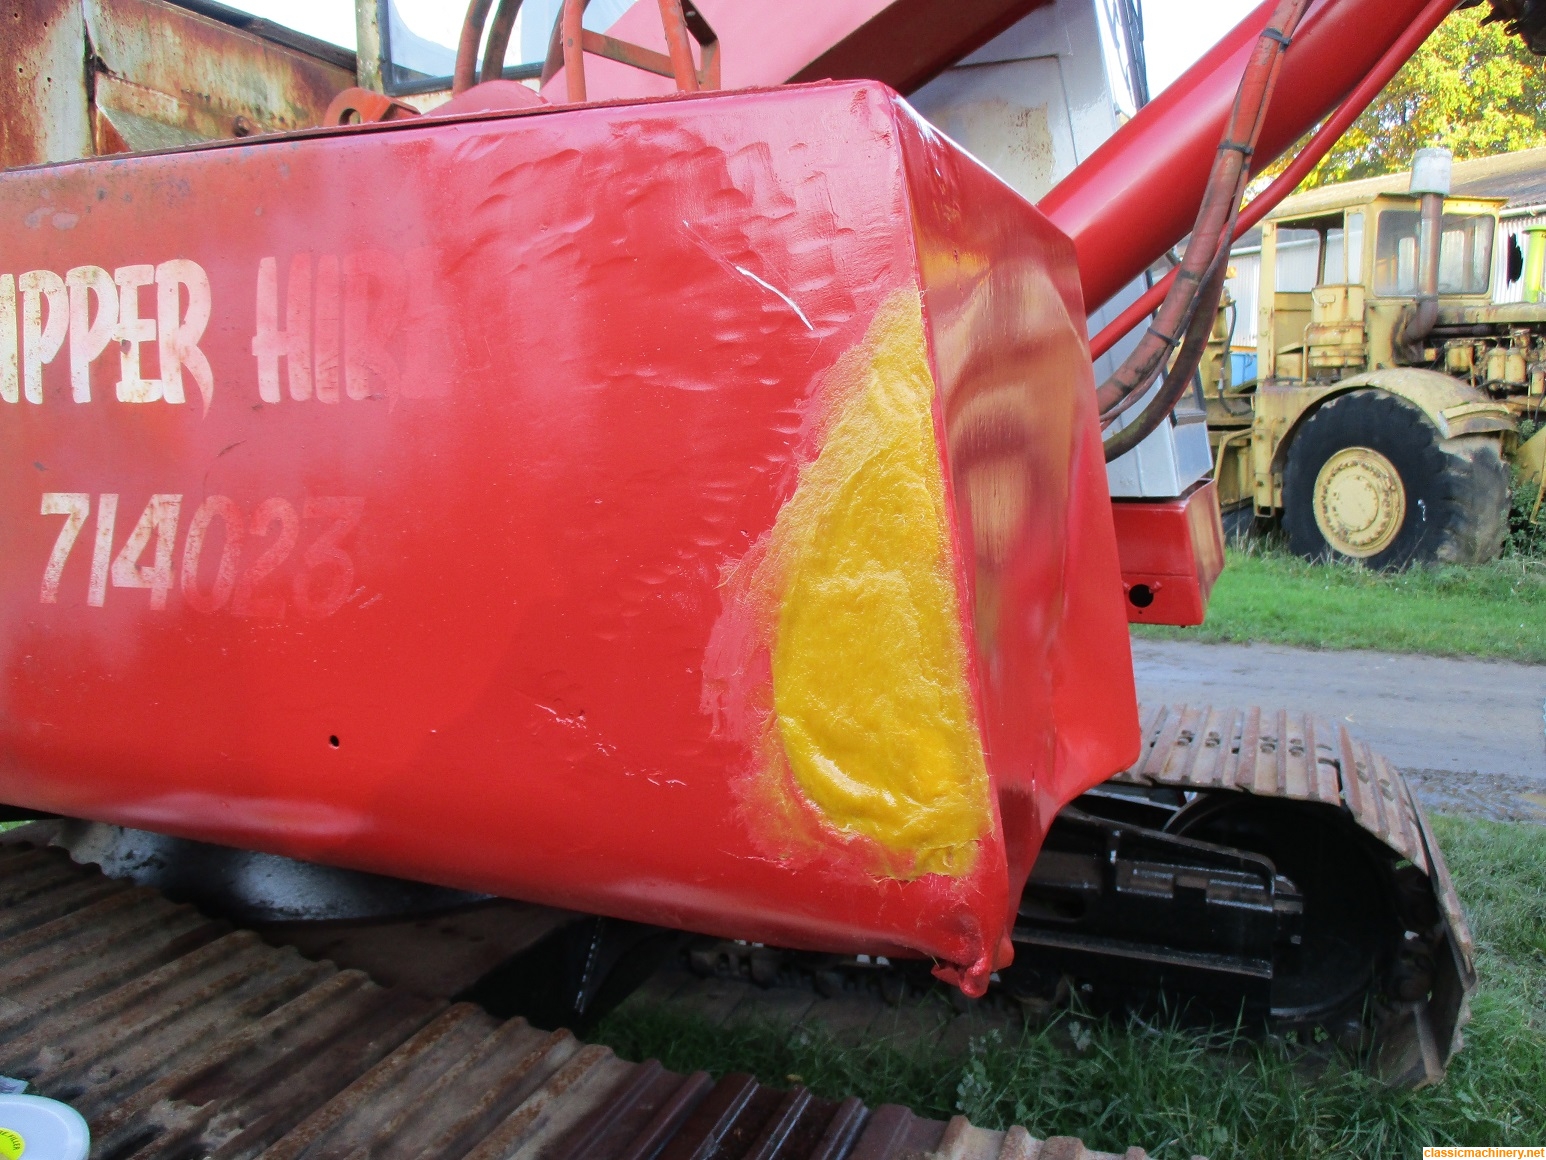
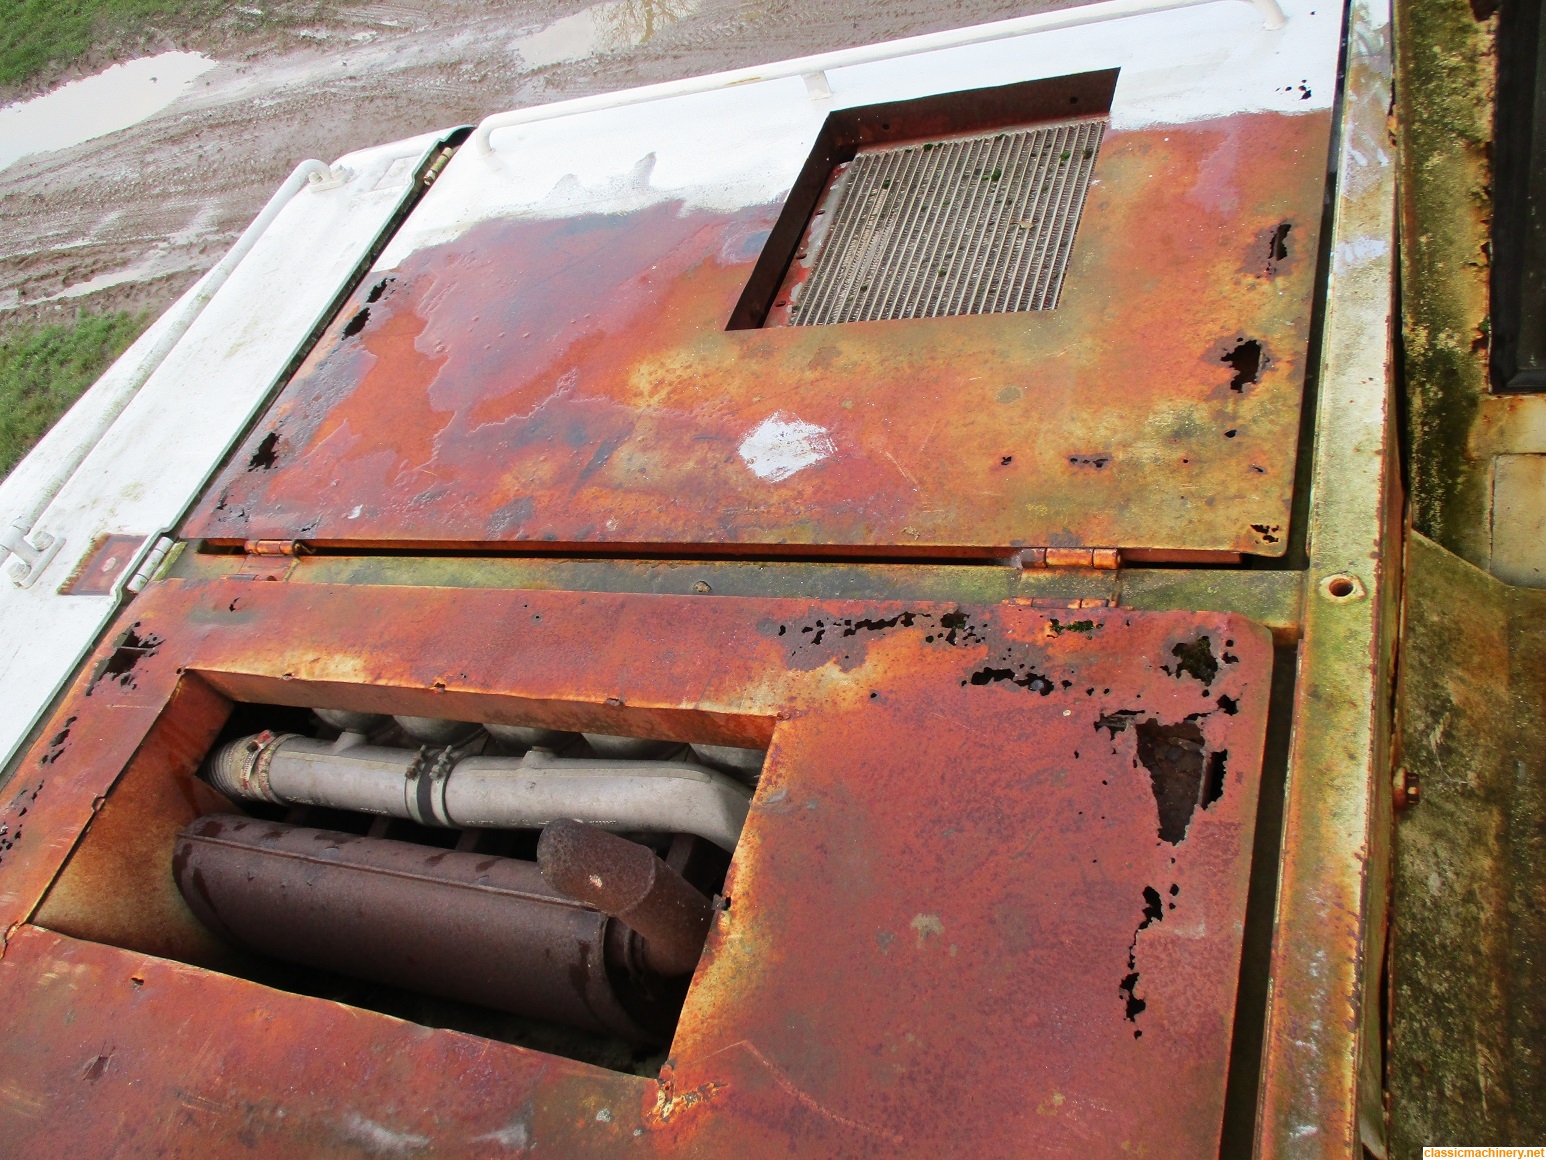
AJ. wrote:The starter not engaging is usually caused by the clutch in the Bendix drive slipping,very common fault with the Bosch starter,I used to carry a spare Bendix to save time taking the starter to the repair shop,the cooling belt coming off is a serious issue,the engine must not be run without the belt as the cooling fan will not be working and the engine will over heat and seize up fairly quick,check why that is happening see the jockey wheel is not slopping about and the fan bearings are good,the jockey wheel has a warning switch that should be working to alert the operator if the belt fails,on the engine side of the fan there is a cover held on with two over centre clips,that cover needs to be removed and the cylinder barrels and heads blown out to get rid of any debris/dust in there that could impede the cooling,one cannot put enough empathises on the cooling of those engines which its often overlooked it, you have smartened it up real nice well done .
AJ


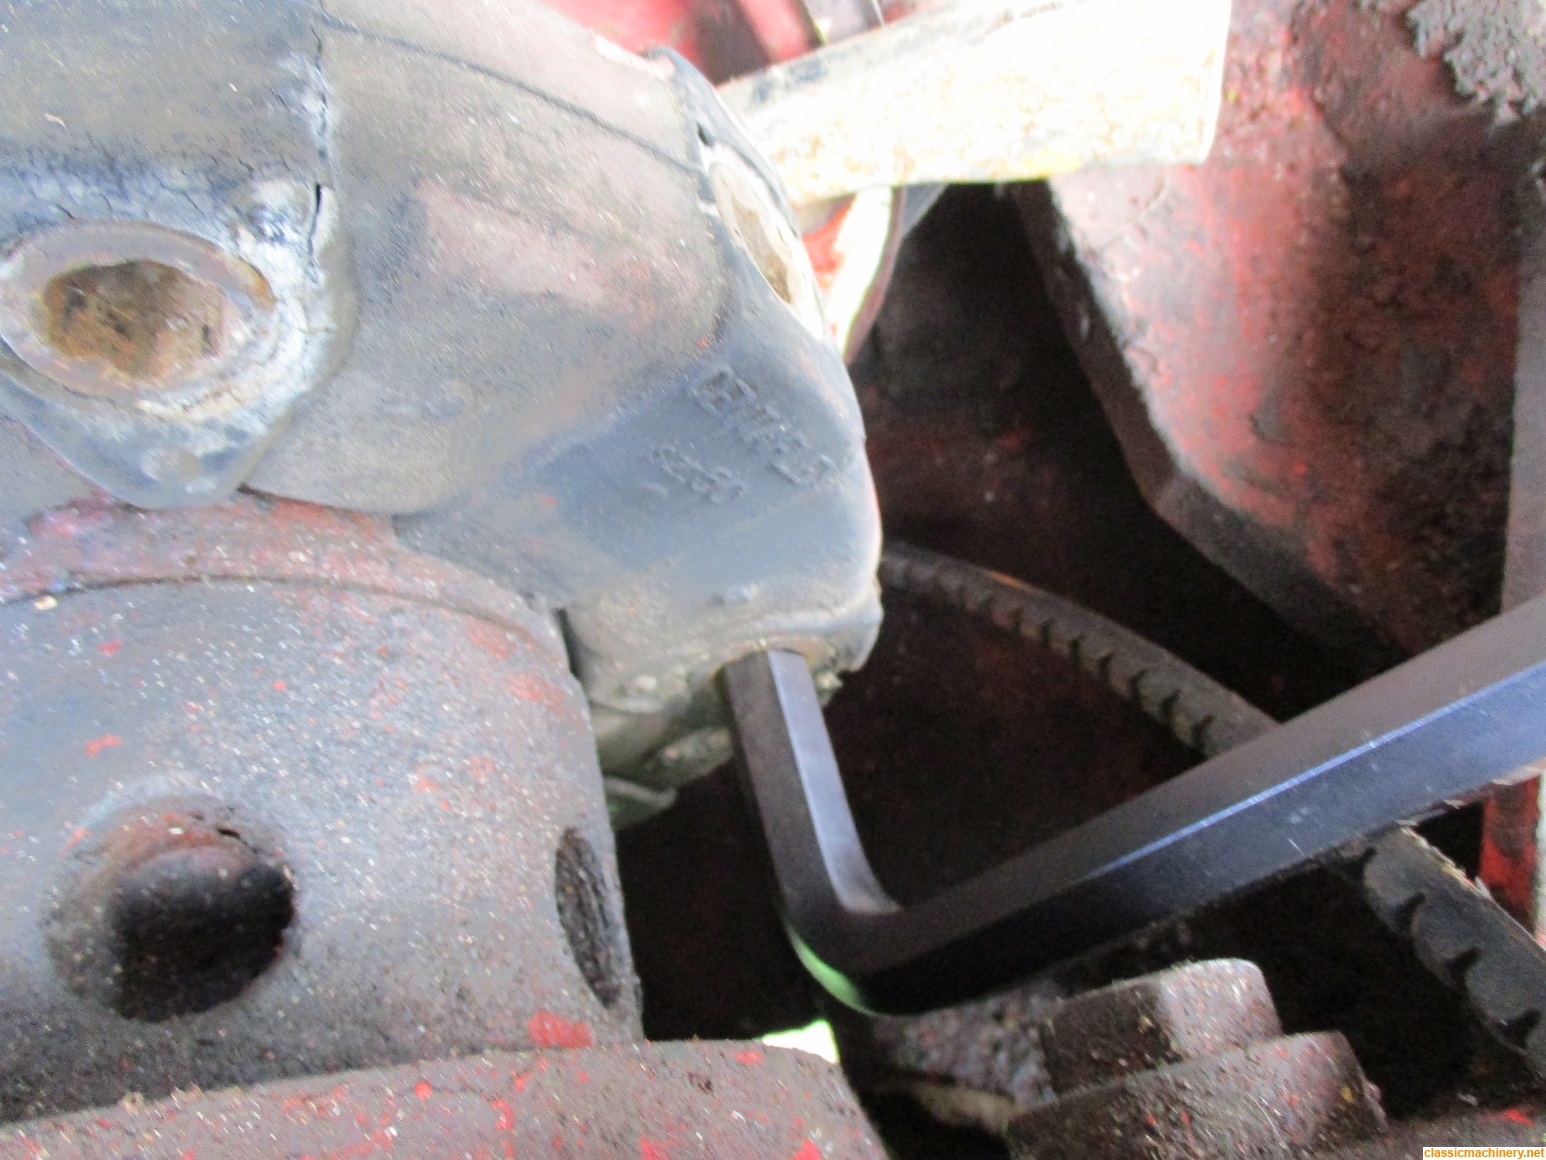
AJ Thanks, I ran the engine and watched the jockey pulley it does move and slop about a bit specially when the engine is on tick over does this mean that the spring is weak? When I put the belt back on the spring felt like it had plenty of tension to me, what did you normally find was the cause? The engine does have a warning switch that is supposed to operate the horn if the belt fails or comes off but this does not work which for a machine of her age comes as no great surprise.
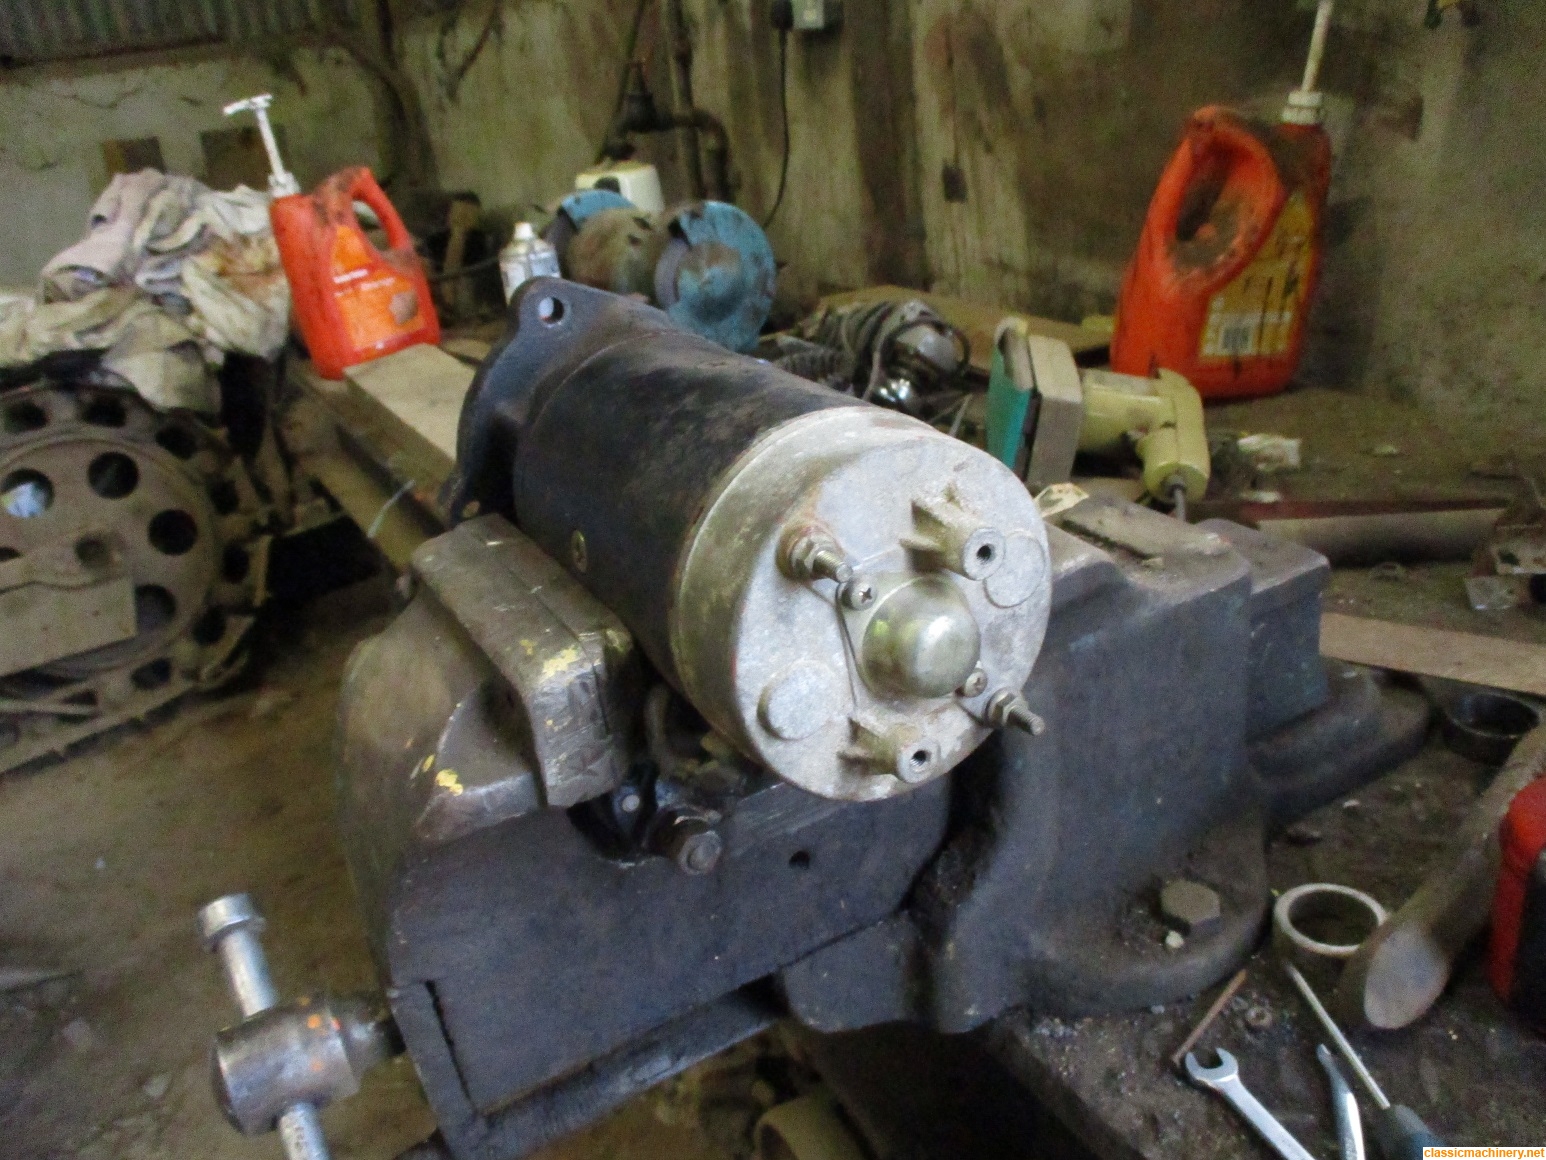
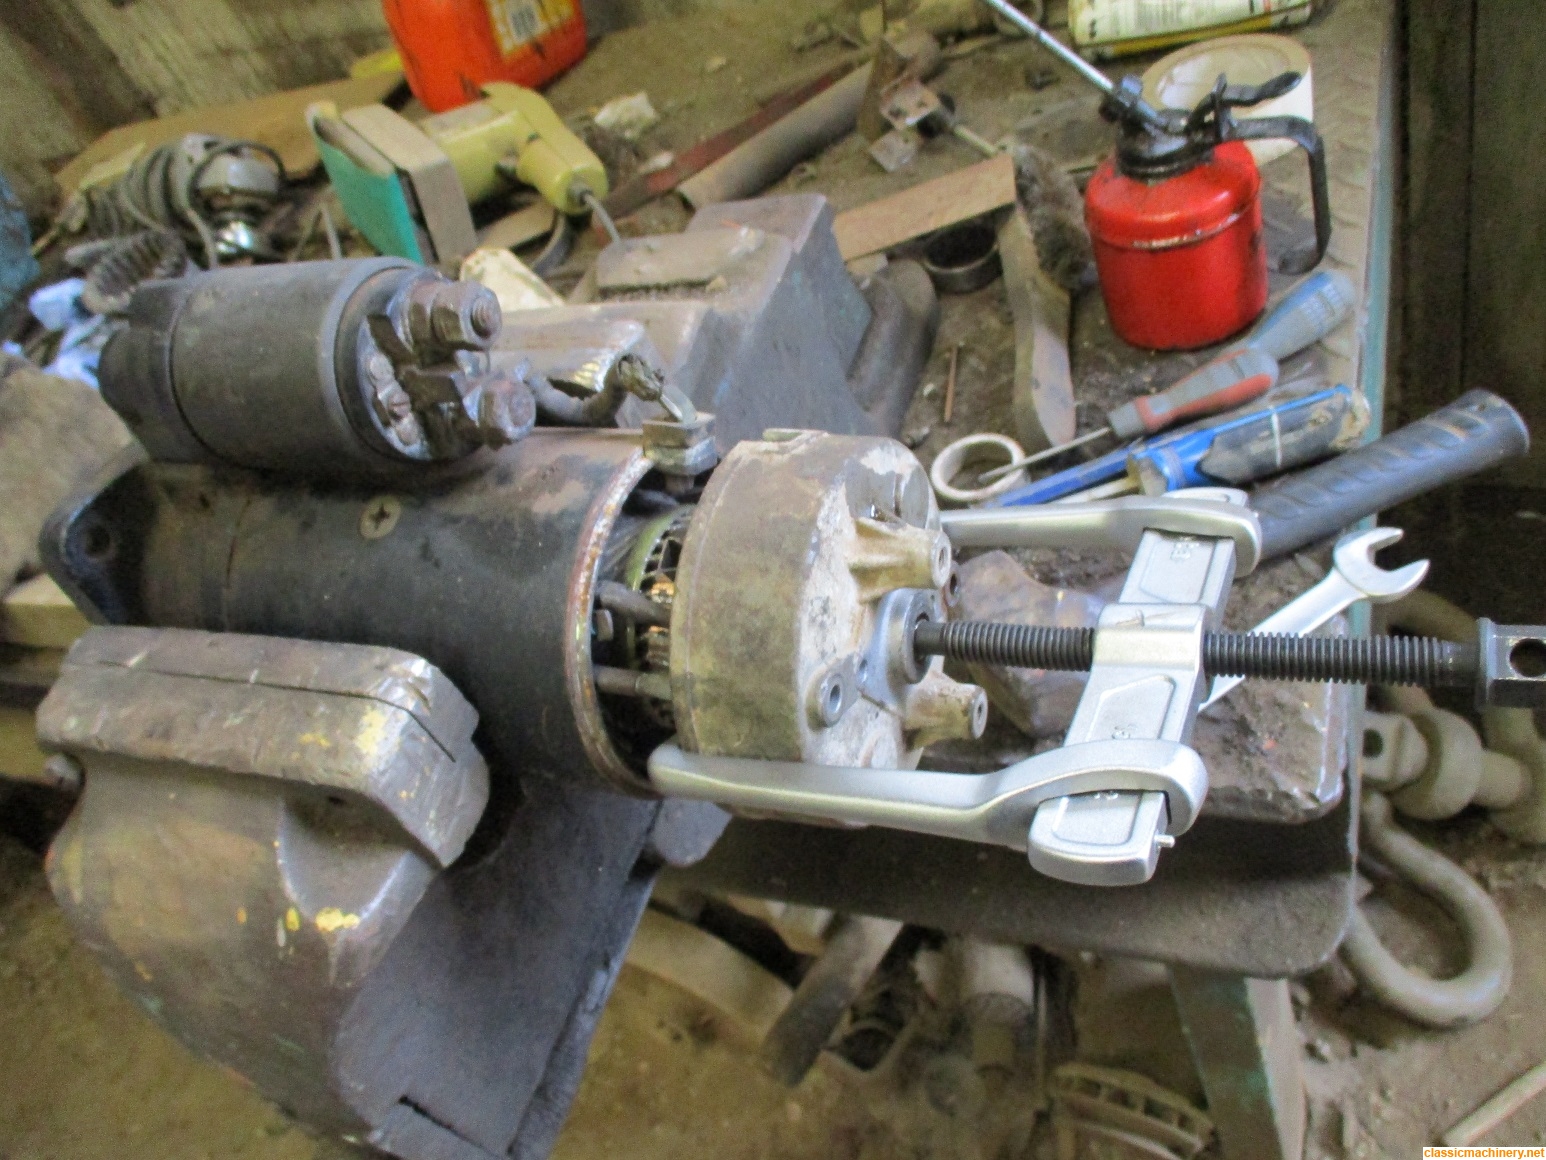
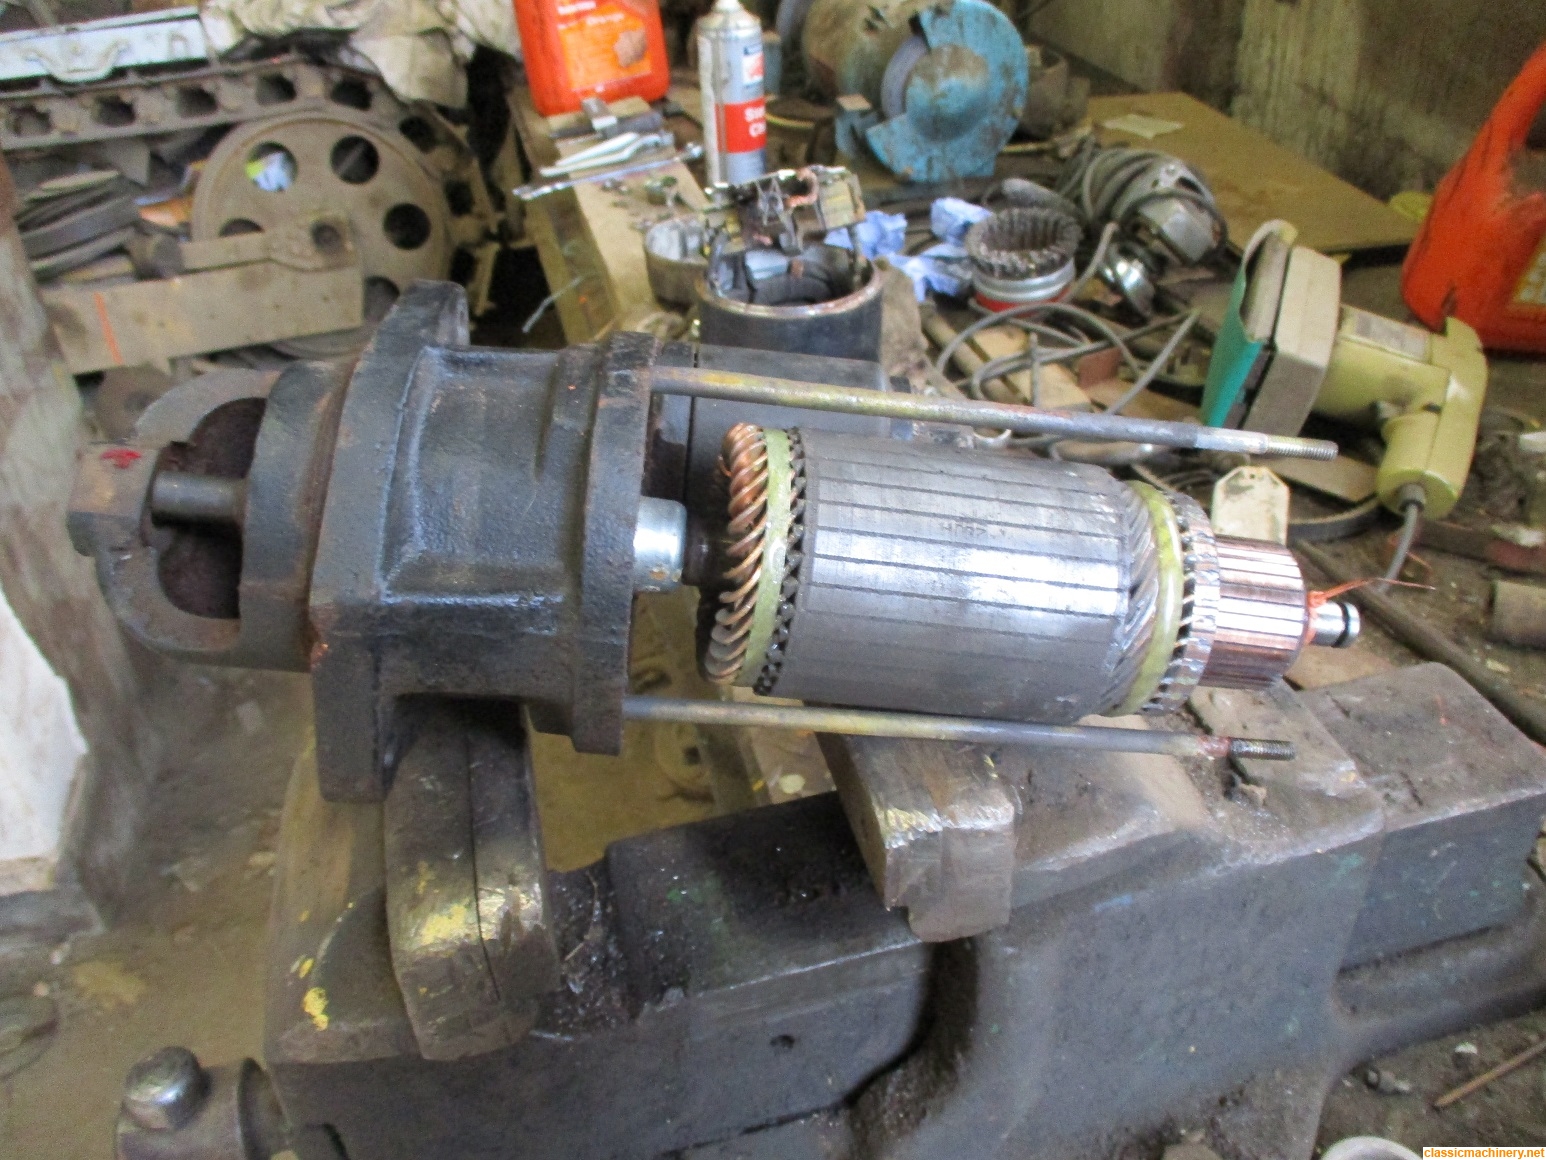
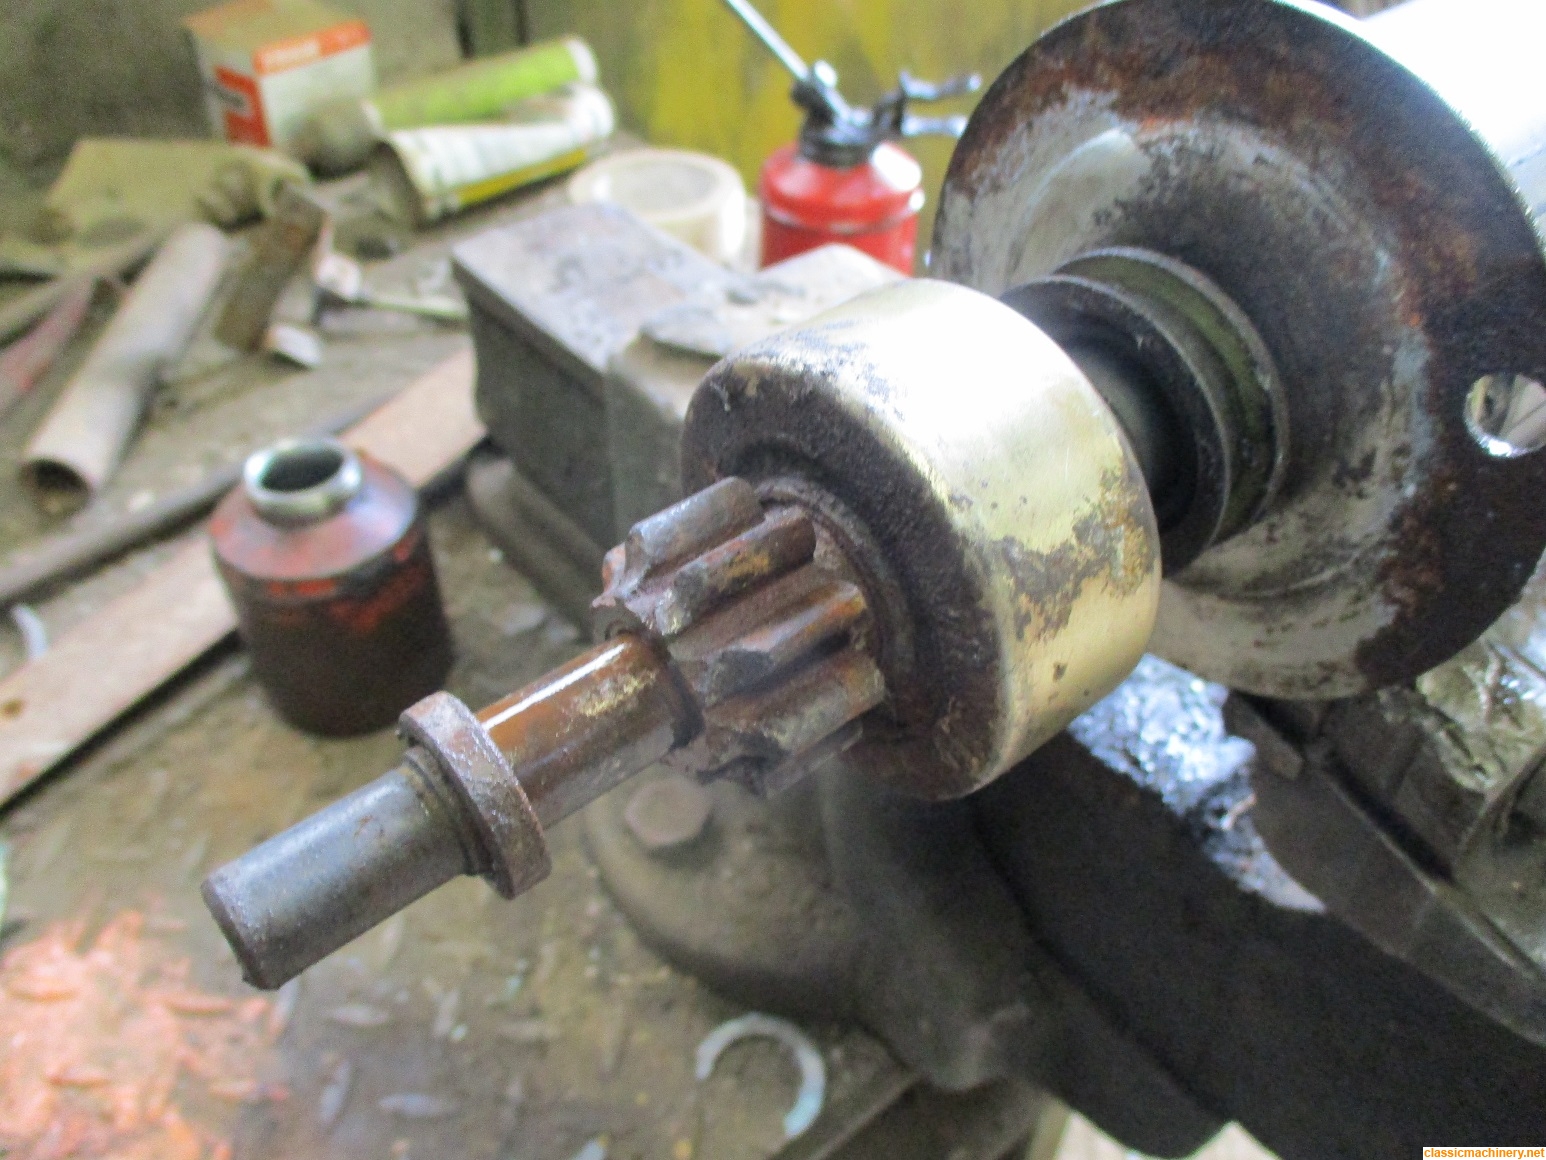
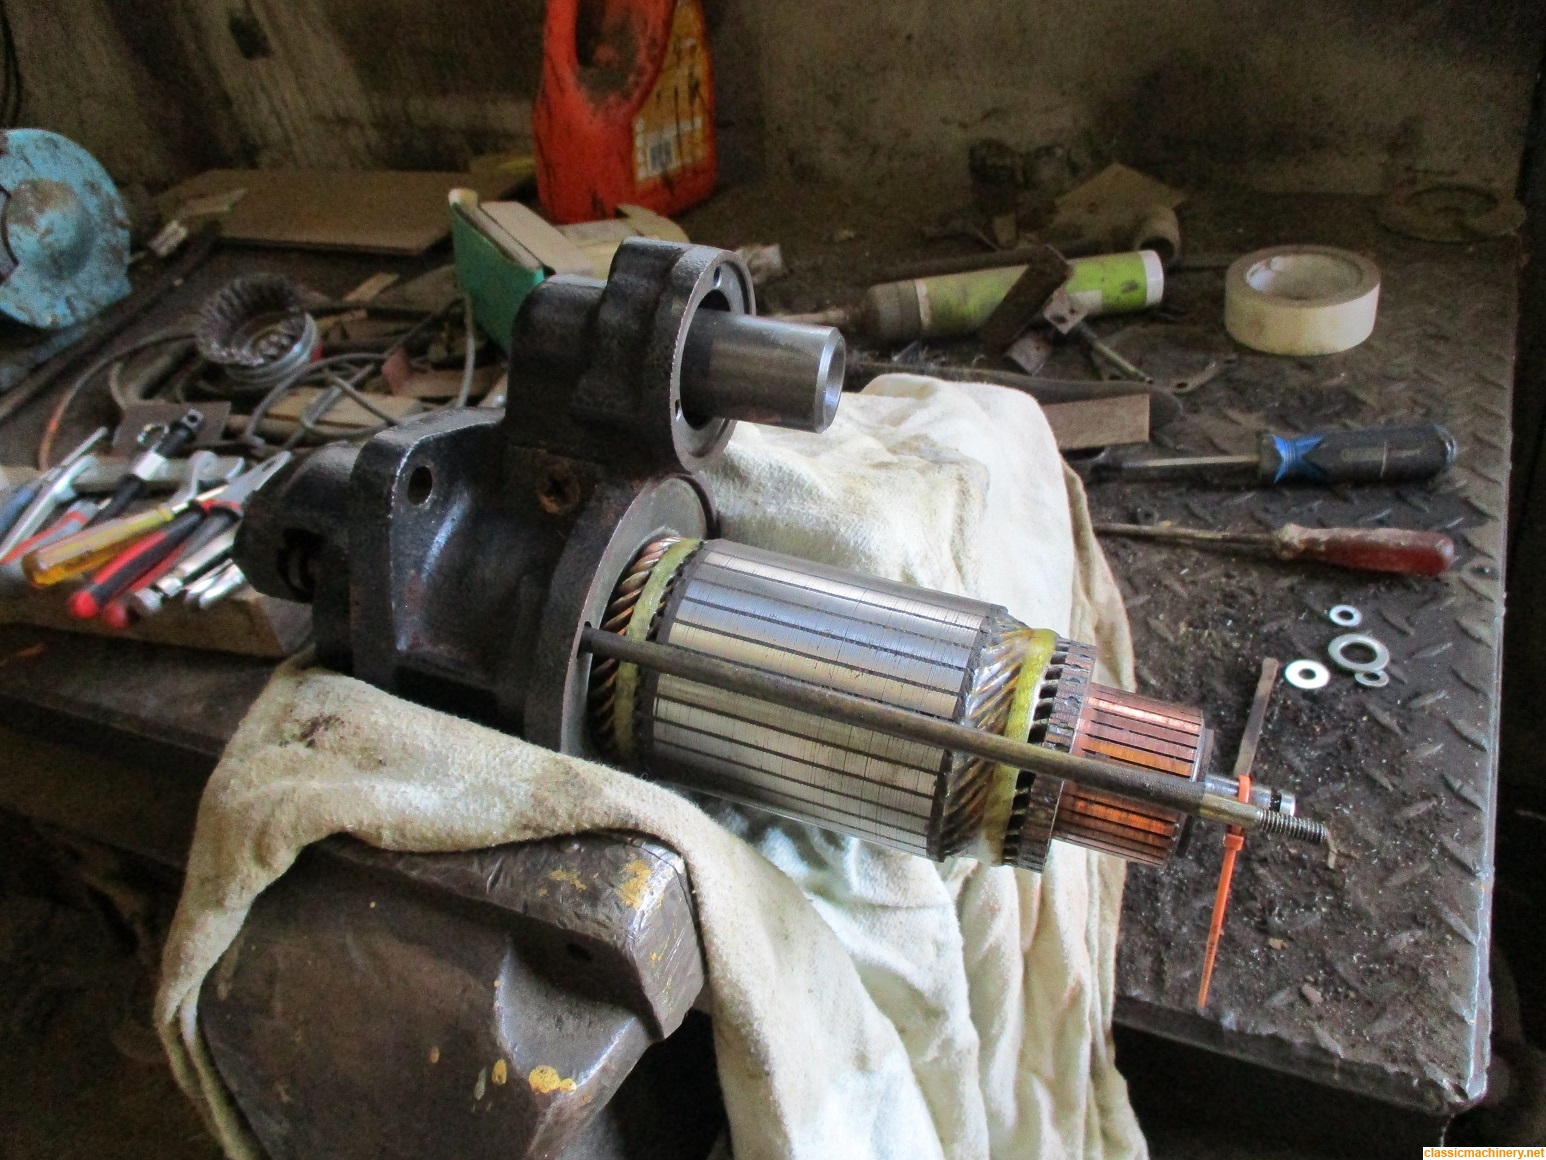
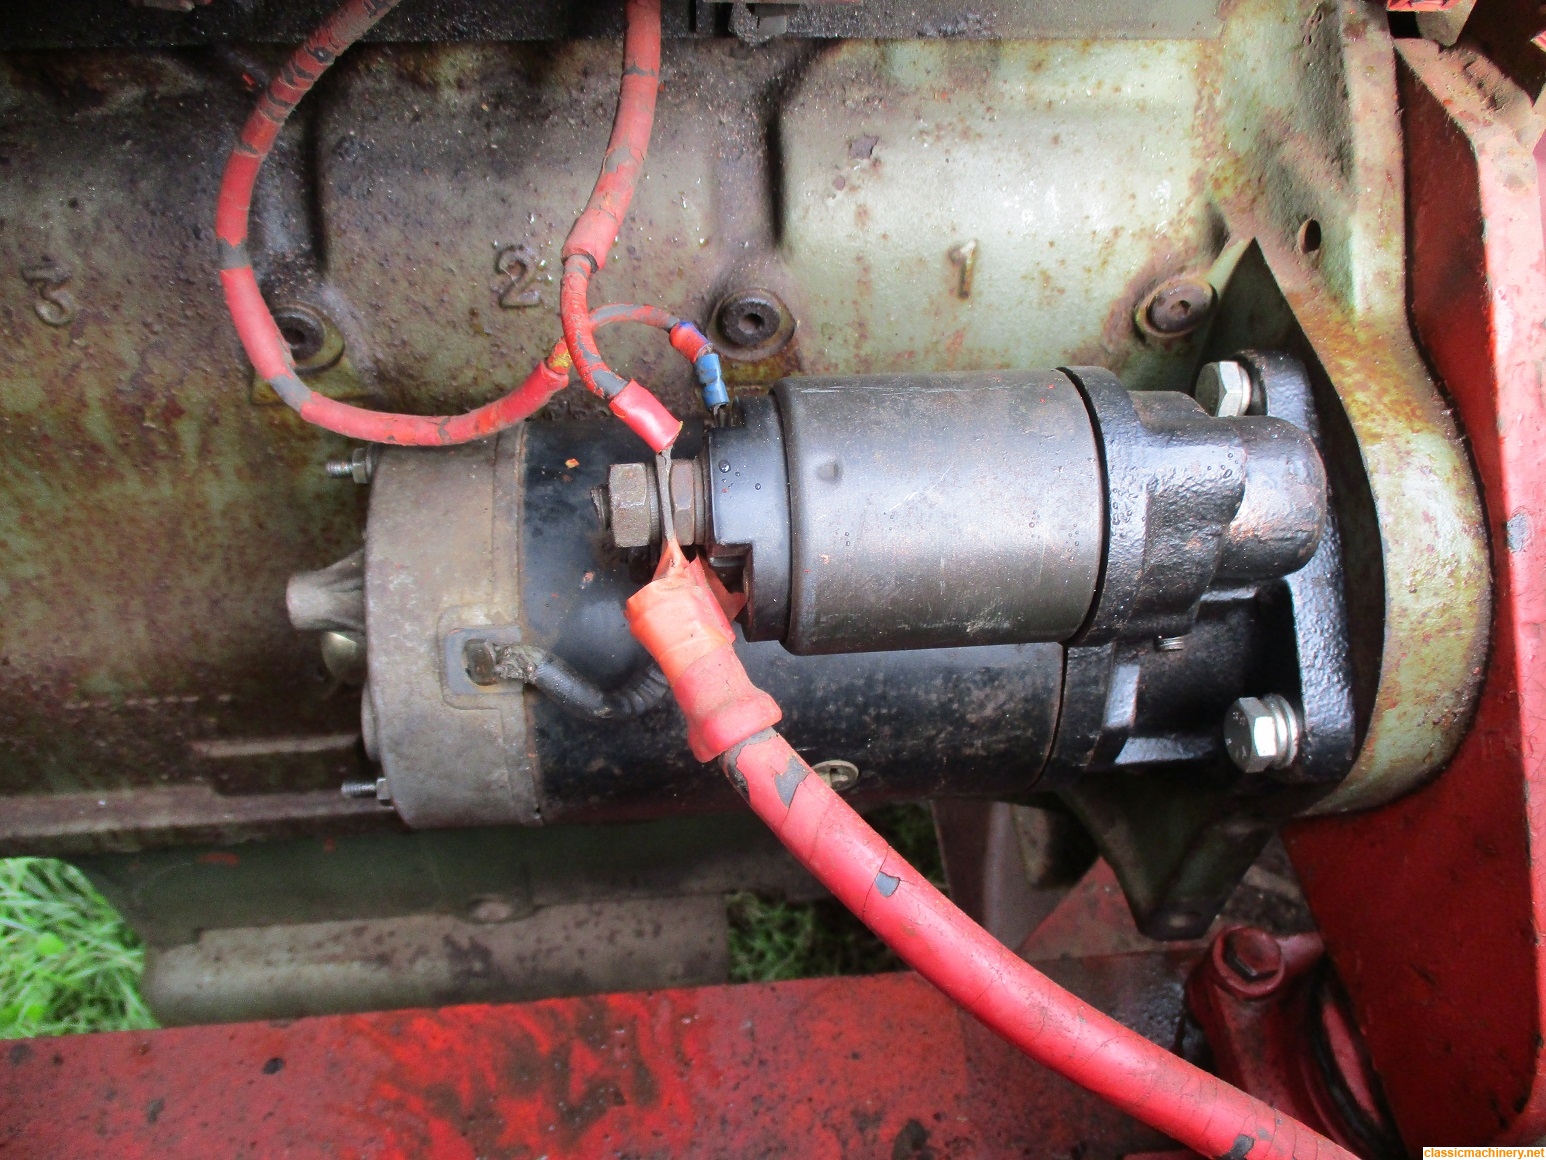
How difficult is the Bendix to change on the starter; I would assume that you remove the starter and strip it from the back?
Cheers

Jeremy

User avatar

AJ.
Posts: 27
Joined: Wed Jul 11, 2007 12:40 am
Real name: Aj
Location: UK
Been thanked: 4 times
Flag: Great Britain

Re: Poclain 75 CKB

Post #92 by AJ. » Fri Oct 02, 2020 7:50 pm

Yes the jockey wheel moves when on tick over but if its throwing the belt something is causing it,take the belt off and check if the pulley bearing,also check the arm where it comes out of the housing that the bush is not worn and that can cause the pulley to be out of line,check the fan bearings for freeness and play while the belt is off,I take it the belt is good,examine it and if there any lumps on it change it,the pump coupling has to be loosened and the spacers between it and the pulley taken out to get the belt in, yes the starter has to come off to fit the Bendix,then the solenoid and the front nose,the Bendix is held on with a cir clip,take that off and the Bendix will slide off,I had a look on ebay typed in Bosch starter motor Bendix and some came up,I do not know which one you want there is one on there that says for the Detuz engine it's at the link below,it is up to yourself to establish its the right one count the teeth on yours.
AJ
https://www.ebay.co.uk/sch/i.html?_from ... x&_sacat=0


Topic author
Jeremy Rowland
Moderator
Posts: 8677
Joined: Sun Aug 05, 2007 8:36 pm
Real name: Jeremy Rowland
Has thanked: 1873 times
Been thanked: 1692 times

Re: Poclain 75 CKB

Post #93 by Jeremy Rowland » Thu Oct 08, 2020 10:23 pm

Once again today's weather prevented anymore paint spraying so I decided to take a look at the starter motor issue taking onboard what AJ had said; the starter was removed and stripped down on the bench in Andrews shed. The only issue I had was the rear cover was a bit tight on the back of the commutator journal, hence the puller but I wanted to check the lot while I was on with it.
Yes the starter Bendix was truly shot, it has 9 teeth and is stamped SDDA0124 so I will have to see which one it is from the pics on Fleabay. :thumbup:

Jeremy


Image
Image
Image
Image
Image
Image
Image
Image
Image
Image

User avatar

AJ.
Posts: 27
Joined: Wed Jul 11, 2007 12:40 am
Real name: Aj
Location: UK
Been thanked: 4 times
Flag: Great Britain

Re: Poclain 75 CKB

Post #94 by AJ. » Mon Oct 12, 2020 4:53 pm

Looks like there plenty rust in there probably caused by someone being over zealous with the pressure washer, hope the ring gear is ok, nice easy starter to get off,plenty room on that side of the engine not so the other side especially if the lift pump needs cleaning,there is a gauze filter in the lift pump that needs cleaning from time to time cursing and swearing is allowed while doing it.
AJ


Topic author
Jeremy Rowland
Moderator
Posts: 8677
Joined: Sun Aug 05, 2007 8:36 pm
Real name: Jeremy Rowland
Has thanked: 1873 times
Been thanked: 1692 times

Re: Poclain 75 CKB

Post #95 by Jeremy Rowland » Thu Oct 15, 2020 10:03 pm

Well today I managed to get up to the machine; I had a new starter clutch/bendix assembly ready for fitting, however my main plan was to try and get a bit more painting done on the digger.
Being as things were damp when I arrived I decided to rebuild the starter motor first and fit it on to give the weather chance to dry things out a bit before attempting any bodywork or painting. I managed to rebuild the starter with ease, just as I had finished fitting it there was a brief shower of rain so I decided to not bother with anymore painting until a better days weather. The starter worked fine so I was really pleased about that. :thumbup:

I also had acquired a new set of genuine Deutz drive belts so as painting was off the agenda I decided to fit those; now the two belts already on the machine were an unknown quantity, some previous owner had cable tied them around the hydraulic pump so as not to have to disconnect its drive coupling to get the belts over the engines front pulley and I had simply fitted those.

Now I can understand why they didn't want to disconnect the pulley coupling because the socket cap-head pins were very tight and I soon found myself adding copious amounts of money to my swear box as I struggled to get them undone; after much ado they did come out and when I finally refitted them I had not only cleaned them up but put plenty of copper anti-seize compound on them so future removal should not be such an issue, they are M16 x 70 Socket caps.
I took the trouble to check the pulleys etc. the fan pulley spins freely, there is a small amount of play in the bearings unfortunately I didn't have my DTI and magbase with me to measure it exactly, my best guess would be around 0.010" play so not much, I asked Andrews opinion and he thought they were okay, must confess I would like to get some lube in them if that is possible without removal of the whole assembly? The old fan belt was more than likely the cause of it being thrown when I compared it to the new genuine article, when I ran the machine after reassembly the jockey/adjuster pulley was not jumping about as much as before.
I also checked the best I could the warning switch but there was no power to the cables going to it so I have another issue there to sort, all in all though a good result for me today.

Jeremy

Image
Image
Image
Image
Image
Image
Image
Image
Image
Image


Topic author
Jeremy Rowland
Moderator
Posts: 8677
Joined: Sun Aug 05, 2007 8:36 pm
Real name: Jeremy Rowland
Has thanked: 1873 times
Been thanked: 1692 times

Re: Poclain 75 CKB

Post #96 by Jeremy Rowland » Thu Oct 22, 2020 9:18 pm

Well I was quite pleased that today's weather was supposed to be reasonable so I set about spray painting the last side of the red paint on the Poclain; this side of the machine appears to have suffered from the dents and bangs that machines tend to get throughout their life, and somebody had been over generous with the body filler.
The said filler had split in two places, one on the battery box door and the other on the front corner of the machine which has also got a nice dent in the front of it.
I removed all of the filler from the battery box door and panel beat out much of the dent but decided against putting anymore body filler on it; I think really that she has done well for her age considering she'd been used on demolition work for at least one long contract. The filler on the offside front panel, I had already removed the loose chunk and rubbed back to bare metal so I simply refilled that and smoothed it over the best I could, to be fair body work and filler are not my strongest skills but I just wanted it all rust and body filler crack free.
Time as ever was against me as was the weather which looked like rain but just about held off; in the end I got it painted so the spraying of the red paint is finished, I intend to get some brush red paint to cover the checker plates on the top deck of the machine, but the next for attention is the bonnet covers, then the deck plates and finally some more cab attention.
It will never look new but that's not my intention, I just want my machines to look reasonably good, clean, rust free and be fully operational.

Jeremy


Image
Image
Image
Image
Image
Image


Whitlock 505
Posts: 201
Joined: Sat Aug 29, 2015 10:24 am
Real name: Ian Perrott
Has thanked: 90 times
Been thanked: 88 times
Flag: Wales

Re: Poclain 75 CKB

Post #97 by Whitlock 505 » Wed Oct 28, 2020 2:43 pm

Wow excellent progress Jeremy, good job on the starter and she's coming along nicely fair play to you
Ian


Topic author
Jeremy Rowland
Moderator
Posts: 8677
Joined: Sun Aug 05, 2007 8:36 pm
Real name: Jeremy Rowland
Has thanked: 1873 times
Been thanked: 1692 times

Re: Poclain 75 CKB

Post #98 by Jeremy Rowland » Thu Dec 10, 2020 10:47 pm

Despite the shorter days and crap weather I managed to get up there today; although much of the Poclain is now painted there is still quite a lot left to do including some holes which have rotted in the top of each of the two 'gull wing' bonnet covers.

As stated before I am crap at body work and wasn't quite sure how I was going to tackle this issue; it made more sense to weld new metal plate over the rotted holes rather than try and fill them with glass fibre body filler, an option which I had considered at one time, the trouble is that body filler looks good for only a short time then when the rotting metal underneath expands it pushes it out or just rots around it.

Whatever in the end I decided to weld plate over the holes; now the next issue was should I do this on the machine or remove the panels? I opted to remove the panels as oily old machines can catch fire with the hot welding process. To be honest the best way to have done this job would have been to cut the rotten steel off the panel and weld in a complete new section, this was not an option for me at this time, I just wanted a good solid surface which I could get some paint on. The panel came off easier than I had expected it to, of course it is rather heavy so Andrew's telehandler was used to lift it on and off the machine. Andrew kindly supplied some old scraps of panel steel for me to use, I simply cut them to size, ground off the rust where they were going to be welded, tack welded them into position, then one of the lads there welded them all the way around for me as my TIG welding leaves a lot to be desired (although I intend to get a bit more practice at this) Job done I painted the bare metal repair with primer then refitted the panel, one down one to go.

Jeremy

Image
Image
Image
Image
Image
Image
Image
Image
Image


Matchless?58
Posts: 200
Joined: Sun Oct 27, 2019 1:41 pm
Real name: Chris
Has thanked: 14 times
Been thanked: 56 times
Flag: Great Britain

Re: Poclain 75 CKB

Post #99 by Matchless?58 » Fri Dec 11, 2020 1:37 am

A good solid working repair Jeremy . That's the way I intend to tackle the holes in the top of the mudguard on my JCB . My welding skills are a bit rubbish but it will be good practice and I'm going to have a go . Cheers Chris


Topic author
Jeremy Rowland
Moderator
Posts: 8677
Joined: Sun Aug 05, 2007 8:36 pm
Real name: Jeremy Rowland
Has thanked: 1873 times
Been thanked: 1692 times

Re: Poclain 75 CKB

Post #100 by Jeremy Rowland » Fri Dec 18, 2020 8:49 pm

After much of the wet stuff this week, Thursday proved to be a relatively dry day so I decided to finish the offside bonnet cover, this entailed scraping crap off it then using an angle grinder with flap discs to sand it back to bare metal. Before I painted it I straightened out the lower edge that had become distorted over time. Once done, I painted it with acid etch primer that just about had enough time to dry before I top coated it.
The top coat paint has not dried very well at all but this does not surprise me as I had the same issue when I painted the side of the other bonnet cover, the paint tended to dry saggy which makes it look a mess; however my main reason for painting it this way (with brush paint as opposed to spray paint) was that I wanted to get a good thick solid top coat on to give it some weather protection.
My plan is that hopefully once both of the bonnet covers are repaired and fully brush painted, I will then lightly sand the saggy areas and spray paint all of the bonnet covers to get a better finish, this being done when we have better weather in the early spring or summer.
Realistically I cannot see the country getting back to a normal way of life in the current climate due to Covid and I think that even next Easter may be an optimistic estimate on behalf of the government so this will mean many of next years events being cancelled once again including the working events at Andrews farm, at least this should give me time to get much more work done on my machines there so when things do return to some form of normality my machines should be ready for action in the working events held there.

Jeremy


Image
Image
Image


Return to “Excavators”

Who is online

Users browsing this forum: No registered users and 19 guests