

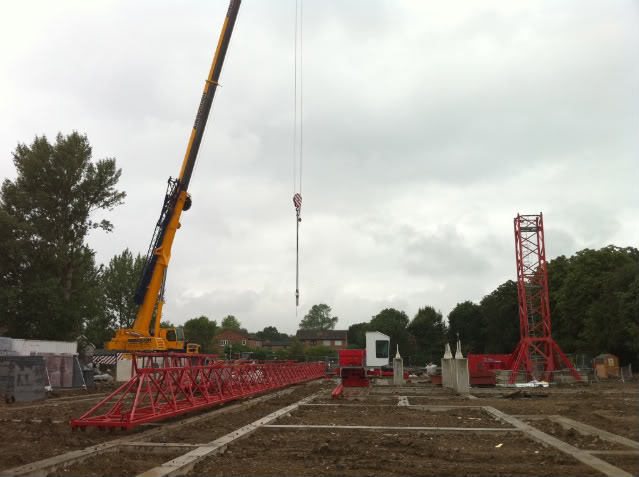
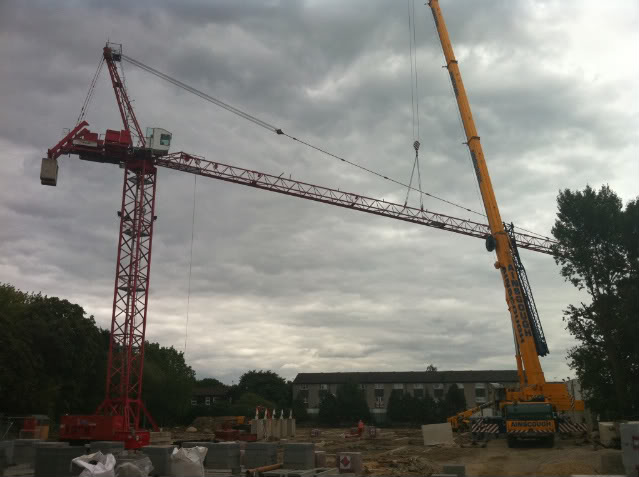
The tool for the job, Leibherr LTM1150 6.1
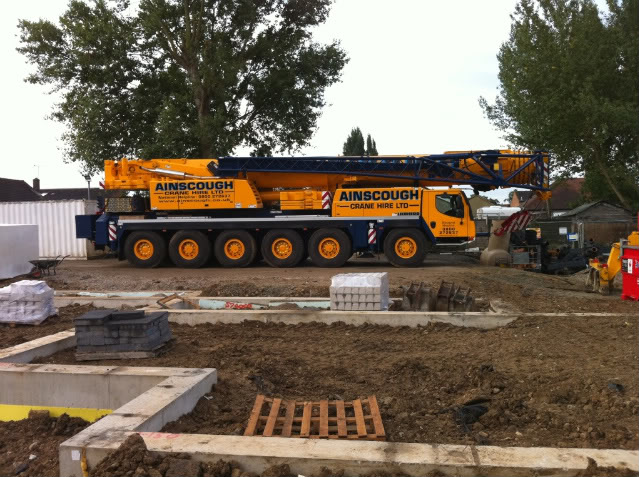
URL of the original image: http://i283.photobucket.com/albums/kk309/dhgareth/IMG_1264.jpg
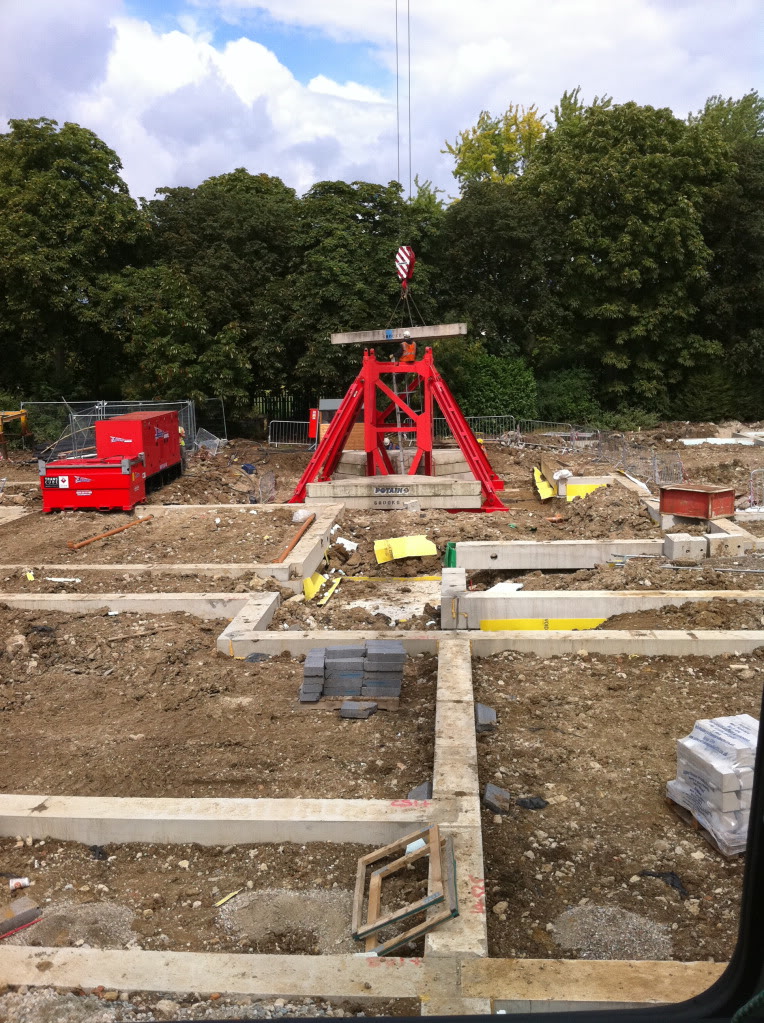
The base in and leveled, must be perfect, couple of millimeters out on the bottom will be greatly increased as the tower goes up!!!!
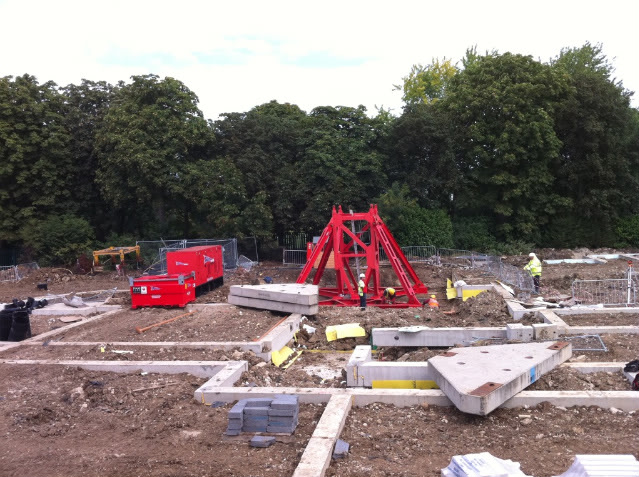
URL of the original image: http://i283.photobucket.com/albums/kk309/dhgareth/IMG_1268.jpg
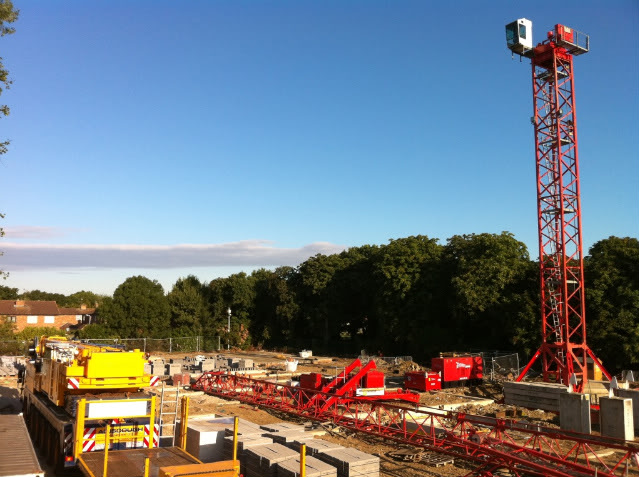
32.5m radius, more wagons turned up and unloaded.
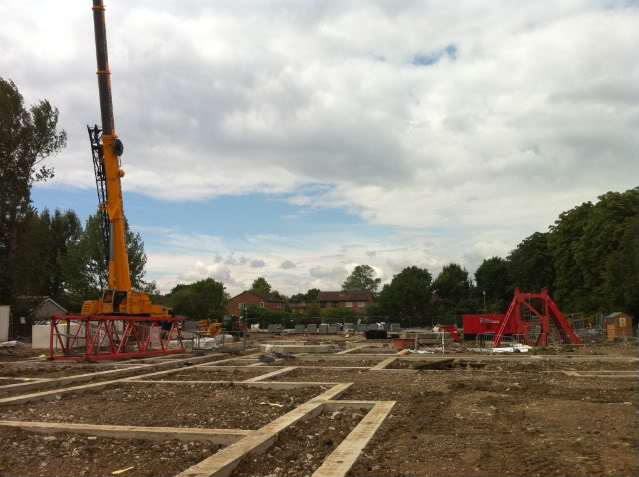
URL of the original image: http://i283.photobucket.com/albums/kk309/dhgareth/IMG_1269.jpg
Unloading a wagon.
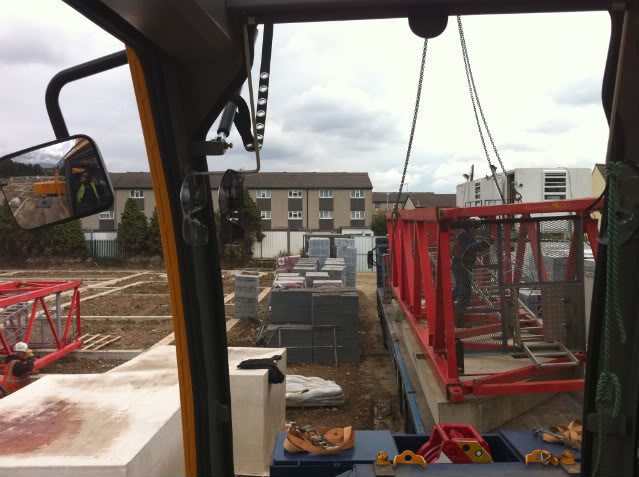
URL of the original image: http://i283.photobucket.com/albums/kk309/dhgareth/IMG_1275.jpg
Base ballast going on, bottom of the thing needs to be weighed down!
URL of the original image: http://i283.photobucket.com/albums/kk309/dhgareth/IMG_1273.jpg
All the ballast on the base so we can start building up.
URL of the original image: http://i283.photobucket.com/albums/kk309/dhgareth/IMG_1276.jpg
Building the jib up on the floor, it will be lifted complete.
URL of the original image: http://i283.photobucket.com/albums/kk309/dhgareth/IMG_1278.jpg
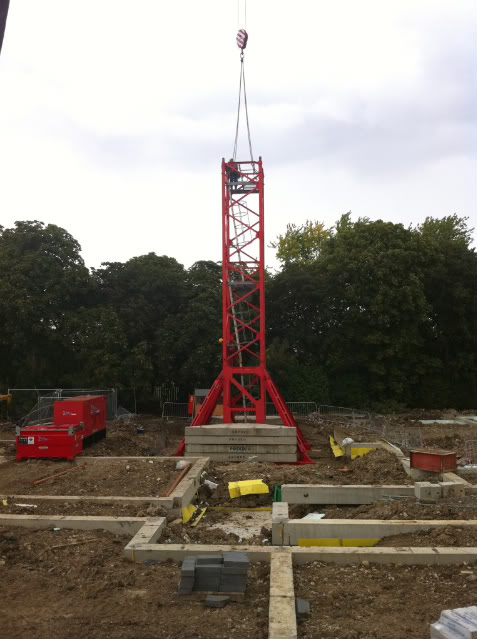
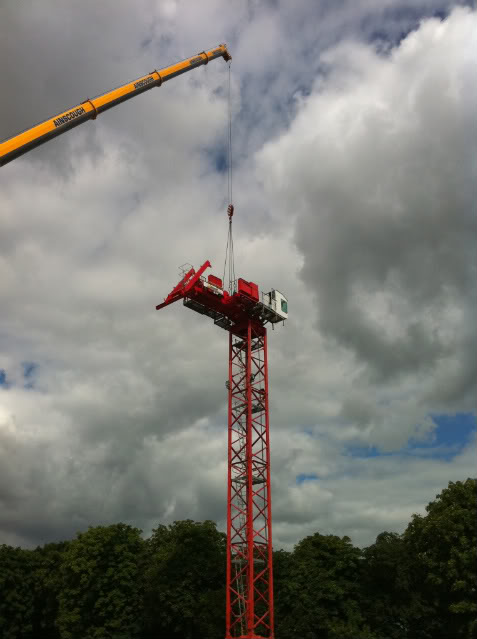
Another tower section placed and the slew ring and cab lifted

URL of the original image: http://i283.photobucket.com/albums/kk309/dhgareth/IMG_1280.jpg
End of day 1!....we left the crane for 3 days now as the concrete base had not hardened enough to put the weight of the whole crane on.
Start of day 2, bright and early
URL of the original image: http://i283.photobucket.com/albums/kk309/dhgareth/IMG_1317.jpg
Back jib placed
URL of the original image: http://i283.photobucket.com/albums/kk309/dhgareth/IMG_1324.jpg
Started to cloud over.....put the winches and motors on the machinery deck
URL of the original image: http://i283.photobucket.com/albums/kk309/dhgareth/IMG_1325.jpg
Placing the A frame
URL of the original image: http://i283.photobucket.com/albums/kk309/dhgareth/IMG_1328.jpg
Once the A frame is fitted my crane is used to lift the back jib up to fix the pennant lines from the top of the A frame to the back jib.
URL of the original image: http://i283.photobucket.com/albums/kk309/dhgareth/IMG_1330.jpg
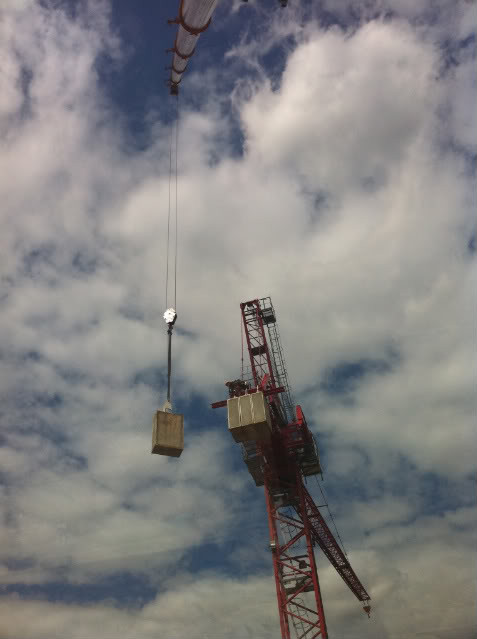
Then 2 of the 7 counterweight blocks are added
URL of the original image: http://i283.photobucket.com/albums/kk309/dhgareth/IMG_1331.jpg
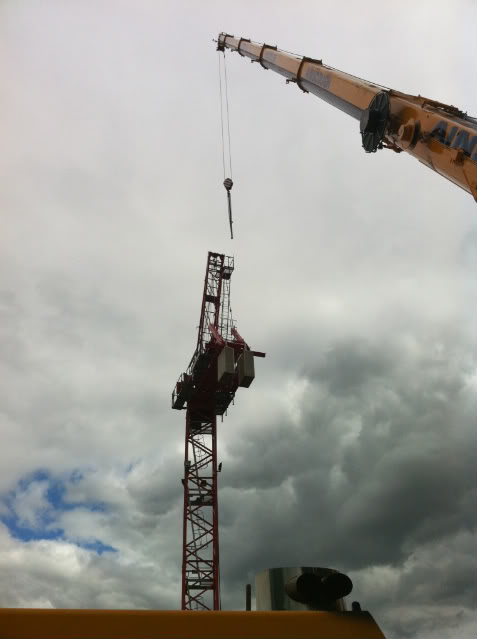
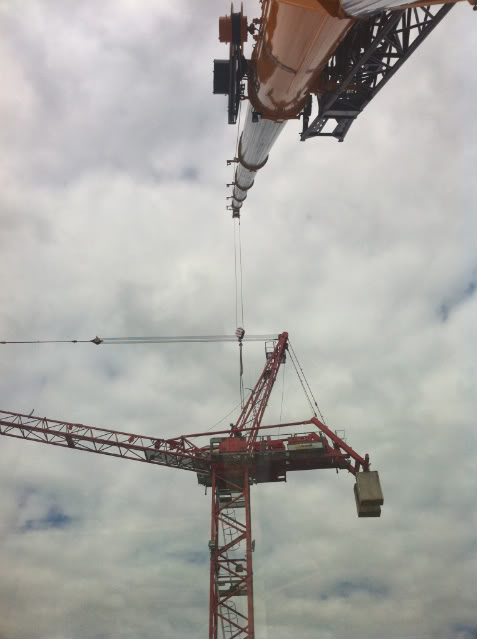
Then we're ready for the jib we built up on day 1, you cant see but the hook block is attached to the end, that will be reeved when the jib is fixed in position.
URL of the original image: http://i283.photobucket.com/albums/kk309/dhgareth/IMG_1348.jpg
Whats happening here is i've moved the jib past where it needs to fix so the bridle can be attached to the pennants, the bridle is pre reeved on the ground on took up with the A frame earlier.
URL of the original image: http://i283.photobucket.com/albums/kk309/dhgareth/IMG_1350.jpg
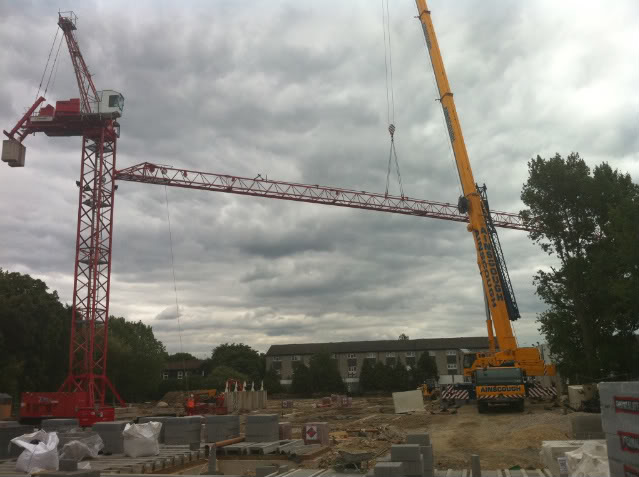
Once that is sorted the jib is moved into position and attached.
URL of the original image: http://i283.photobucket.com/albums/kk309/dhgareth/IMG_1352.jpg
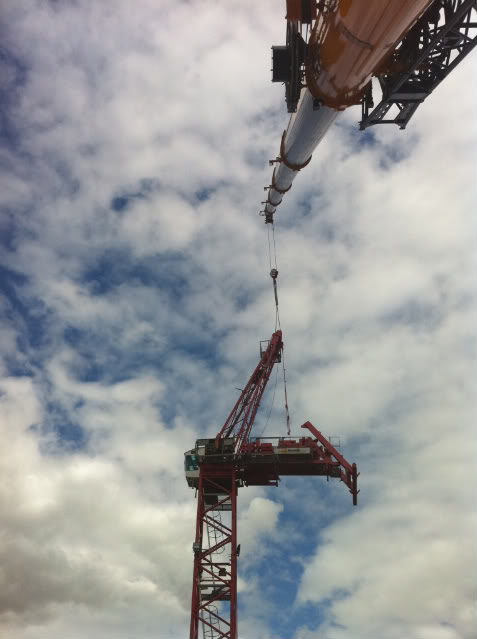
Its then all tensioned and the weight is taken of me as it takes the weight of its own jib
URL of the original image: http://i283.photobucket.com/albums/kk309/dhgareth/IMG_1356.jpg
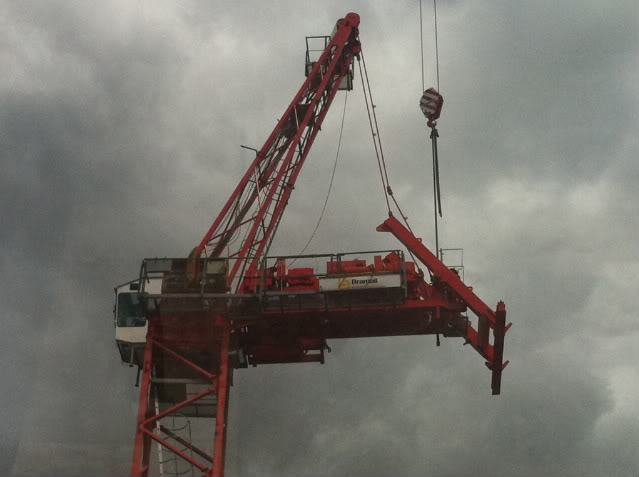
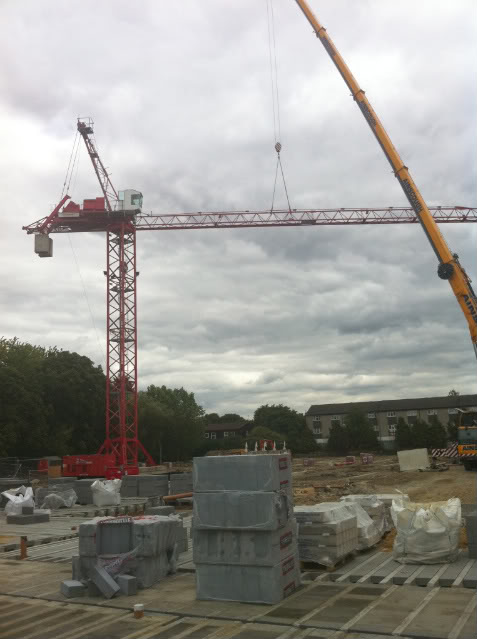
Then we place the actuators for the variable position counterweight
URL of the original image: http://i283.photobucket.com/albums/kk309/dhgareth/IMG_1361.jpg
Rest of the counterweight is added
URL of the original image: http://i283.photobucket.com/albums/kk309/dhgareth/IMG_1362.jpg
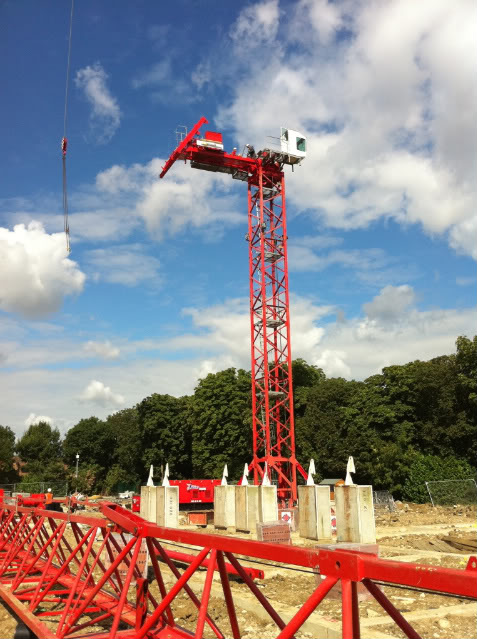
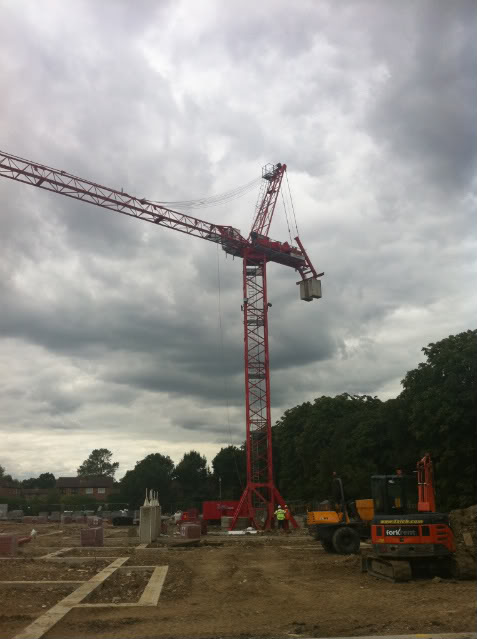
And hey presto, one tower crane.

URL of the original image: http://i283.photobucket.com/albums/kk309/dhgareth/IMG_1366.jpg
Enjoy
Gaz


