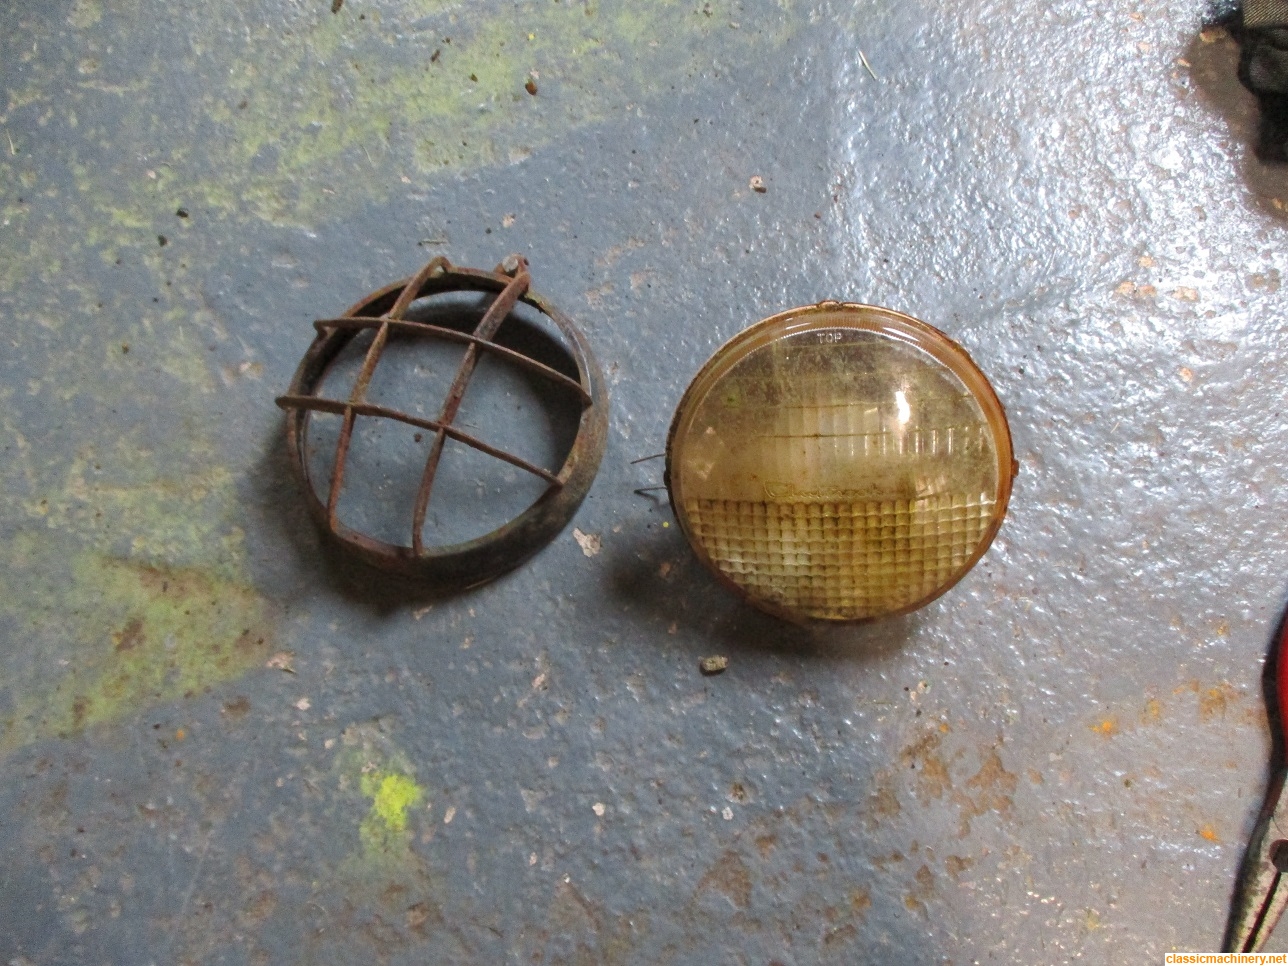
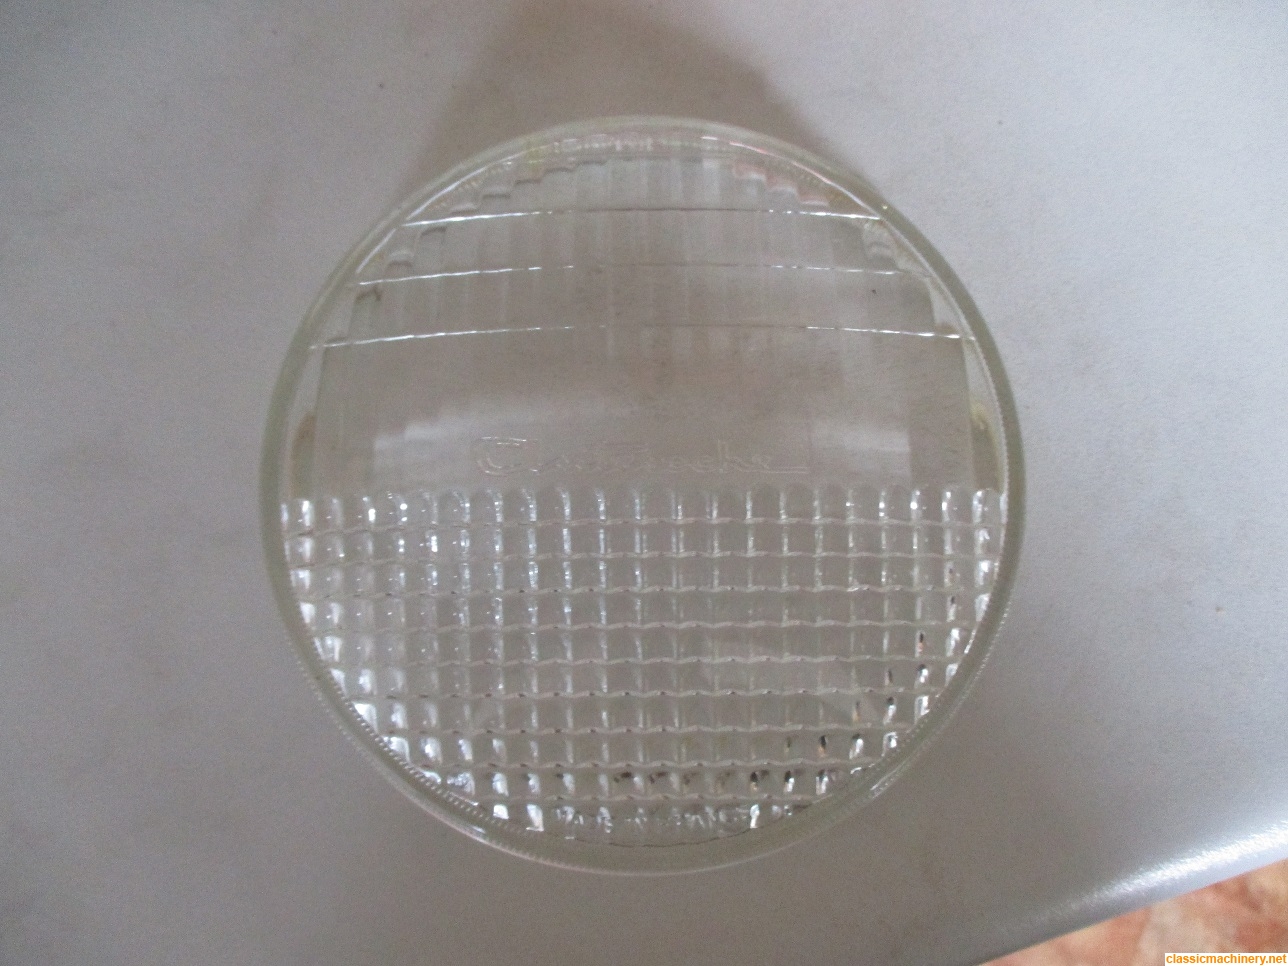
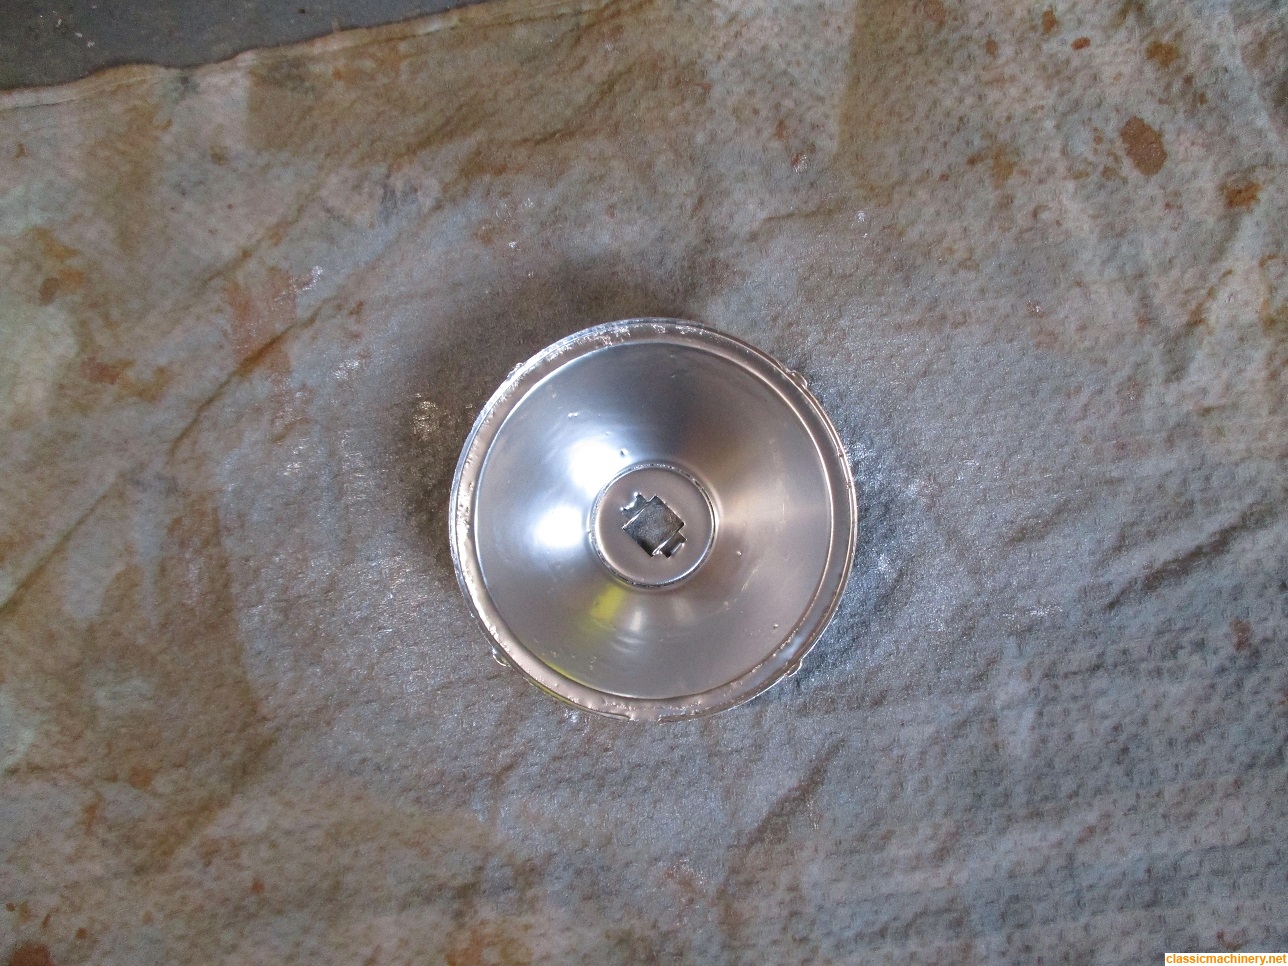
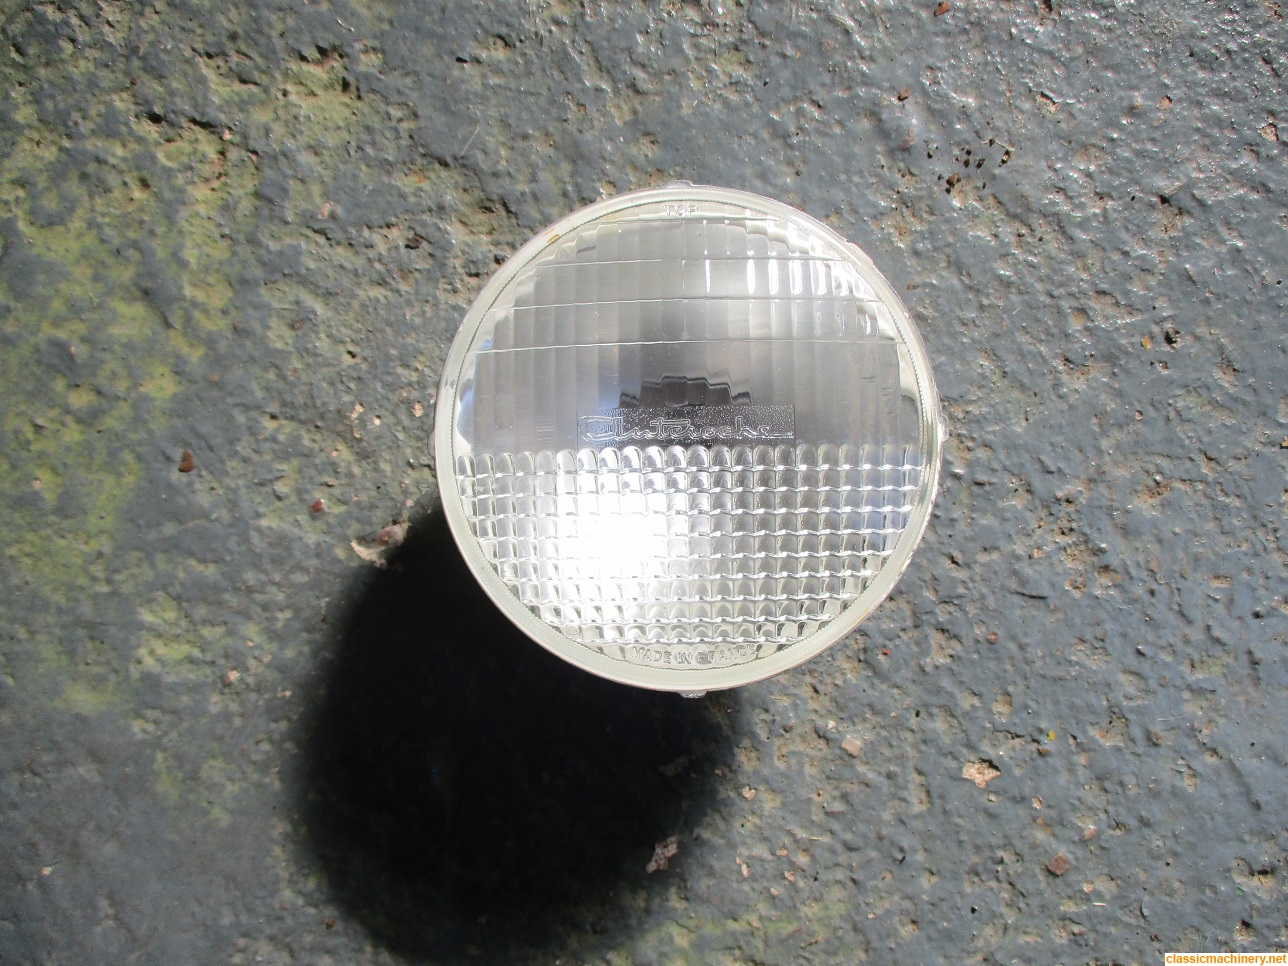
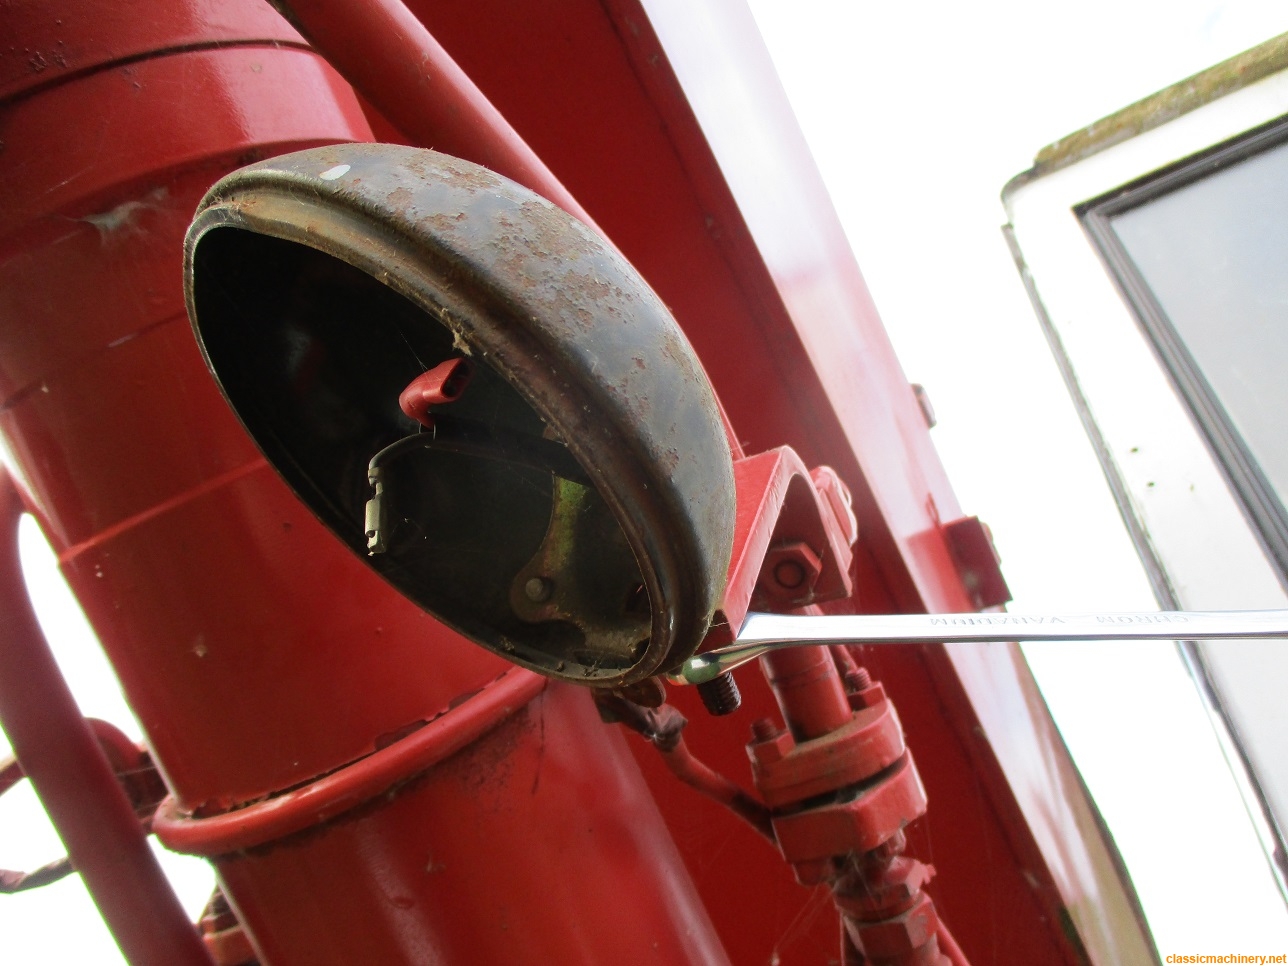
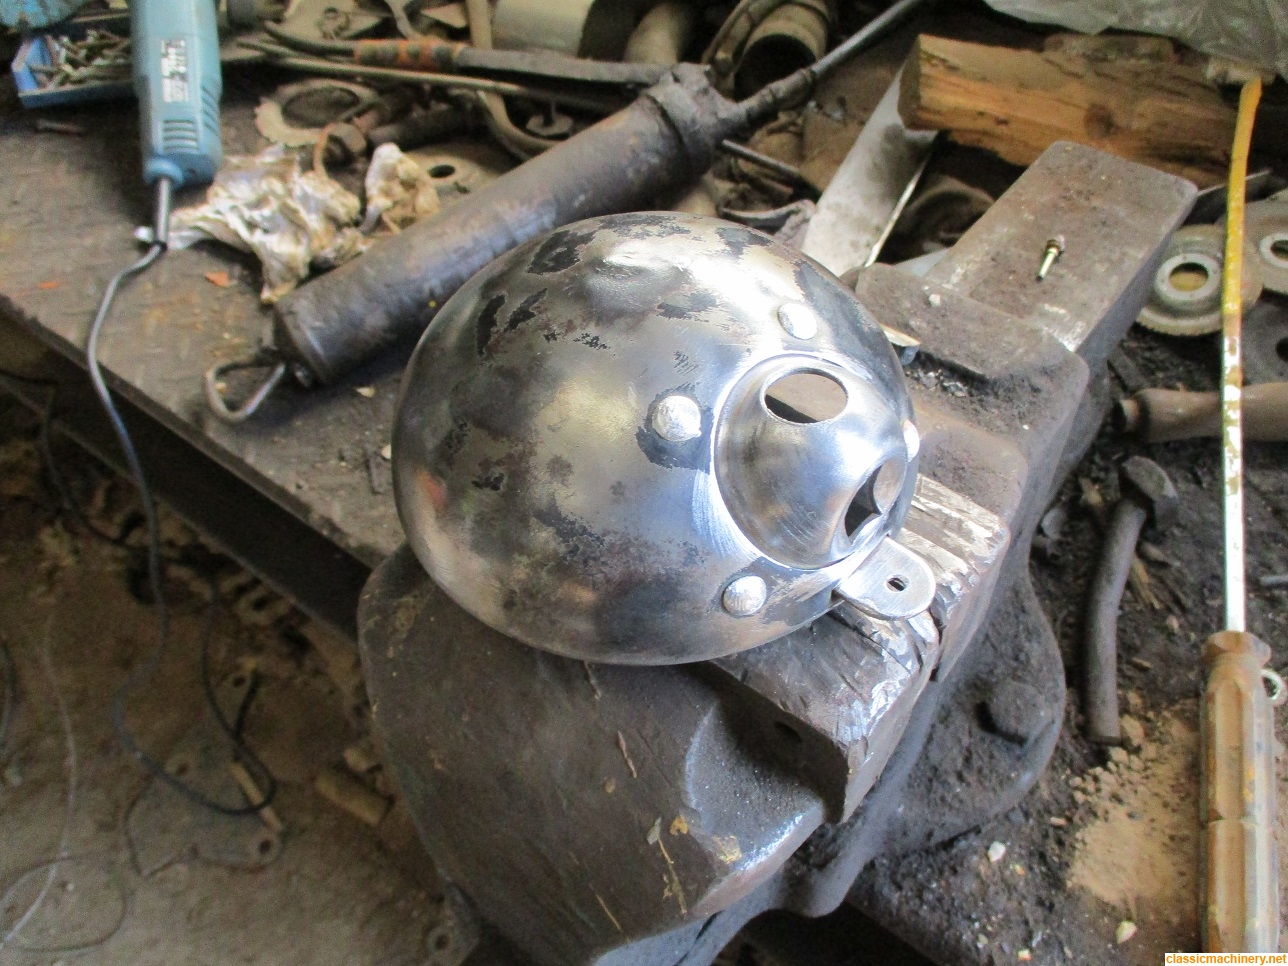
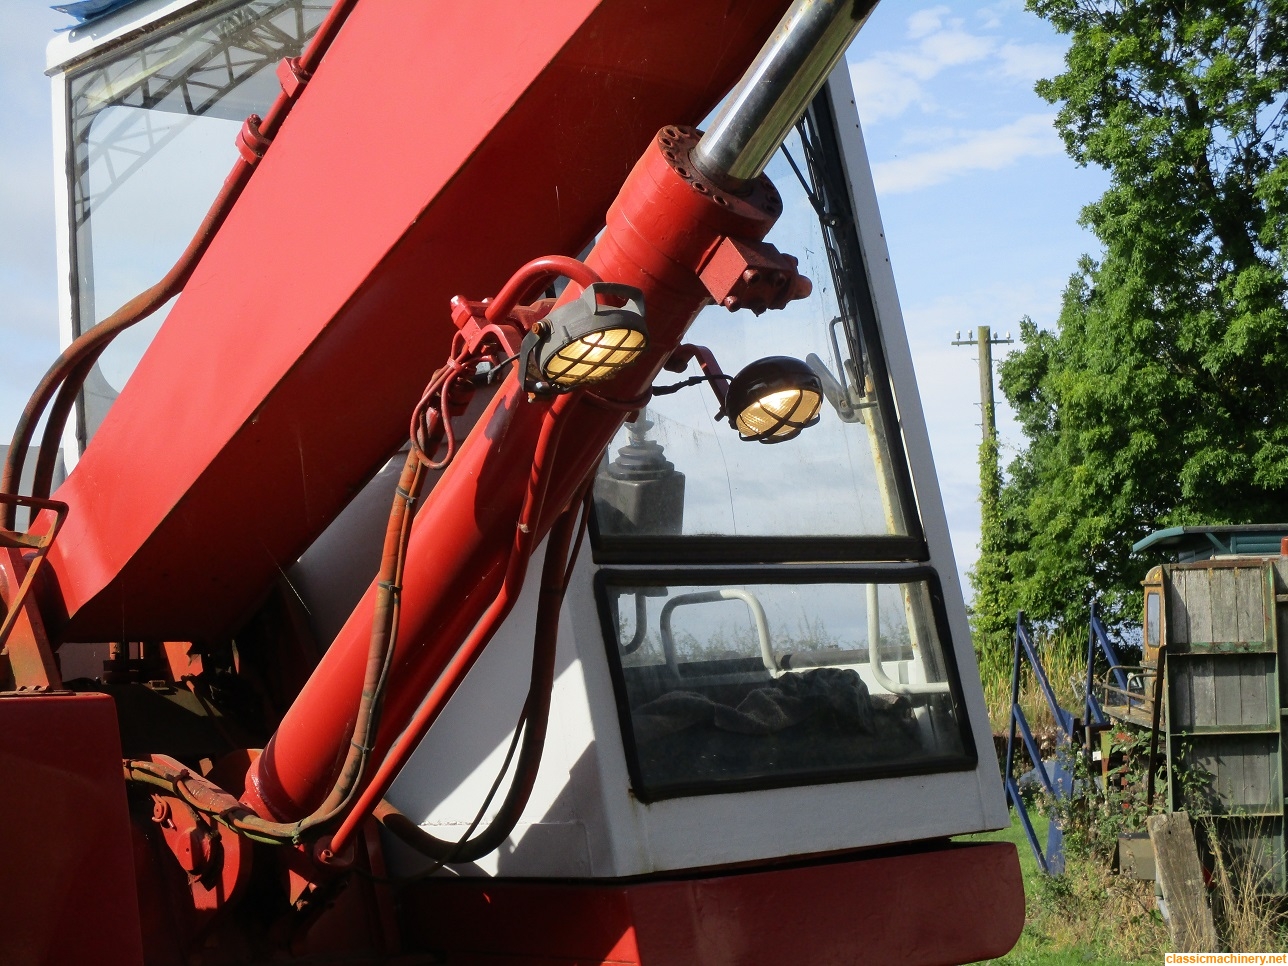
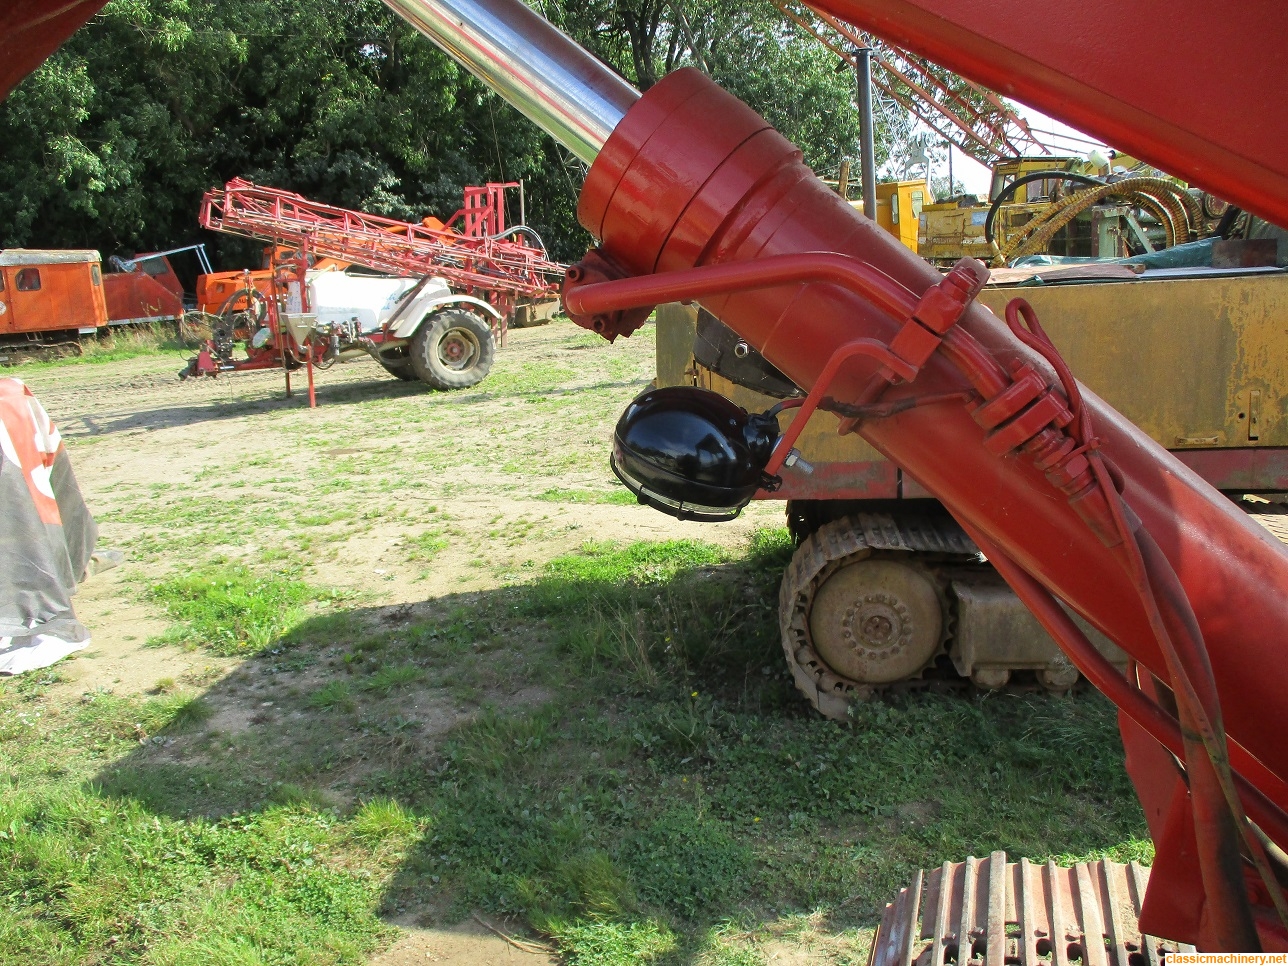
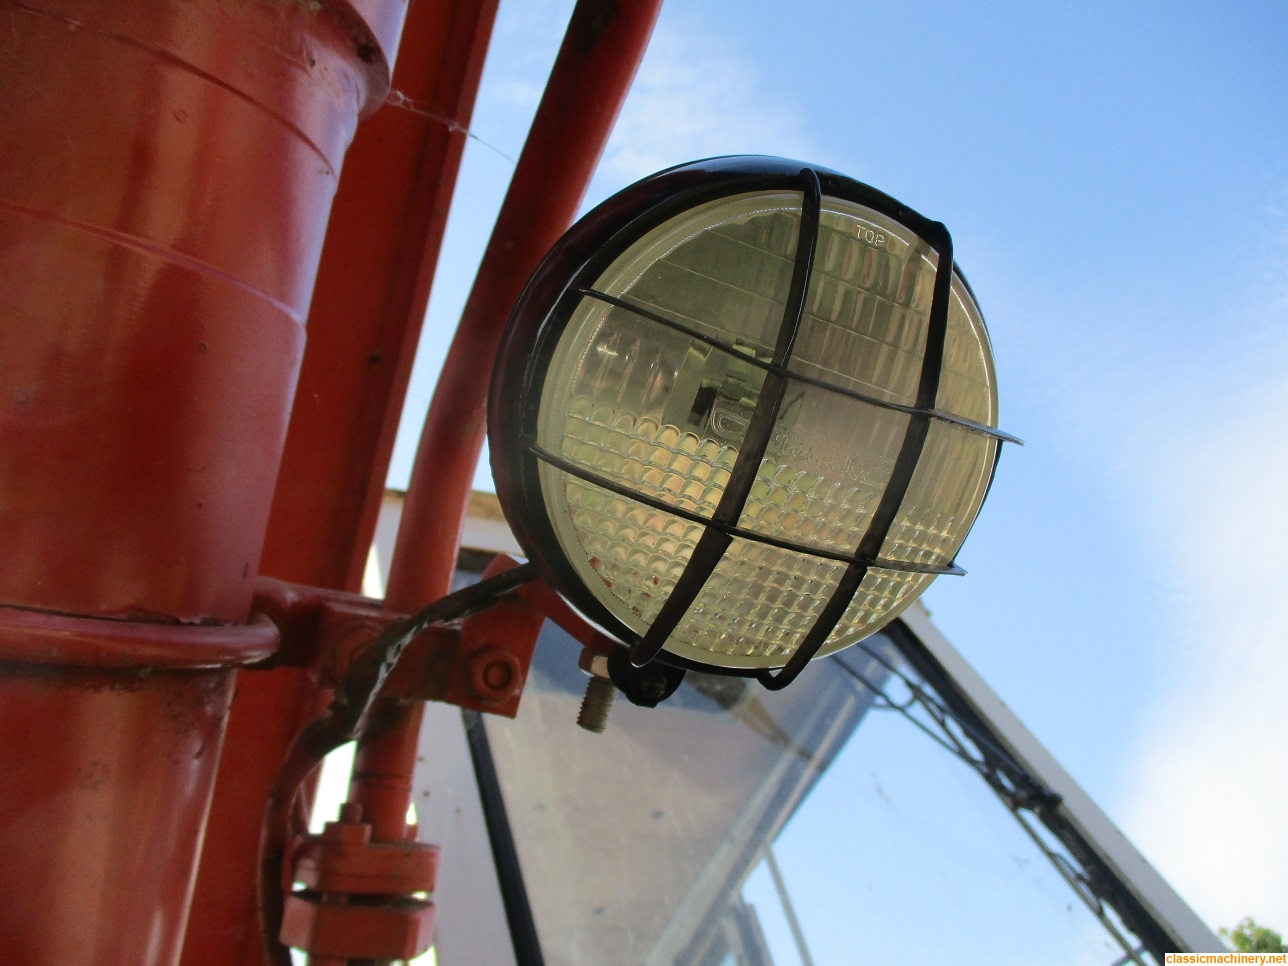
This weeks installment starts off at home; the awful looking working light, I was unable to source a half decent replacement let alone a second hand genuine item, so I pulled the thing apart, it's made by the French company Cluteroche. There is a local specialist company that can re-chrome the back of the lights cover, however the cost for this was £80 which is okay if you are restoring a classic car or motorcycle.

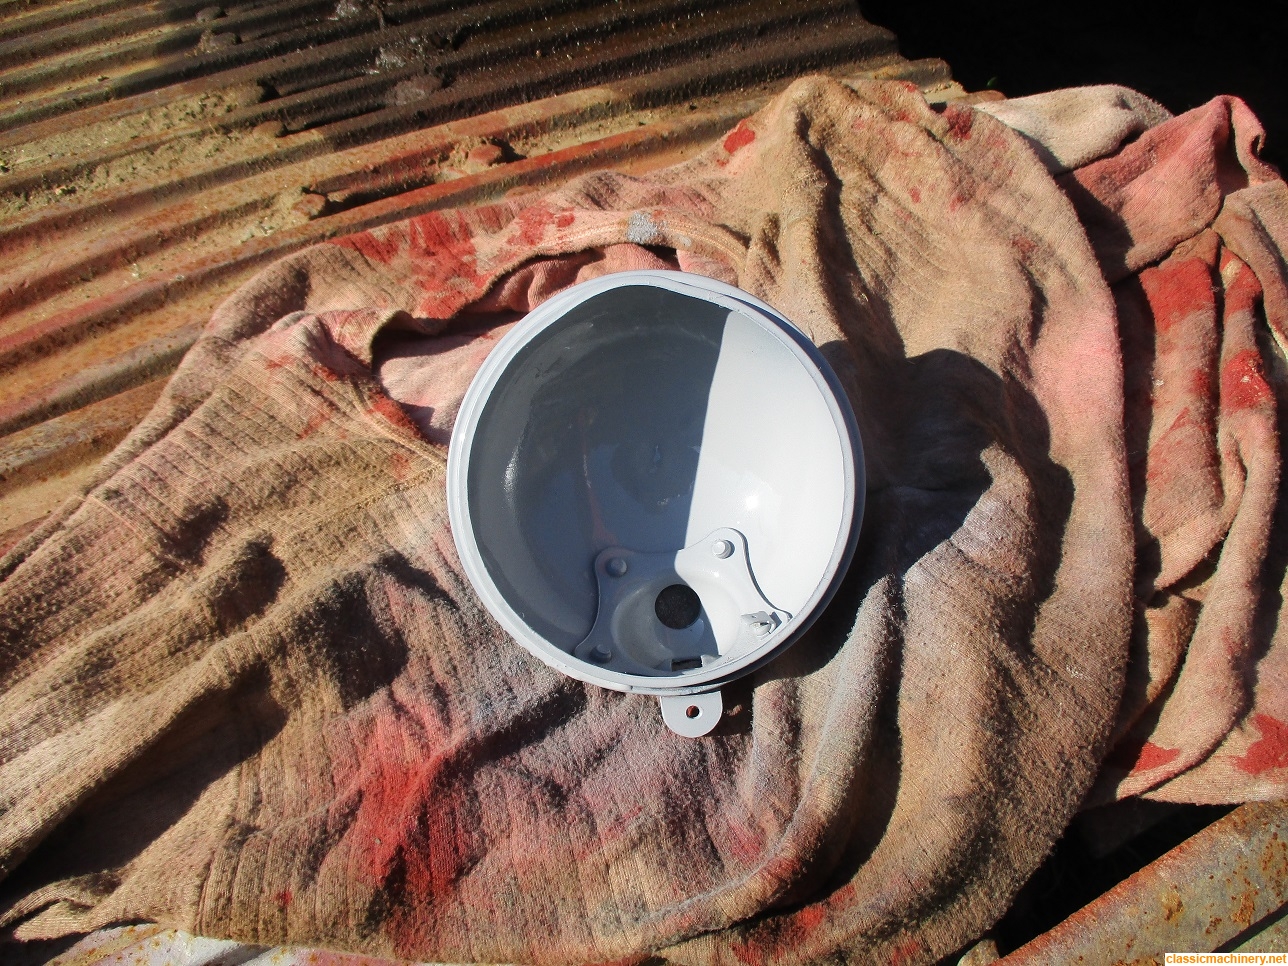
I decided to have a bash myself, nothing ventured nothing gained so I managed to part the glass from its backing, then cleaned the pair up and painted the backing with some chrome effect paint, the whole lot was then resealed, not bad all in all.

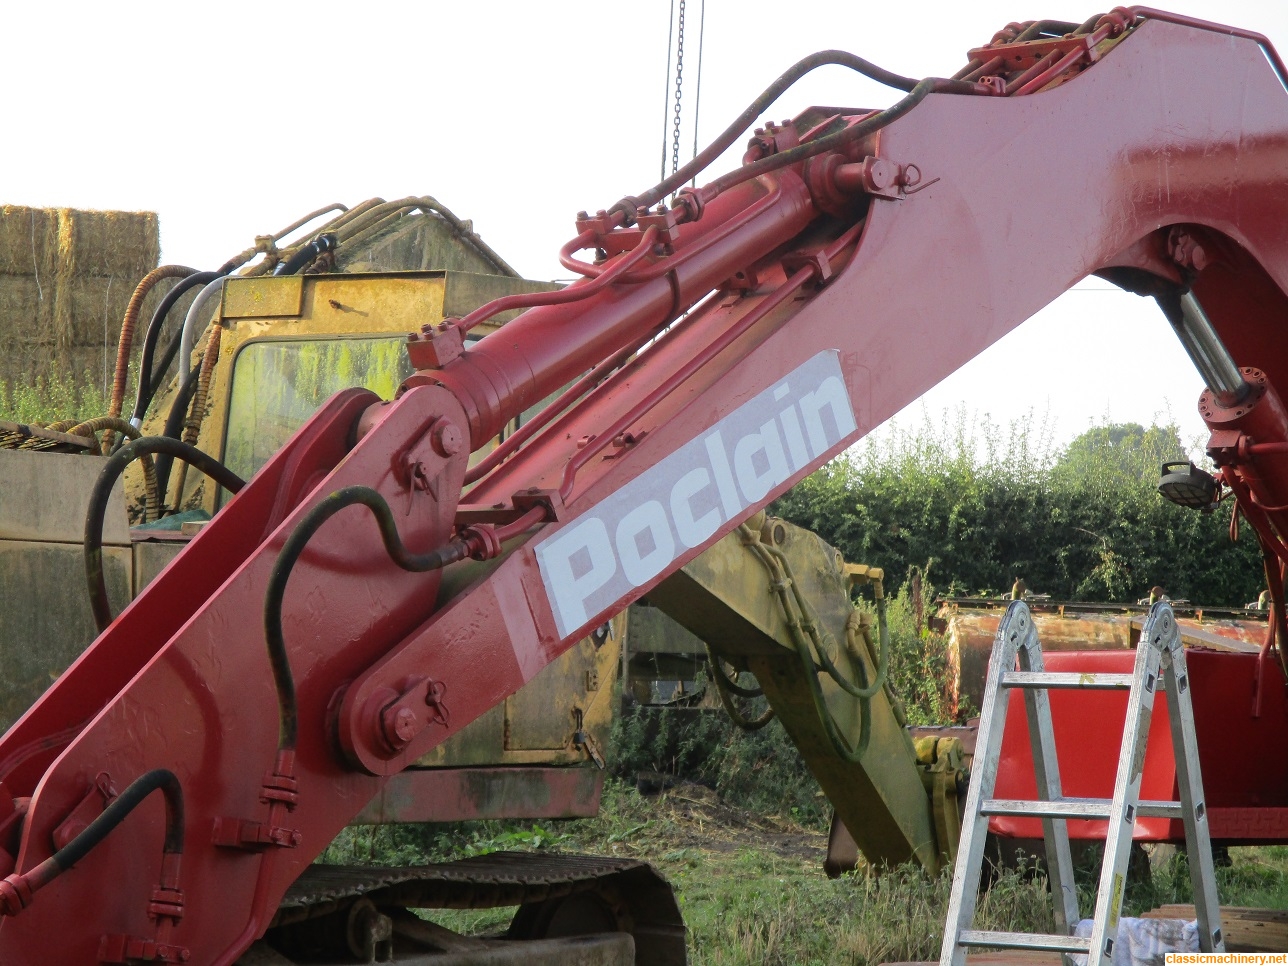
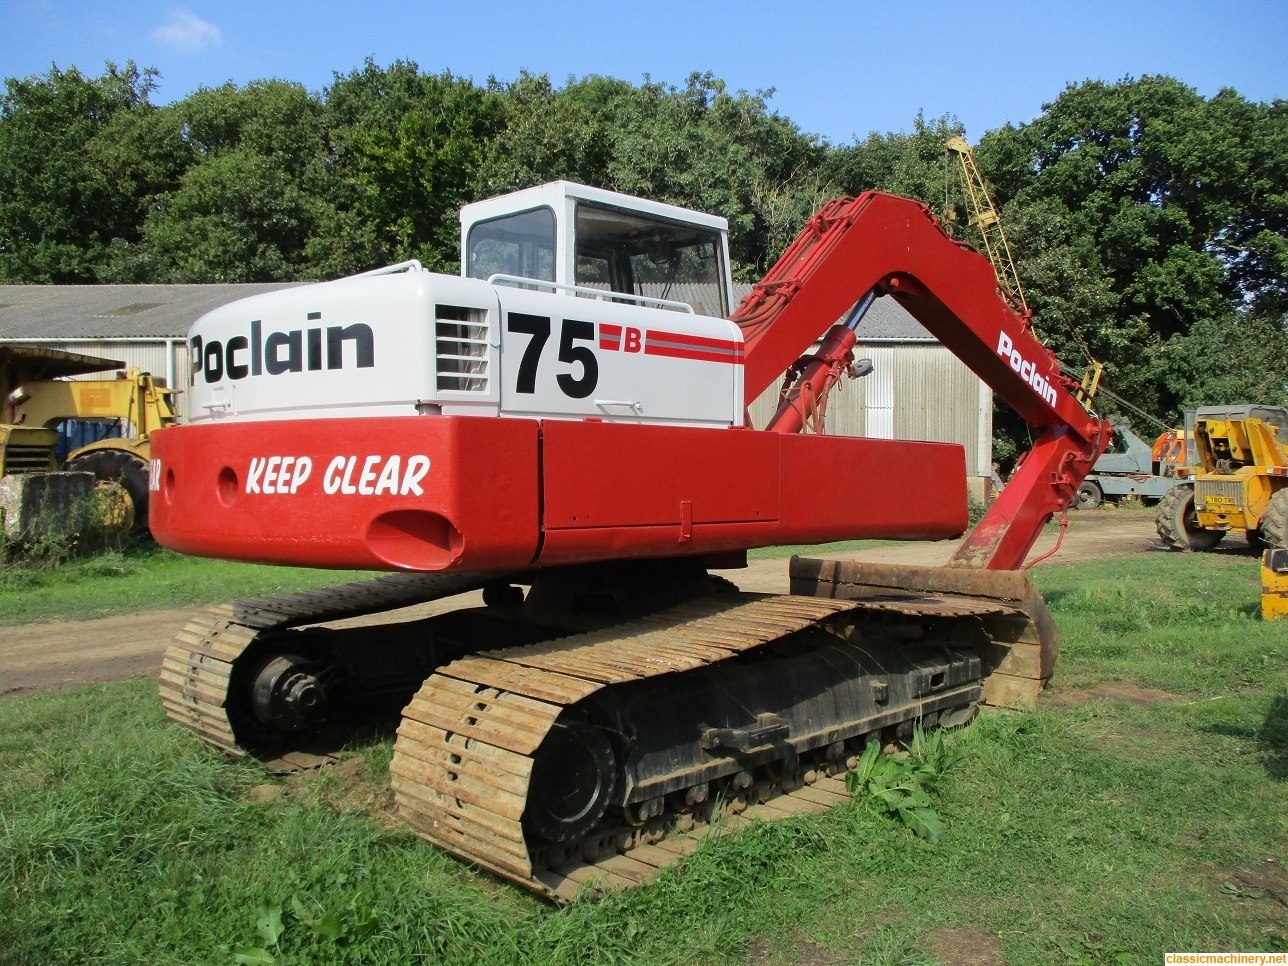
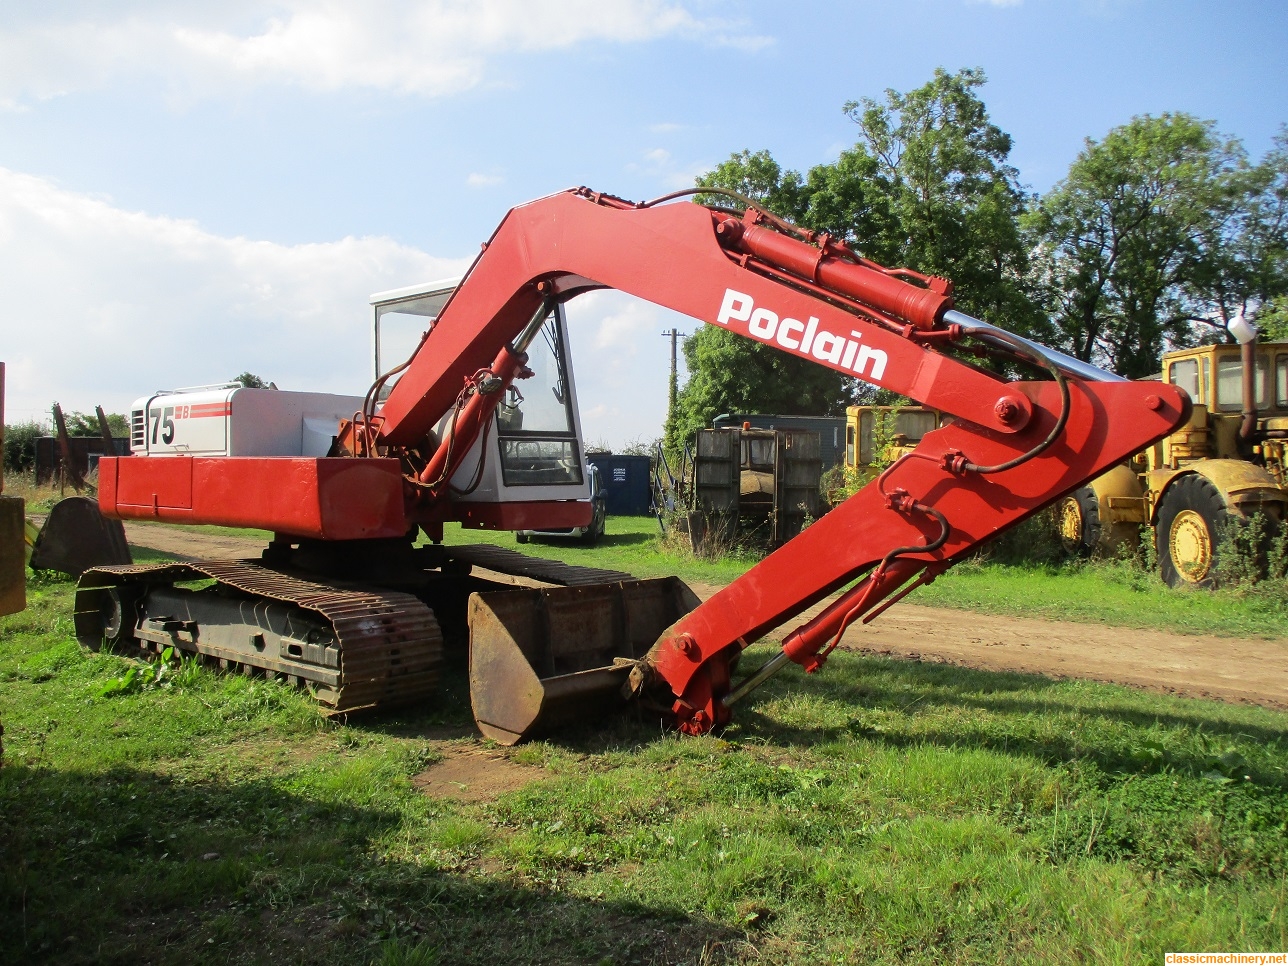
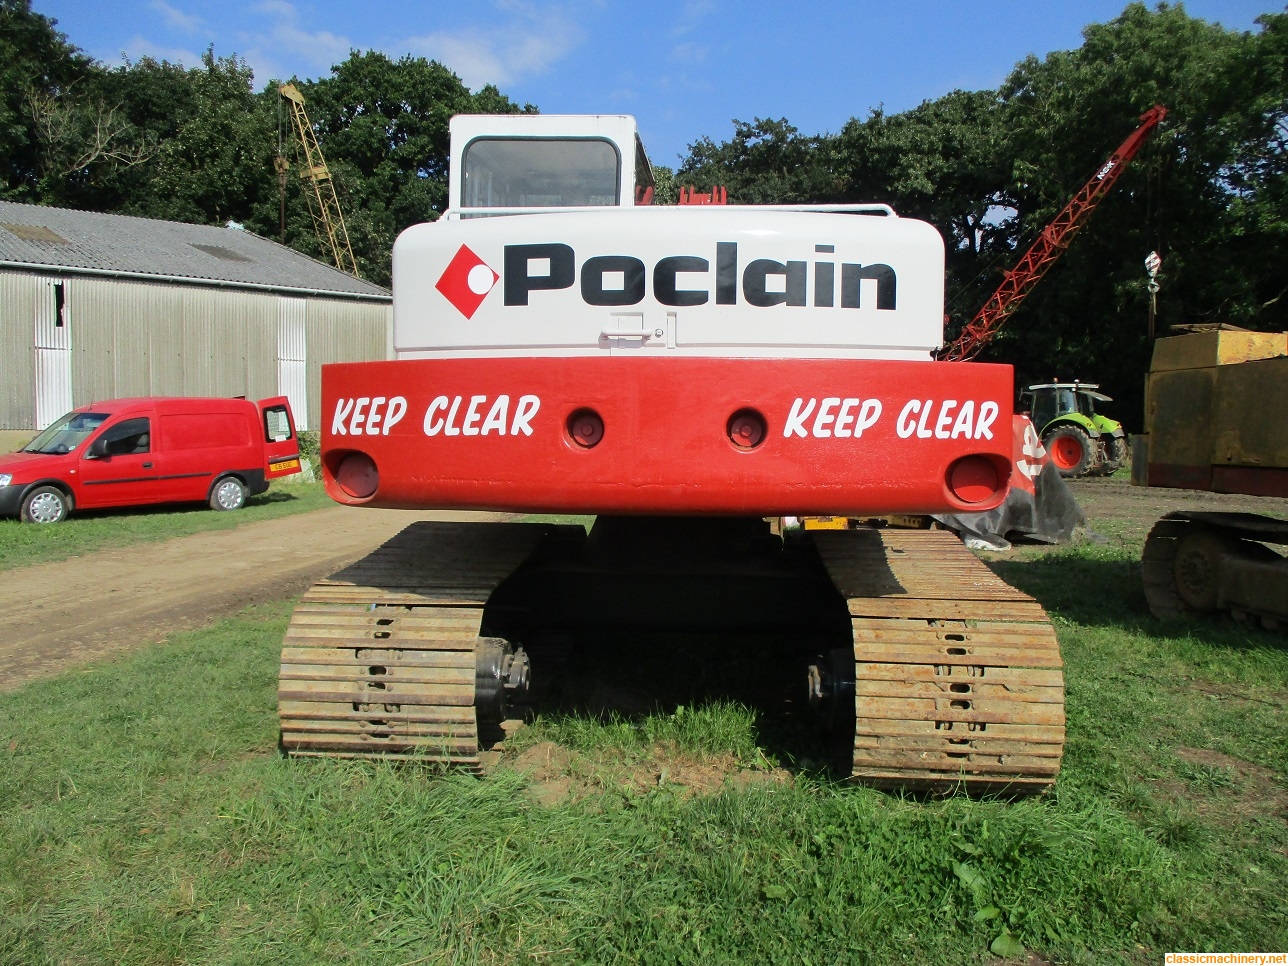
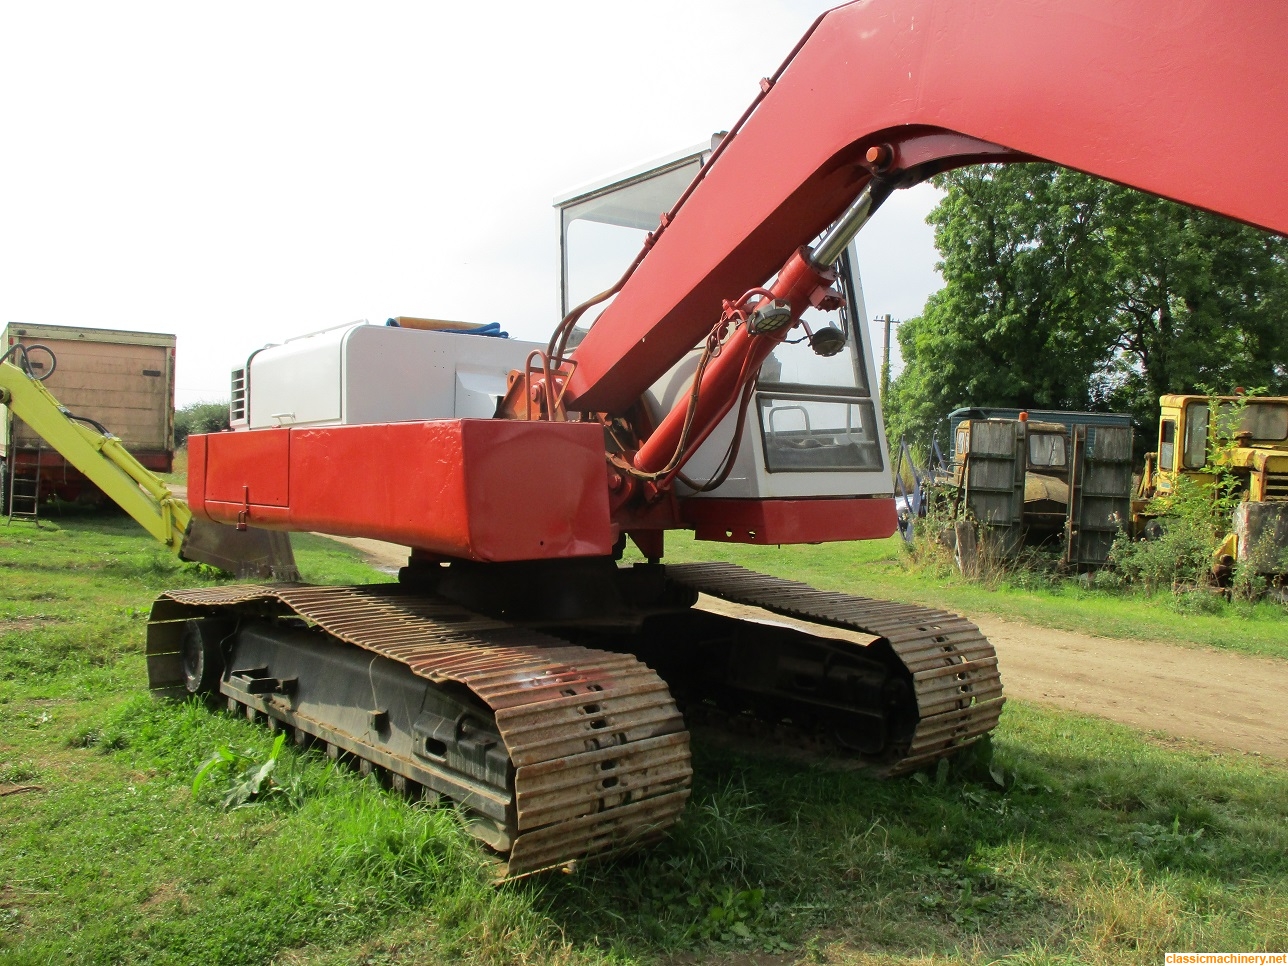
Arriving today, my decal man came along and applied the decals which although in my opinion it's not 100% it's not a bad job either so I was quite pleased with that, result!
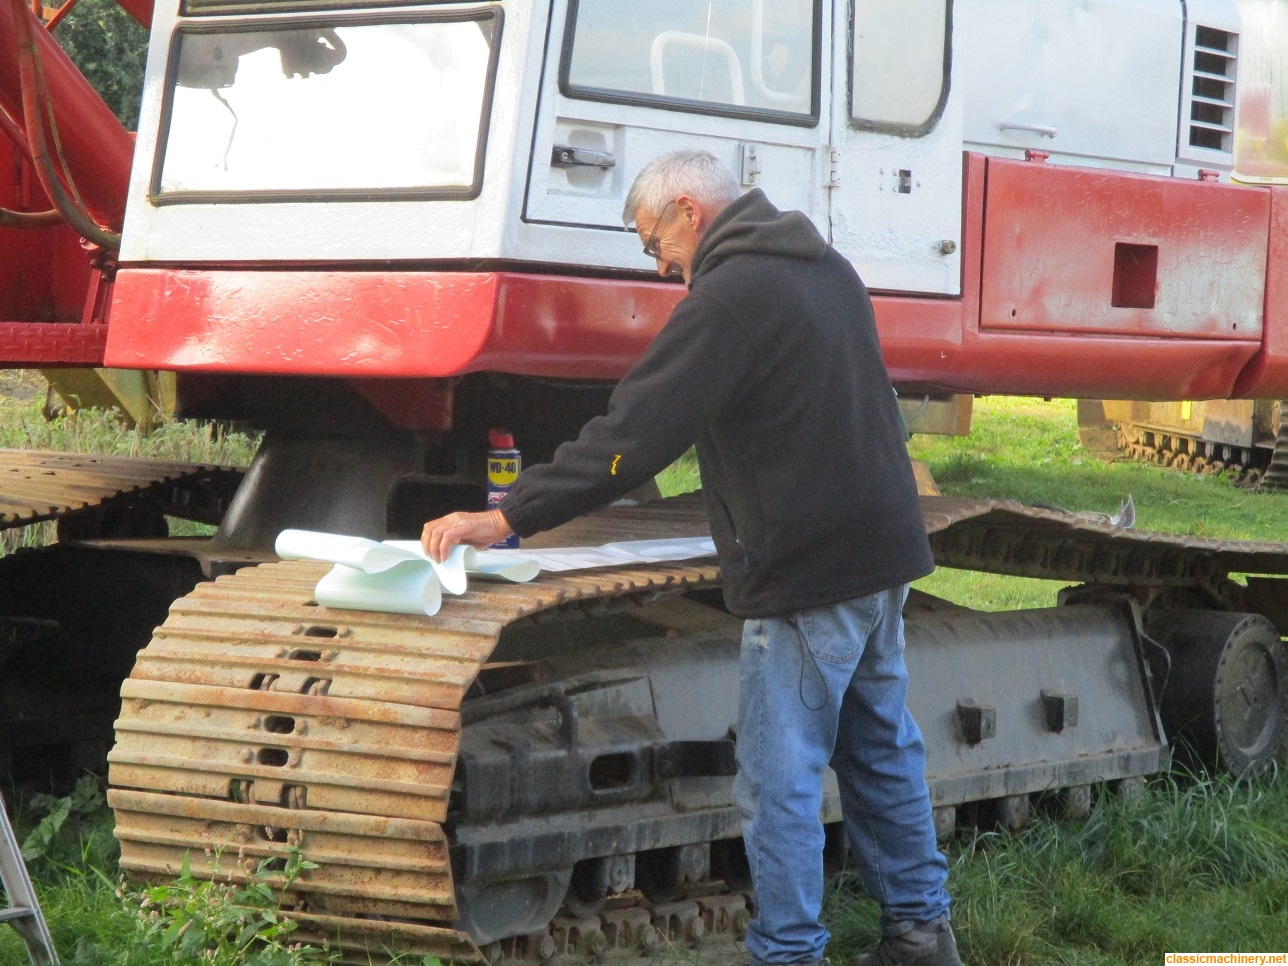
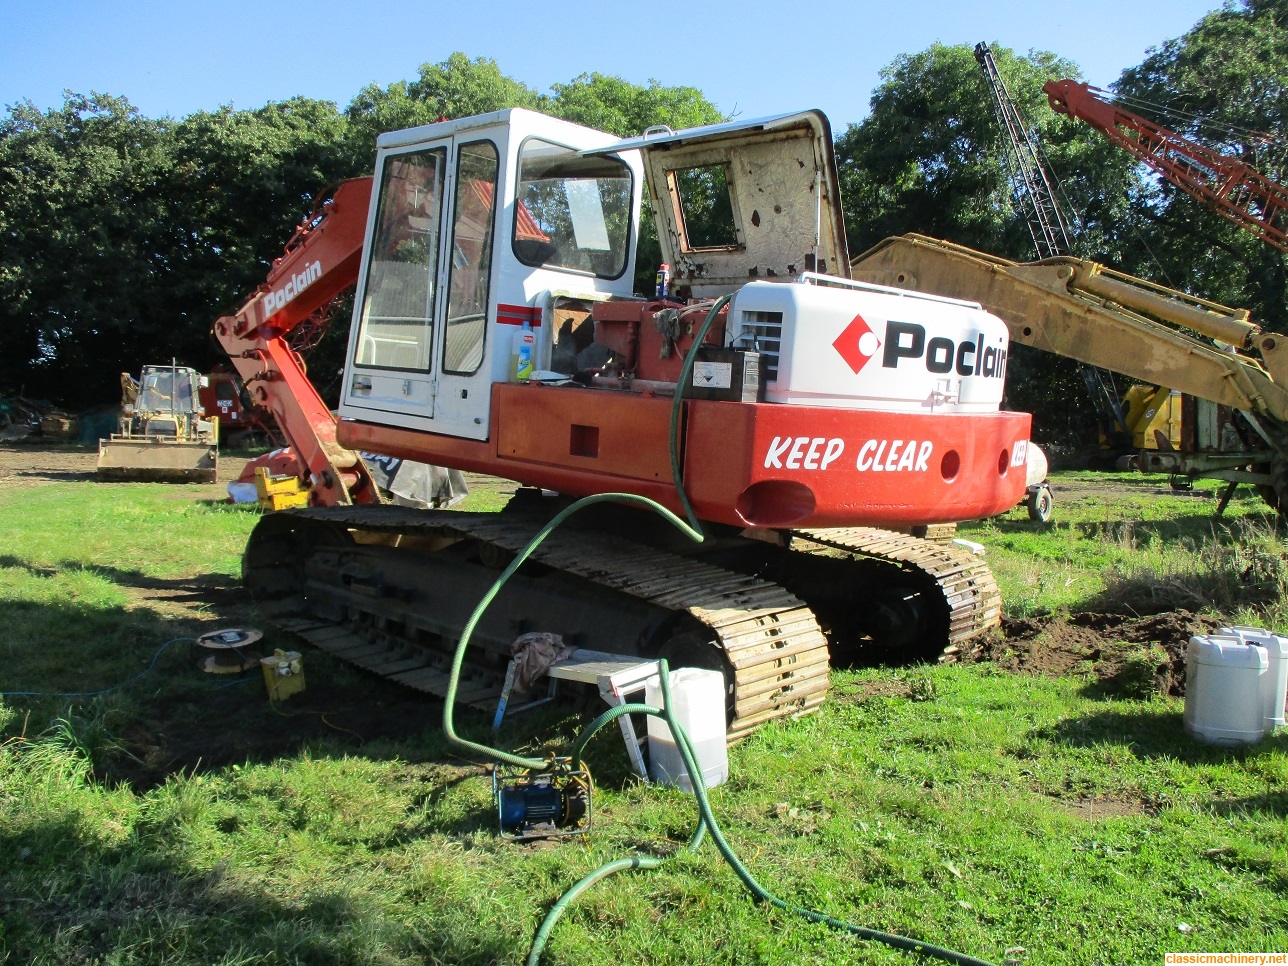
I was busy beavering away at the working lights housing while he applied the decals, most of the light has come back home with me for more work to be done on it. I decided to fire her up and reposition her for some pose type camera shots, that's when it all went pear shaped

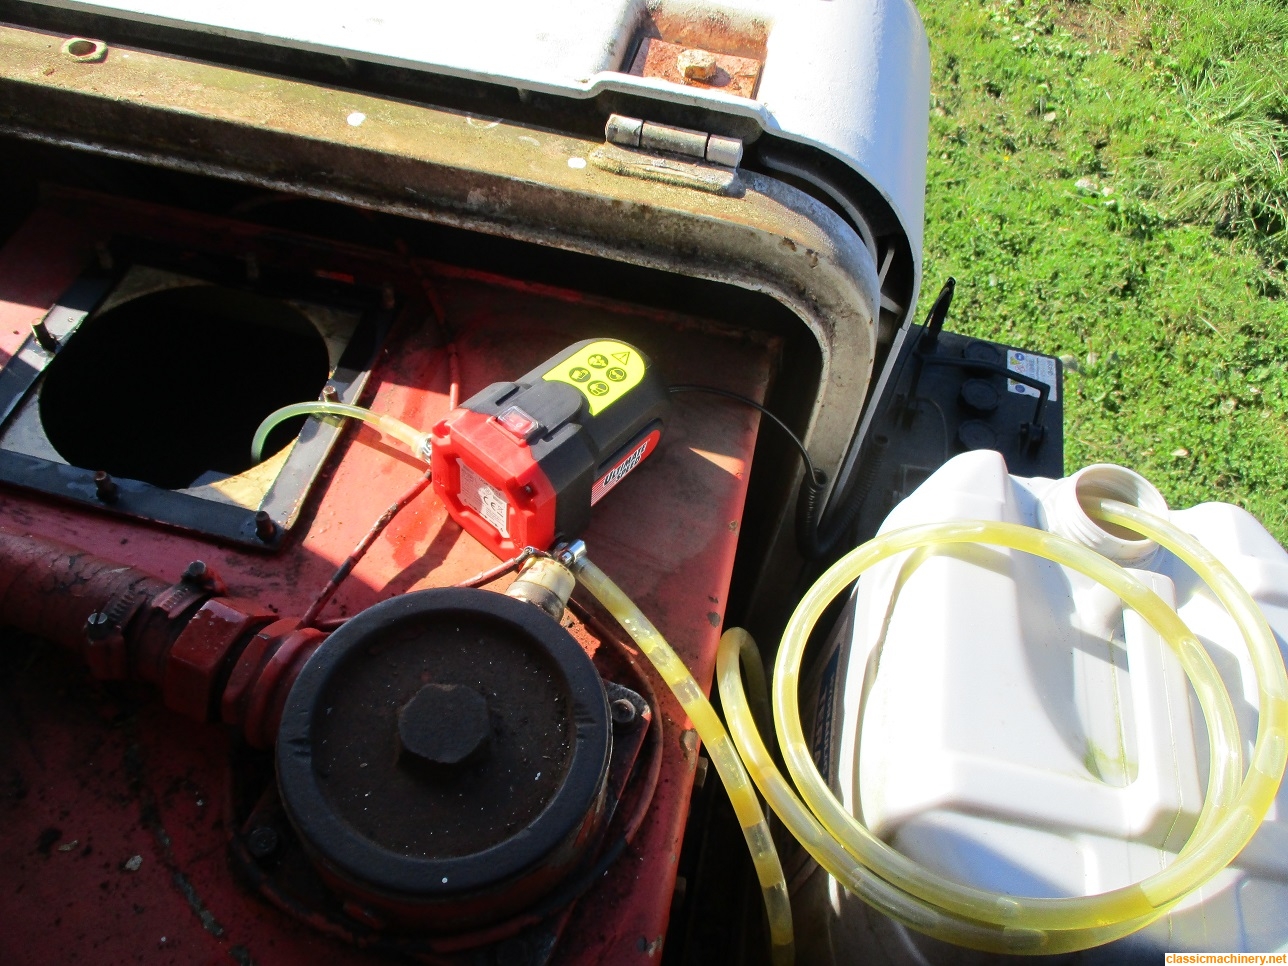
batteries flat

to cut a long story short I charged the one battery with the least power reading on the multimeter and it was enough to get her running.
However I suspected that as the batteries were fairly new there was another issue and sure enough a quick check revealed that she is not charging so another problem for me to sort out, and that's where I left things for today.
Jeremy